
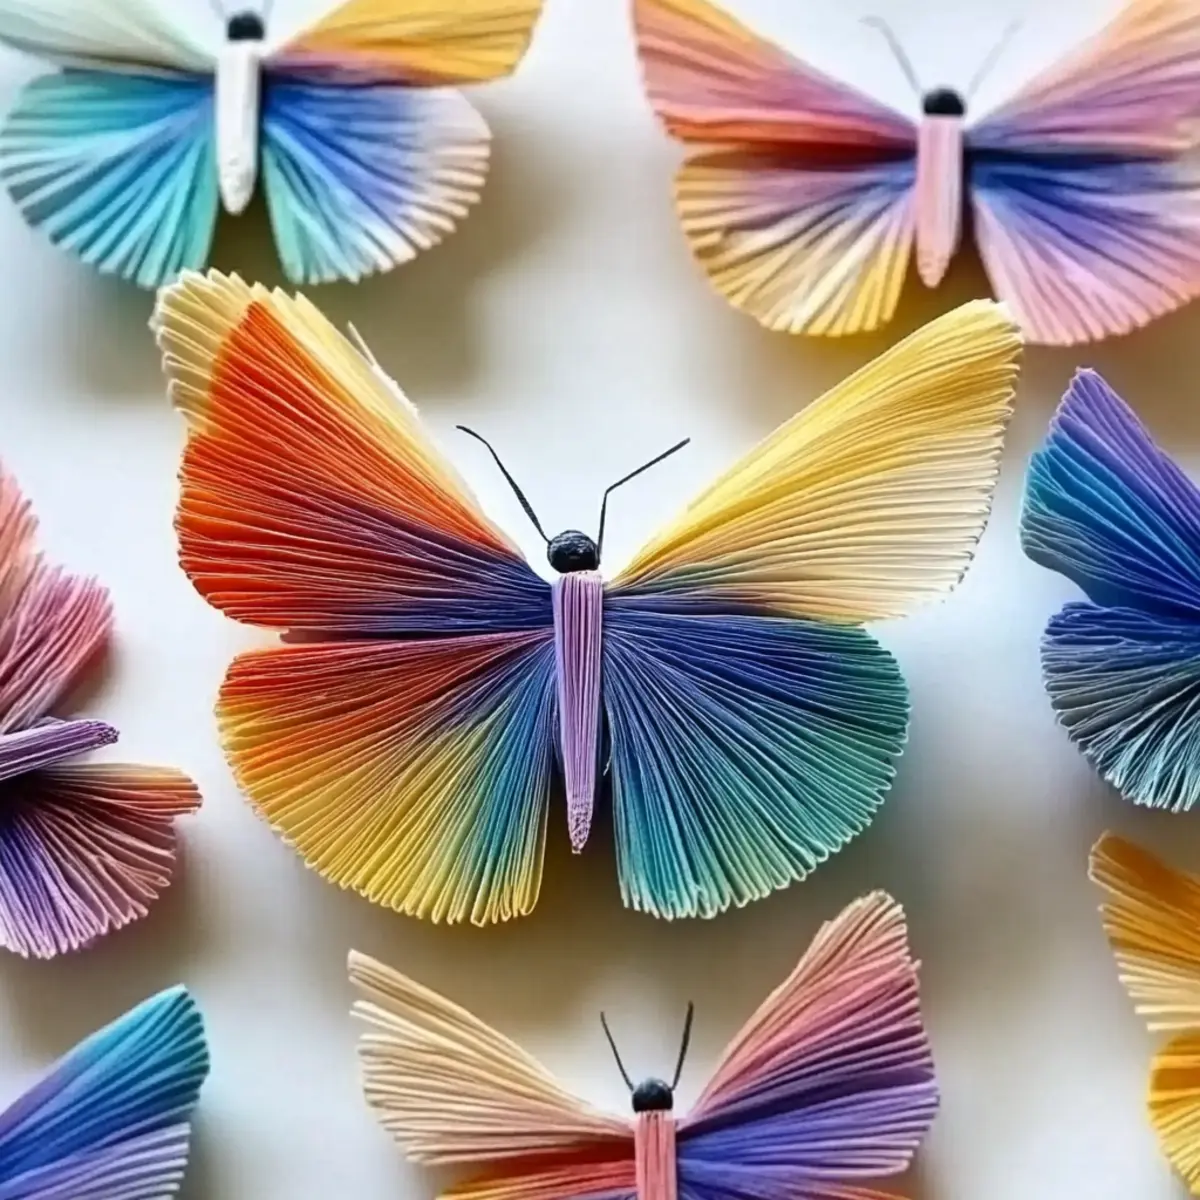
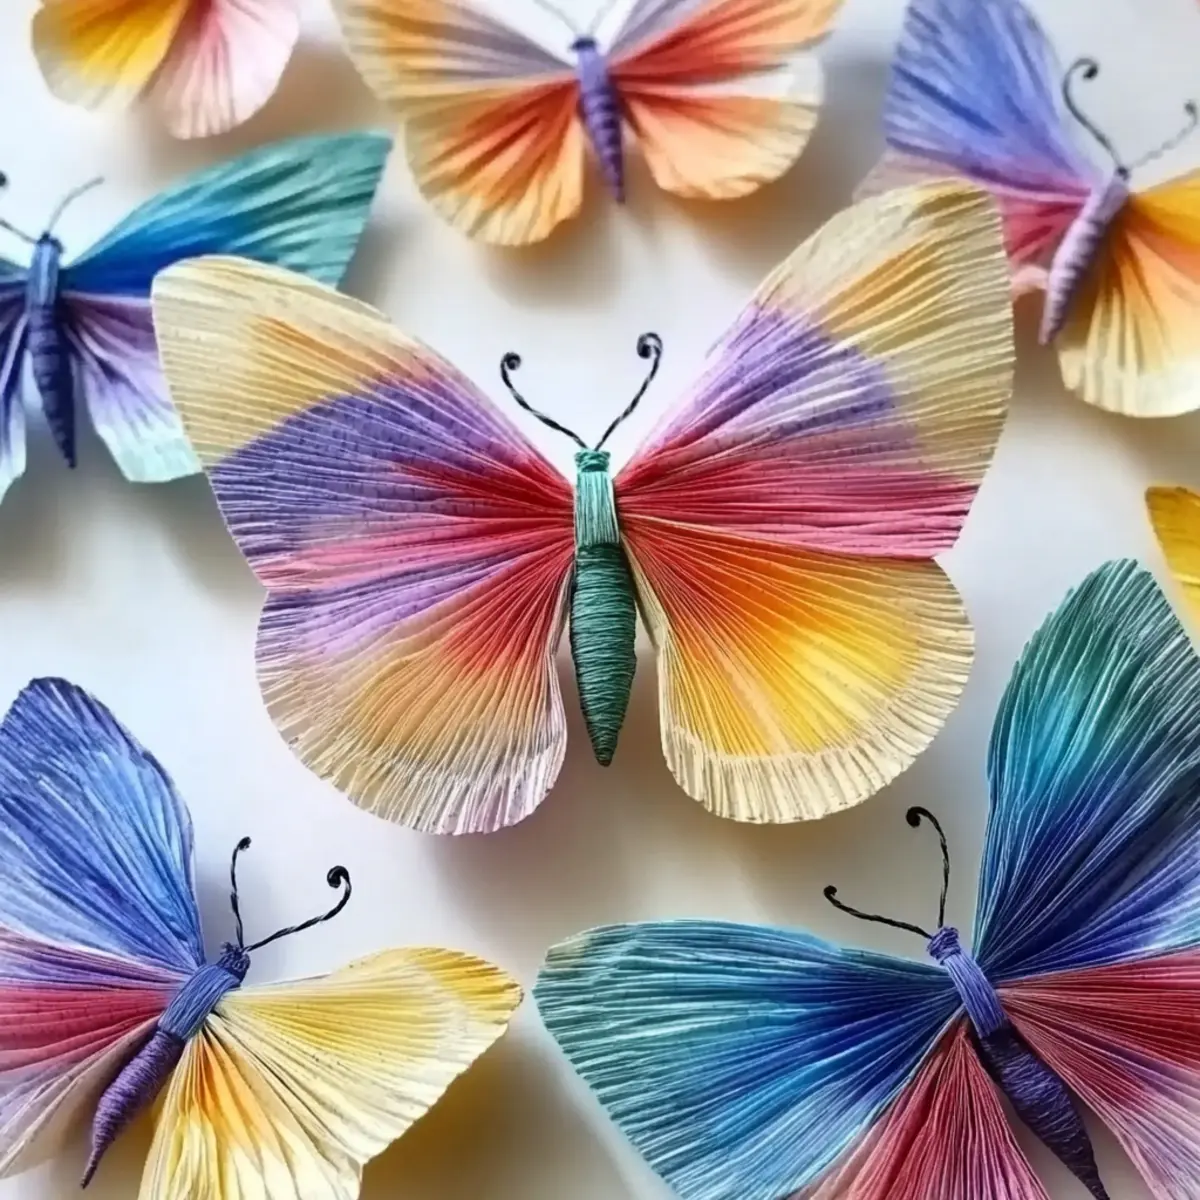
When the sun shines brightly into our kitchen, it's the perfect backdrop for a little crafting magic. That's when I decided to transform ordinary coffee filters into vibrant butterflies, creating a colorful activity that not only brings joy but also teaches valuable science concepts along the way. These Chromatography Coffee Filter Butterflies are a delightful blend of art and STEM and make for an engaging project perfect for a family day at home.
Gathering simple materials from around the house, we dove into a world of colors that danced and blended before our eyes. With just washable markers and water, I watched my kids' faces light up as the filters transformed into whimsical creations reminiscent of stained glass. Ideal for a quick afternoon craft or a memorable school project, this craft activity serves as a fabulous way to bond with your little ones while igniting their imaginations. Before you know it, you'll have a fluttering display of butterflies, adding splashes of color to your space!
Why will you love Chromatography Coffee Filter Butterflies?
Creativity Unleashed: This project invites kids to express their artistic flair as they create stunning butterflies.
Educational Value: Mixing art and science, it teaches concepts like color separation in a fun way.
Quick Setup: With easy-to-find materials, you can dive into crafting within minutes.
Family Bonding: Spend quality time while enjoying laughter and learning together.
Endless Varieties: Experiment with colors, shapes, and decorations for unique butterfly designs.
Light & Airy: The finished butterflies are perfect for fluttering decor, bringing cheer to any space!
Chromatography Coffee Filter Butterflies Ingredients
For the Butterflies
• White Coffee Filters - These are the canvas for your butterflies; basket-style filters work best for vibrant designs.
• Washable Markers - Choose bright and dark colors to achieve beautiful blends and dramatic effects.
• Spray Bottle or Pipette - Essential for applying water to activate the color separation magic.
For the Crafting Setup
• Tray or Baking Sheet - This will catch any water runoff and keep your crafting area tidy.
• Pipe Cleaners - Use these to form the butterfly's body and quirky antennae.
For Personal Touches
• Optional Decorations - Add googly eyes, glitter, or stickers to enhance your butterflies with personality.
Gather these ingredients together to embark on your journey of creating enchanting Chromatography Coffee Filter Butterflies that sparkle and flutter with color!
How to Make Chromatography Coffee Filter Butterflies
-
Color the Filters: Start by using washable markers to create vibrant designs on the white coffee filters. Experiment with bold and dark colors placed alongside each other for a beautiful contrast.
-
Spray Water: Gently spray the colored filters with water using a spray bottle or pipette. Watch as the colors blend and spread, creating stunning patterns!
-
Dry the Filters: Carefully lay the wet filters flat on a tray or baking sheet. Allow them to dry completely, observing how the colors expand and take shape.
-
Assemble the Butterflies: Once dry, pinch the center of each filter together. Twist a pipe cleaner around the middle, leaving the ends for whimsical antennae.
-
Decorate: Personalize your butterflies by adding googly eyes, glitter, or stickers. This is where creativity takes flight!
Optional: Display your butterflies under bright sunlight for an exciting effect!
Exact quantities are listed in the recipe card below.

Variations for Chromatography Coffee Filter Butterflies
Get ready to unleash your creativity with these delightful twists on the classic butterfly craft!
-
Bold Colors: Use neon or metallic markers for a vibrant and eye-catching effect that adds sparkle to your butterflies.
-
Pattern Play: Stencil or draw fun patterns like polka dots and stripes before spraying to make uniquely designed wings that catch the light.
-
Eco-Friendly Filters: Try using natural brown coffee filters instead of white for a rustic look that complements earthy designs.
-
Mini Butterflies: Cut filters into smaller circles for tiny butterflies; perfect for decorating gifts or as fun bookmarks in kids' books!
-
Sparkling Touch: After drying your butterflies, gently sprinkle them with edible glitter to add an enchanting shimmer to your creations.
-
Seasonal Themes: Change up the colors to reflect the season-pastels for spring, vibrant hues for summer, or warm tones for autumn.
-
String Art: Instead of pipe cleaners, use colorful yarn to create whimsical body structures that mimic real butterflies' slender forms.
-
Heightened Science: Introduce additional science elements by discussing color mixing and light absorption as you craft, deepening the educational experience.
Now, gather your supplies and let these charming variations inspire your next family crafting adventure!
Storage Tips for Chromatography Coffee Filter Butterflies
Room Temperature: Keep your assembled butterflies in a dry location, avoiding exposure to direct sunlight which may fade the colors over time.
Fridge: If you need to store colored but unassembled coffee filters, place them in an airtight container; they can stay fresh for up to a week.
Freezer: For long-term storage, consider freezing unassembled filters in a zip-lock bag; this preserves the colors for up to three months.
Display: Once dry, display your colorful butterflies gently to prevent damage; hanging them from a string can create a beautiful, fluttering effect.
Helpful Tricks for Chromatography Coffee Filter Butterflies
-
Choose Vibrant Colors: Use a mix of bright and dark washable markers for striking color separation; this enhances the visual impact of your butterflies.
-
Avoid Oversaturation: Be gentle when spraying water on your filters; too much water can lead to tearing and ruin your designs.
-
Proper Drying Space: Ensure you lay your colored filters flat in a well-ventilated space to avoid odors and promote even drying-this helps preserve the vibrant colors.
-
Experiment with Shapes: Cut the filters into different shapes before coloring to create varied butterfly designs, adding a fun twist to your Chromatography Coffee Filter Butterflies.
-
Personalize Them: Encourage kids to add decorations like googly eyes or glitter, sparking their creativity and making each butterfly unique and special!
Make Ahead Options
These Chromatography Coffee Filter Butterflies are perfect for busy home cooks who love to get a head start on crafting! You can color the coffee filters up to 24 hours in advance and let them dry overnight. Once dried, store the colored filters flat in a dry box to prevent damage or distortion. When you're ready to assemble the butterflies, simply pinch the centers, twist around the pipe cleaners for the body, and add any decorations you like. This prep-ahead strategy not only saves time but also ensures that your crafting session goes smoothly, allowing you to enjoy quality family time without the stress of last-minute preparations!
What to Serve with Chromatography Coffee Filter Butterflies?
Imaginative crafting is best enjoyed alongside delightful snacks and drinks to keep everyone energized and engaged.
-
Fruit Kabobs: Fresh, vibrant fruit skewers add a healthy, colorful touch that perfectly complements the whimsical butterflies.
-
DIY Mini Sandwiches: Create fun shapes with cookie cutters to match the butterfly theme, making lunch as playful as your craft project.
-
Refreshing Lemonade: A glass of homemade lemonade provides a sweet and tart balance to the creativity unfolding at your crafting station.
-
Veggie Plates: Crisp vegetables with a colorful array of dips promote healthy eating while lively colors mirror the butterflies' vibrant hues.
-
Brownie Bites: Rich, fudgy brownies are a sweet treat that brings smiles, making them perfect for rewarding little hands after crafting.
-
Silly Smoothie Bowls: Blend colorful fruits and top with seeds and nuts, creating a joyful and visually appealing snack that sparks conversations.
These fun pairings will turn your crafting session into a delightful event, ensuring both creative and culinary experiences are enjoyed together!
Chromatography Coffee Filter Butterflies Recipe FAQs
What type of coffee filters should I use?
I recommend using white basket-style coffee filters for this craft. They provide a great surface for coloring and ensure that the colors blend beautifully without any interference from printed designs or fibers.
How should I store the finished butterflies?
Once your butterflies are dry, store them in a cool, dry area away from direct sunlight, which can fade their vibrant colors over time. You can also gently hang them up with string for a fluttering display or keep them flat in a dry box to avoid any damage.
Can I freeze my colored filters for later use?
Absolutely! If you want to prepare colored coffee filters ahead of time, you can freeze unassembled ones. Place them in a zip-lock bag, ensuring they're sealed tightly to prevent moisture. They'll stay vibrant for up to three months!
What if my colors don't blend well?
If the colors don't seem to blend as you envisioned, try using darker markers for more pronounced results. When spraying the water, gently mist from a distance to avoid oversaturation. If the filter tears, simply start over with a new one, and remember that practice makes perfect!
Stunning Chromatography Coffee Filter Butterflies – A Fun Craft!
Equipment
- Spray Bottle or Pipette
- tray or baking sheet
Ingredients
For the Butterflies
- 5 pieces White Coffee Filters Basket-style filters work best for vibrant designs.
- 10 pieces Washable Markers Choose bright and dark colors for beautiful blends.
- 1 piece Spray Bottle or Pipette Essential for applying water.
For the Crafting Setup
- 1 piece Tray or Baking Sheet To catch any water runoff.
- 2 pieces Pipe Cleaners To form the butterfly's body and antennae.
For Personal Touches
- to taste Optional Decorations Googly eyes, glitter, or stickers for enhancement.
Instructions
How to Make Chromatography Coffee Filter Butterflies
- Color the Filters: Start by using washable markers to create vibrant designs on the white coffee filters. Experiment with bold and dark colors.
- Spray Water: Gently spray the colored filters with water using a spray bottle or pipette to blend the colors.
- Dry the Filters: Lay the wet filters flat on a tray to dry completely.
- Assemble the Butterflies: Pinch the center of each filter, twist a pipe cleaner around the middle.
- Decorate: Add googly eyes, glitter, or stickers to personalize the butterflies.


Leave a Reply