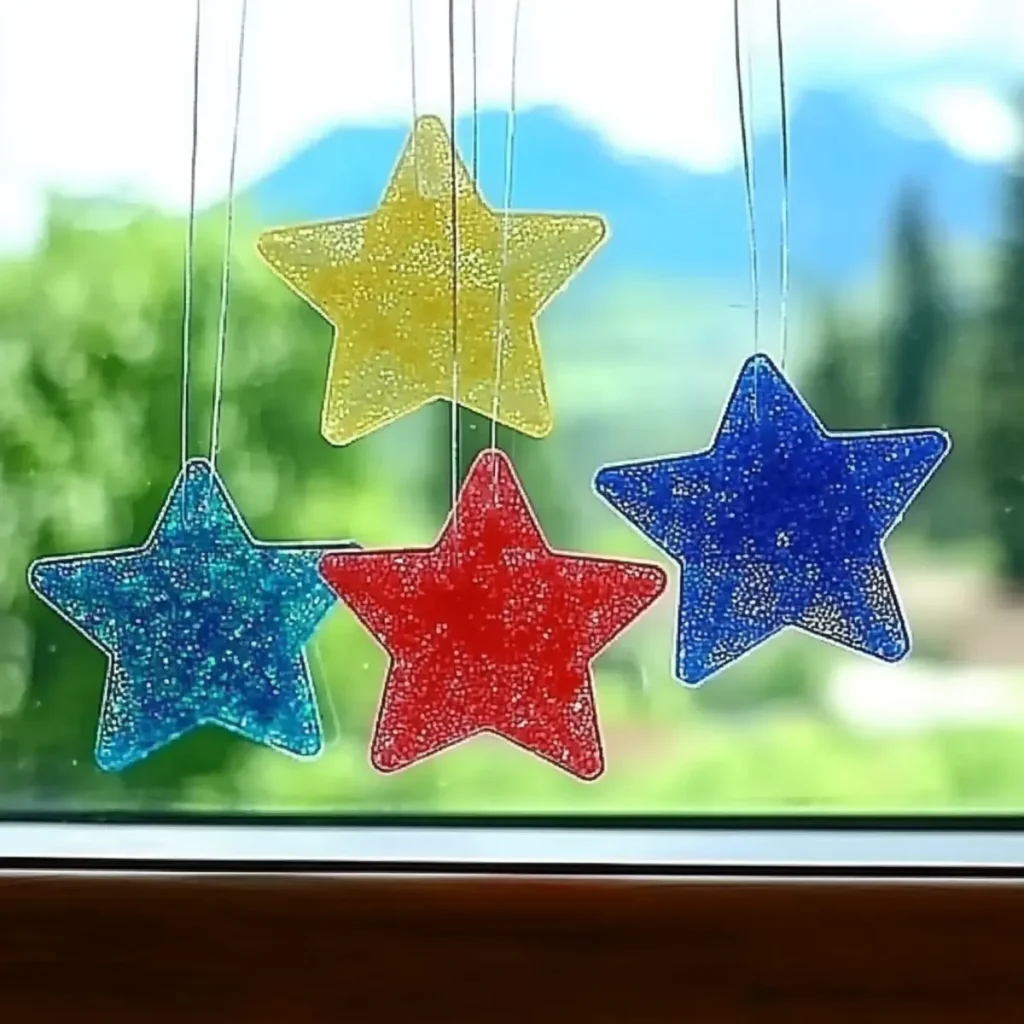
There's nothing quite like the joy of turning everyday items into something extraordinary! When I stumbled across a box of old crayons while decluttering, I couldn't help but think of their potential beyond the drawing pad. Enter: Crayon Star Sun Catchers, a vibrant DIY project that transforms those forgotten crayons into stunning stained-glass stars.
As I melted the crayon shavings and watched the colors swirl together, I felt like a kid again, reliving the magic of creativity. Not only does this project unleash your artistic side, but it also serves as a beautiful, eco-friendly way to brighten up any sunny window. Whether you're crafting with kids or enjoying some solo time, these starlit decorations promise to bring a warm, whimsical touch to your home all year round.
Let's dive into this delightful project and create eye-catching sun catchers that will fill your space with color and light!
Why Love Crayon Star Sun Catchers?
Creativity Awaits: Transform old crayons into stunning sun catchers that breathe new life into your space!
Eco-Friendly Fun: This project promotes sustainability, using materials you already have.
Sensory Experience: Melting crayons provides a satisfying and colorful crafting experience for all ages.
Versatile Shapes: Customize your stars with seasonal themes like hearts or snowflakes.
Quick and Easy: Just a few simple steps make for a hassle-free creative outlet.
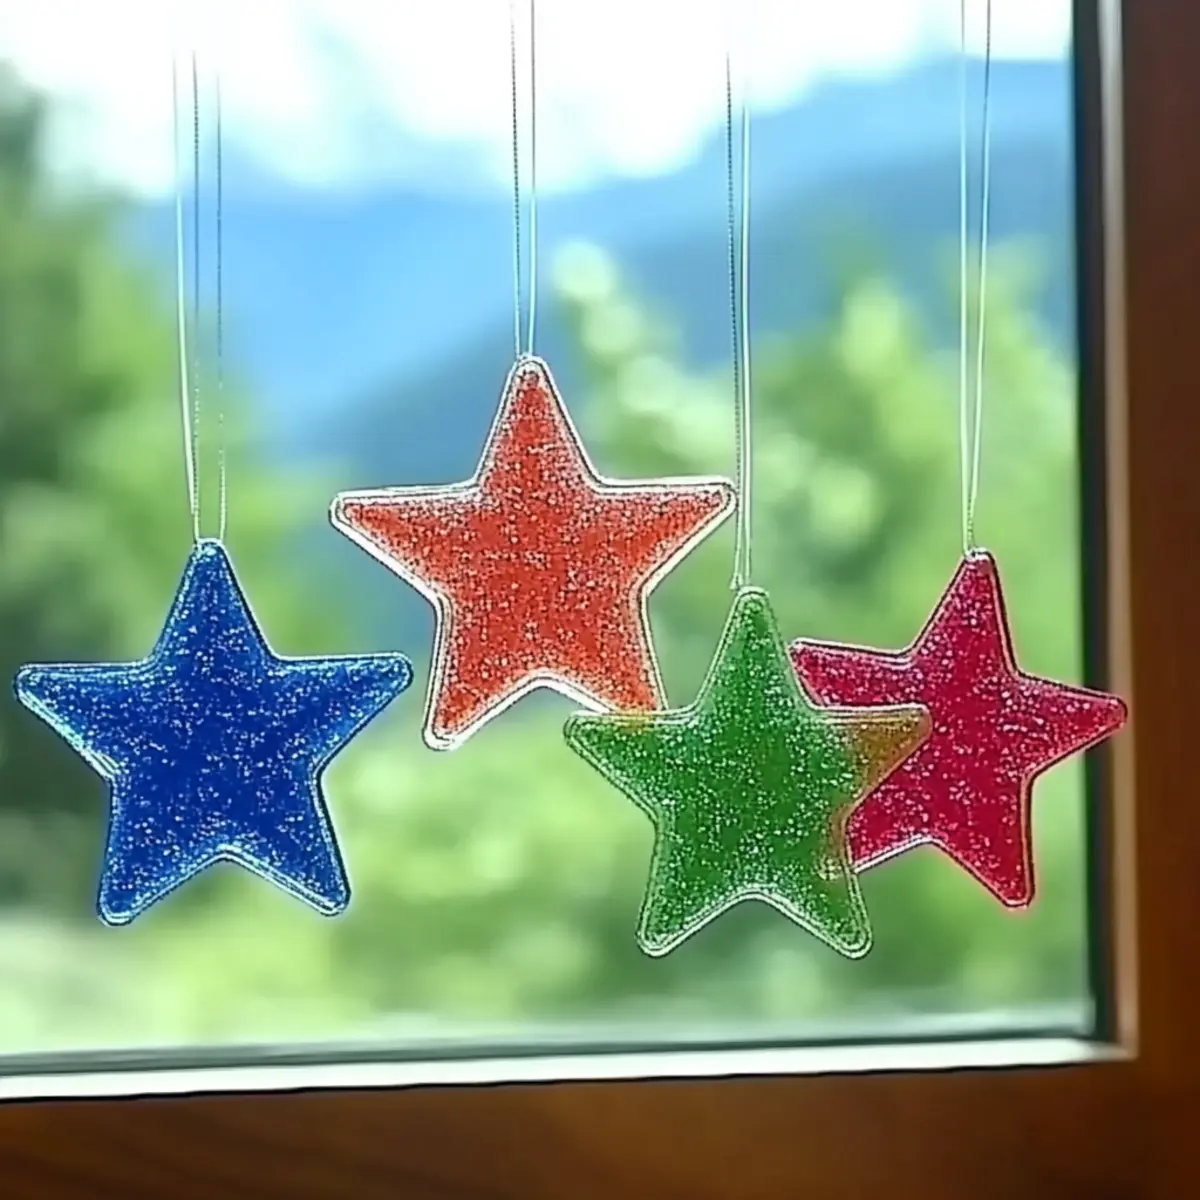
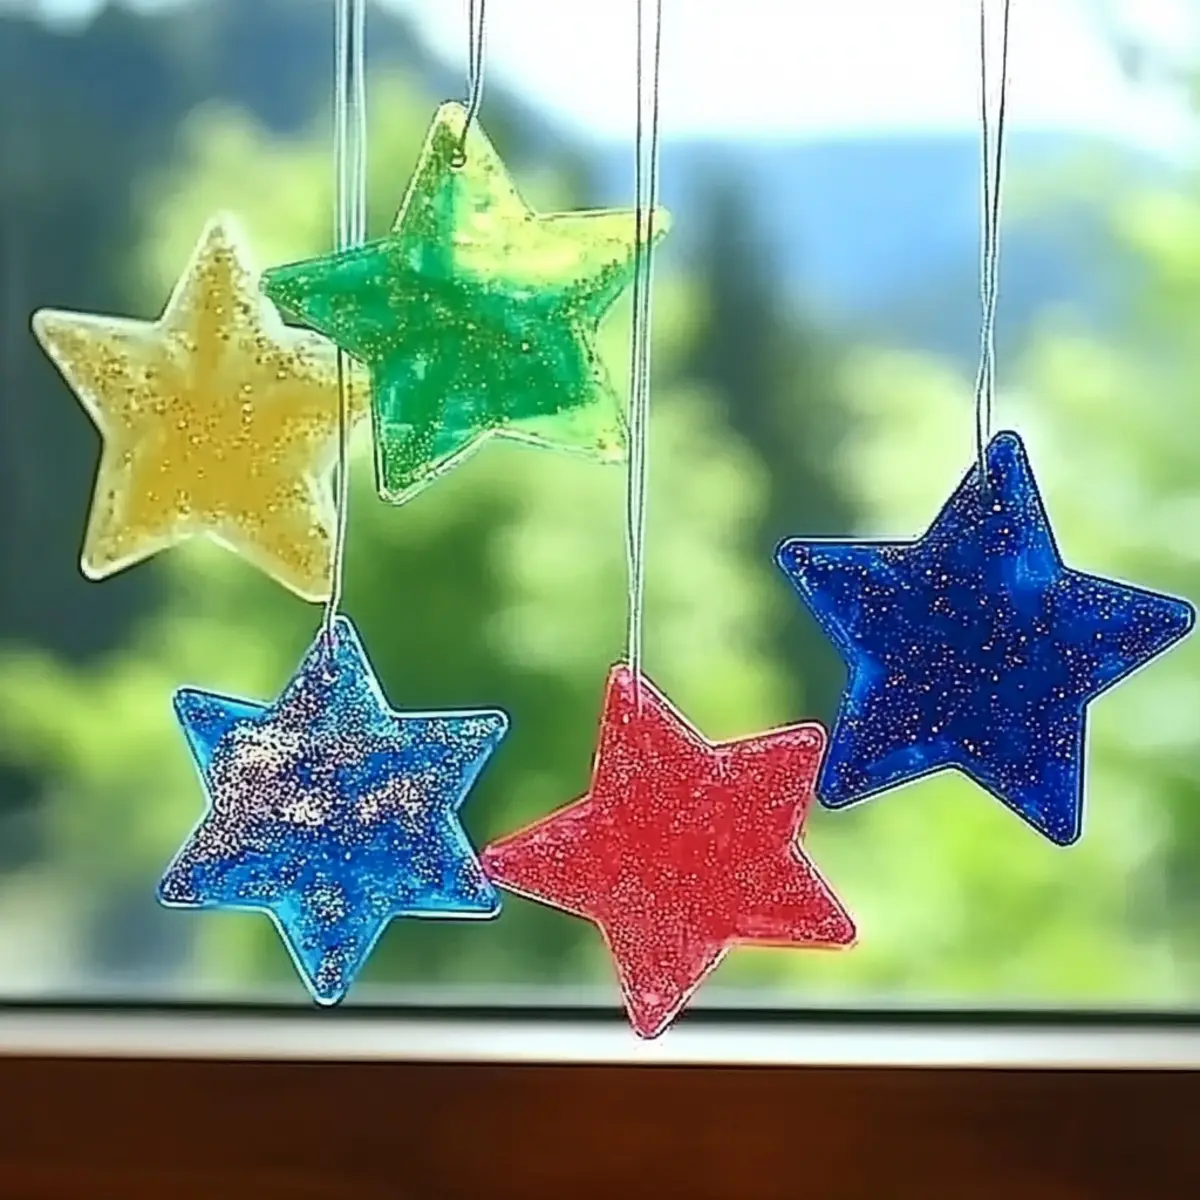
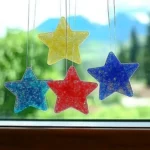
Display with Pride: Hang your unique creations in sunny windows, lighting up your home beautifully!
Crayon Star Sun Catcher Ingredients
For the Base
• Old Crayons - Collect old, broken crayons for vibrant colors; ensure all paper is removed for a clean melt.
• Wax Paper - Essential as a melting base; it holds the crayon shavings together and protects your workspace.
• Parchment Paper - Use this to shield your iron and ensure even melting of your crayon mixture.
For Displaying
• String - Choose colorful string or twine to hang your stars; it adds a playful touch and secures your creations.
• Hole Punch - Utilize this for easily creating a hole at the top of each star for stringing.
This easy project empowers you to make crayon star sun catchers that will fill your home with color!
How to Make Crayon Star Sun Catchers
-
Prep Crayons: Start by removing any remaining paper from your old crayons. Use a sharpener or knife to create shavings, mixing colors together to achieve a unique swirl effect.
-
Prepare Wax Paper: Lay out a 12x12" piece of wax paper on a flat surface. Evenly sprinkle your crayon shavings over this paper, then fold the wax paper to seal in the colorful shavings.
-
Heat Protection: To prevent direct contact with the iron, place the wax paper between two sheets of parchment paper. This will help ensure an even melting process.
-
Melt: Set your iron to a low temperature and gently press it over the parchment in circular motions. Keep a close eye on the melting process; the colors will start to blend beautifully!
-
Cool Down: Once melted, allow the crayon sheet to cool completely before handling it. This ensures that it sets properly without losing its shape.
-
Cut Shapes: Using a stencil or cookie cutter, trace and cut out star shapes from the cooled crayon sheet. Get creative with your designs!
-
Add Hanging String: Punch a hole near the top of each star and thread colorful string through it for easy hanging. This adds a fun touch to your decorations.
-
Display: Hang your vibrant crayon sun catchers in a sunny window and watch as they fill your space with color and warmth throughout the day.
Optional: Add glitter to the crayon shavings for an extra sparkle in your creations.
Exact quantities are listed in the recipe card below.

Expert Tips for Crayon Star Sun Catchers
• Color Mixing: Blend different colored crayon shavings for unique designs. Avoid using too many dark colors to maintain vibrancy.
• Watch the Heat: Always use a low iron setting to prevent burning the crayons. A high heat can ruin your colorful masterpiece!
• Layering Technique: For added thickness, consider layering multiple wax papers; this will give your sun catchers more stability.
• Cooling Time: Allow sufficient cooling time before moving or cutting. Rushing this step can cause the stars to lose their shape.
• Safety First: Ensure adult supervision when children are involved, especially during the melting process of these crayon star sun catchers.
Make Ahead Options
These Crayon Star Sun Catchers are perfect for busy home cooks looking to save time while unleashing their creativity! You can prepare the crayon shavings up to 24 hours in advance. Simply remove the paper from the crayons, sharpen them, and mix the shavings in a container. Store them in the refrigerator to keep the colors fresh. When you're ready to create, just follow the melting instructions as outlined. To ensure quality, keep your melted crayon sheet covered with parchment paper until it cools completely. This way, you'll have colorful creations ready to hang in your windows without any hassle, all while enjoying the joy of crafting together!
Crayon Star Sun Catchers Variations
Feel free to let your imagination soar as you whip up these colorful crafts!
-
Heart Shapes: Use a heart-shaped cookie cutter for a romantic twist, perfect for Valentine's Day décor.
-
Seasonal Snowflakes: Cut out unique snowflake designs for winter-add a touch of frosty magic to your windows.
-
Glitter Boost: Toss in a sprinkle of glitter with your crayon shavings for an extra sparkle that catches the sunlight.
-
Scented Fun: Use scented crayons for an aromatic twist, transforming your sun catchers into a sensory experience.
-
Mixed Media: Incorporate fabric scraps or dried flowers with your crayon shavings for a textured, artistic flair.
-
Layered Look: Create layers with different colors by repeating the melting process. It adds depth and dimension to your stars.
-
Color Themes: Pick a specific color palette to match your home décor or theme-think pastels for spring or bold hues for summer.
-
Themed Shapes: Besides stars, consider other shapes like moons, flowers, or animals for a playful addition to your space.
How to Store and Freeze Crayon Star Sun Catchers
Room Temperature: Keep finished sun catchers flat in a cool, dry place away from sunlight to avoid melting. They will last for weeks if stored properly.
Fridge: For added protection against heat, consider placing your crayon star sun catchers in the fridge for up to a week. Wrap them in wax paper to prevent sticking.
Freezer: If you want to make them ahead for a crafting session, you can freeze them wrapped in wax paper for up to a month. Just ensure they are stored flat to maintain their shape.
Reheating: If they do lose their form, gently reheat with an iron on low heat between parchment paper, but take care not to overheat them while crafting your crayon star sun catchers!
What to Serve with Crayon Star Sun Catchers?
Create a delightful atmosphere while crafting these colorful beauties, perfect for brightening any space!
- DIY Party Snack Platter: Offer vibrant, colorful fruits and veggies that celebrate the artistry of your stars, making for a refreshing and healthy treat.
- Bright Citrus Lemonade: Serve this zesty drink alongside your crafts; its sunny vibrancy echoes the cheerful colors of your creations, keeping everyone refreshed.
- Miniature Sandwiches: Assemble whimsical sandwiches cut into star shapes; they will complement the playful theme of your crafting session beautifully.
- Sweet Treats Station: Lay out a selection of colorful candies and sprinkles. Crafting inspires creativity-so let the imagination soar with sweet embellishments!
- Craft-Themed Playlist: Create an upbeat playlist to accompany your crafting; music elevates the mood and turns a simple session into a joyful celebration.
- Themed Decoration: Fill your crafting space with seasonal decor that fits your star designs, enhancing both visual appeal and the overall crafting experience.
Crayon Star Sun Catchers Recipe FAQs
What type of crayons should I use for this project?
Absolutely! You can use any type of old, broken crayons, but I recommend avoiding any that are very dark. Dark colors can overwhelm lighter hues, leading to a muddied look. Ensure that all paper is completely removed before you use them; this will ensure a clean melt and better color blending.
How should I store my finished crayon star sun catchers?
For best results, keep your finished sun catchers flat in a cool, dry place, away from direct sunlight. They should last for weeks when stored properly. If you anticipate warmer temperatures, I suggest wrapping them in wax paper and placing them in the fridge for added protection for up to a week.
Can I freeze my crayon star sun catchers?
Yes, you can! Wrap them in wax paper and store them flat in the freezer for up to a month. When you're ready to use them, just make sure to allow them to come back to room temperature slowly to prevent any cracking. If they lose their shape, you can gently reheat them with an iron, but be sure to use low heat to avoid re-melting!
What if the melted crayon areas are uneven?
Very understandable! If you notice uneven melting or some areas that aren't blending as nicely, don't worry! While making your sun catchers, ensure that you're using a consistent low heat and pressing in circular motions. If you need to, you can reheat and gently press again to even things out. Be patient, and don't hesitate to adjust your technique if necessary!
Are there any allergies I should be aware of with this craft?
Great question! While this is a non-toxic craft, it's always best to check for any allergies, especially if you're crafting with kids. Some people might be sensitive to the materials used in crayons, such as paraffin wax. If you know someone has allergies, you might consider sourcing soy-based or natural crayon alternatives. Always ensure adult supervision for younger children during this process!
How can I customize my crayon star sun catchers for different seasons or occasions?
The more the merrier! You can easily tailor your sun catchers by changing the shapes. For instance, use hearts for Valentine's Day or snowflakes during winter. Adding a sprinkle of biodegradable glitter can also enhance the sparkle effect-just mix it in with your crayon shavings before melting. Enjoy personalizing your creations!
Brighten Your Home with Crayon Star Sun Catchers: Easy DIY Fun
Equipment
- Iron
- sharpener
- Parchment Paper
- Wax Paper
- Hole Punch
- Stencil or Cookie Cutter
Ingredients
For the Base
- Old crayons Broken crayons Ensure all paper is removed for a clean melt.
- 1 sheet Wax Paper Essential as a melting base.
- 2 sheets Parchment Paper For shielding the iron.
For Displaying
- 1 length String Colorful string or twine for hanging.
- 1 each Hole Punch For creating a hole in each star.
Instructions
How to Make Crayon Star Sun Catchers
- Start by removing any remaining paper from your old crayons. Use a sharpener or knife to create shavings, mixing colors together to achieve a unique swirl effect.
- Lay out a 12x12” piece of wax paper on a flat surface. Evenly sprinkle your crayon shavings over this paper, then fold the wax paper to seal in the colorful shavings.
- To prevent direct contact with the iron, place the wax paper between two sheets of parchment paper. This will help ensure an even melting process.
- Set your iron to a low temperature and gently press it over the parchment in circular motions. Keep a close eye on the melting process.
- Once melted, allow the crayon sheet to cool completely before handling it.
- Using a stencil or cookie cutter, trace and cut out star shapes from the cooled crayon sheet.
- Punch a hole near the top of each star and thread colorful string through it for easy hanging.
- Hang your vibrant crayon sun catchers in a sunny window and watch as they fill your space with color and warmth throughout the day.


Leave a Reply