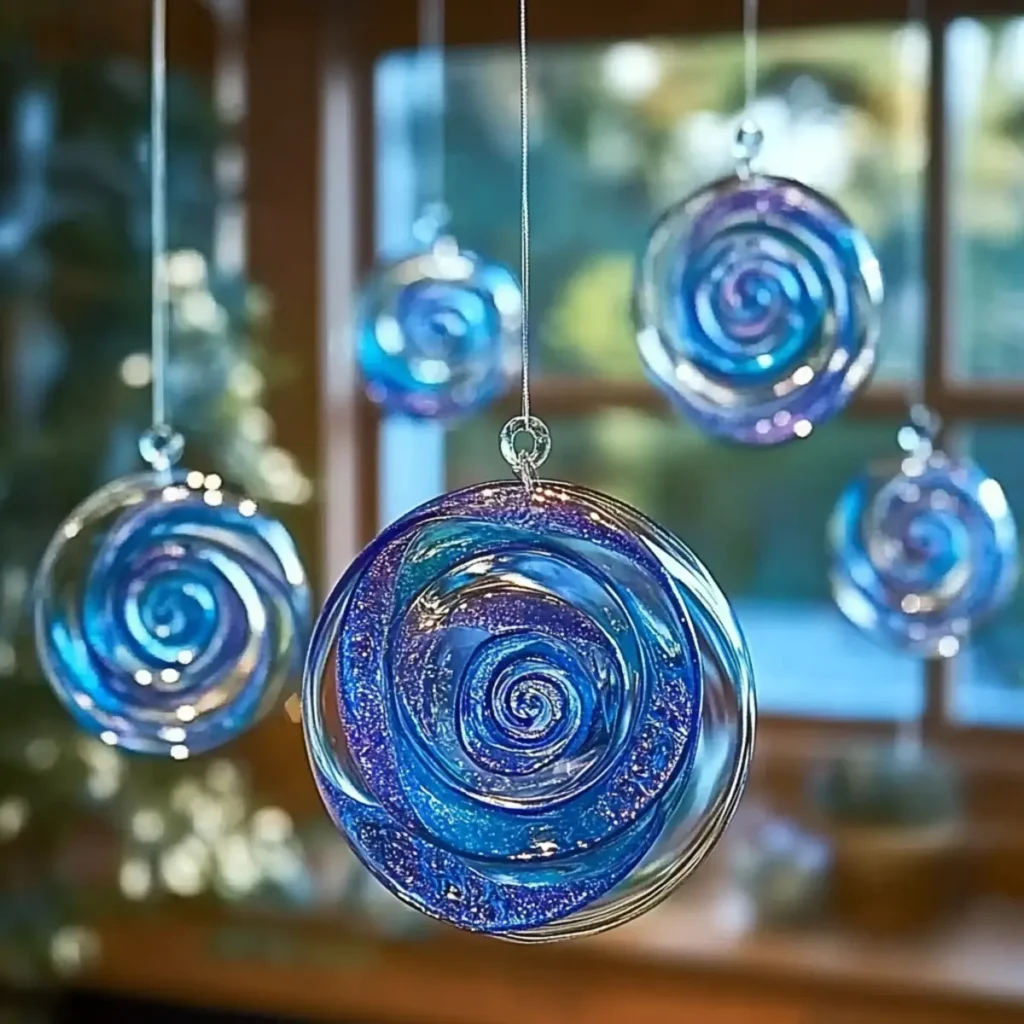
On a bright Saturday morning, the sunlight streamed through our kitchen window, illuminating the remnants of my children's art projects. As I sifted through a box of broken crayons, an idea sparked: why not turn these colorful leftovers into something magical? Thus began our adventure in crafting DIY Crayon Suncatchers!
This engaging project transforms those chipped and faded crayons into stunning, glimmering pieces of art that catch the light beautifully. Perfect for little hands and curious minds, this one-hour activity blends creativity with sensory exploration. Imagine the delight on your child's face as they watch the vibrant hues melt and swirl together under the gentle warmth of an iron, creating unique shapes that brighten any window.
Join me in exploring how to make these stunning suncatchers-each one a tribute to imagination and a splash of color in your home! Let's dive into the details and unleash a burst of creativity together!
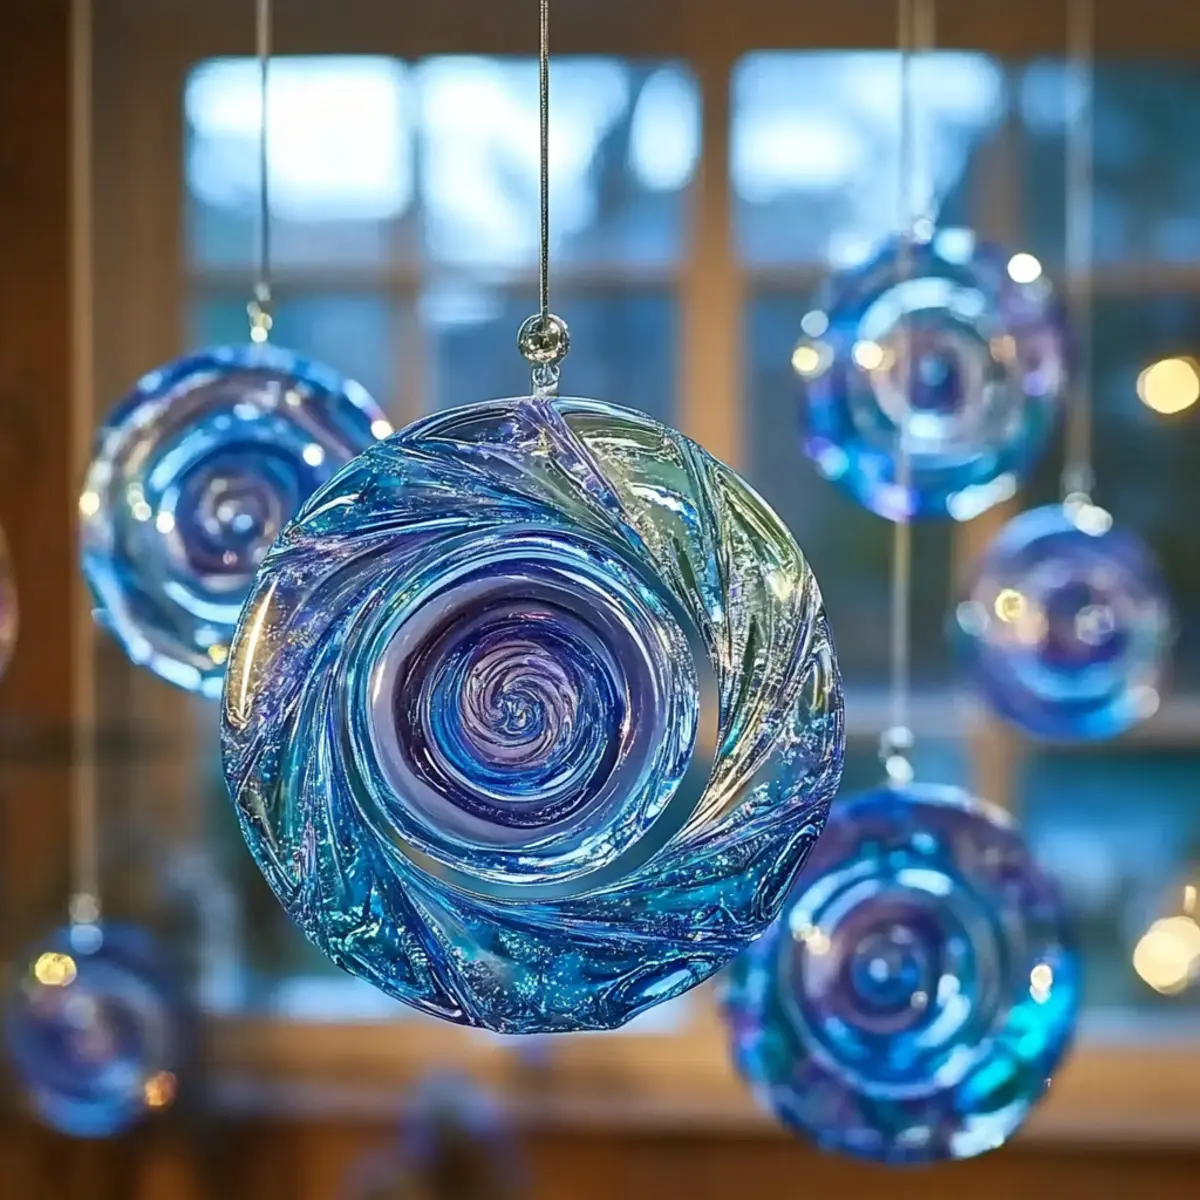
Why are Crayon Suncatchers a Must-Do?
Vibrant Colors: Crayon suncatchers are a fantastic way to repurpose broken crayons, creating dazzling pieces that reflect brilliant light throughout your home.
Sensory Experience: Kids will love the tactile nature of shaving crayons and watching them melt, making this project both engaging and educational.
Creative Expression: Each suncatcher can be uniquely designed, allowing children to express their creativity with color combinations and shapes.
Quick and Fun: This project is perfect for a one-hour activity, providing instant gratification as you watch the transformation from crayon shavings to stunning art pieces.
Perfect Gift Idea: Not only do these suncatchers beautify your home, but they also make thoughtful gifts for family and friends, sharing the joy of creativity!
So, gather your craft supplies and check out this post on creative crafts to dive even deeper into the world of DIY fun!
Crayon Suncatcher Ingredients
-
For the Suncatchers
• Assorted Crayons - Bring vibrancy to your suncatchers using broken or leftover crayons from past projects.
• Wax Paper - This is essential for creating a base; two sheets will provide ample surface for crafting.
• Pencil or Crayon Sharpener - A must-have for shaving crayons into small pieces that melt beautifully.
• Iron - Keep it set to low heat to melt the crayon shavings without burning them.
• Scissors - Perfect for crafting your melted shapes into creative designs.
• String or Thread - Essential for hanging your colorful suncatchers and displaying them proudly.
• Old Dish Towel or Parchment Paper - Protects both your work surface and iron during the melting process. -
Optional Tools
• Hole Punch (Optional) - Use this for creating holes, making it easy to thread the string for hanging.
Dive into this colorful craft that transforms your crayons into radiant Crayon Suncatchers!
How to Make Crayon Suncatchers
-
Preheat the Iron: Set your iron to a low heat setting. It's essential for melting the crayon shavings without scorching them. Give it a few minutes to warm up before you start crafting!
-
Shave the Crayons: Grab your sharpener and shave your assorted crayons into small pieces. The more colorful the shavings, the more vibrant your suncatchers will be!
-
Layer the Crayon Shavings: Take two sheets of wax paper and spread the crayon shavings between them. Aim for a nice, even layer to ensure a stunning final result when melted.
-
Protect the Work Area: Place the old dish towel or parchment paper on top of the wax paper. This protects your iron and keeps your workspace neat and tidy during the melting process.
-
Melt the Crayons: Gently press the iron onto the towel for 10-15 seconds until the crayon shavings melt and fuse together. You'll see the colors blend beautifully!
-
Cool the Shapes: Carefully peel back the wax paper and allow the melted shapes to cool slightly. They should feel smooth and glossy when you're ready to cut!
-
Cut Out Shapes: Use your scissors to cut the suncatchers into your desired designs. Get creative-flowers, stars, or even abstract shapes work well!
-
Hang for Display: If desired, use a hole punch to create a hole for hanging. Then, attach your string or thread and find the perfect spot by a sunny window!
Optional: Add a touch of sparkle by sprinkling some glitter into the crayon shavings before melting.
Exact quantities are listed in the recipe card below.
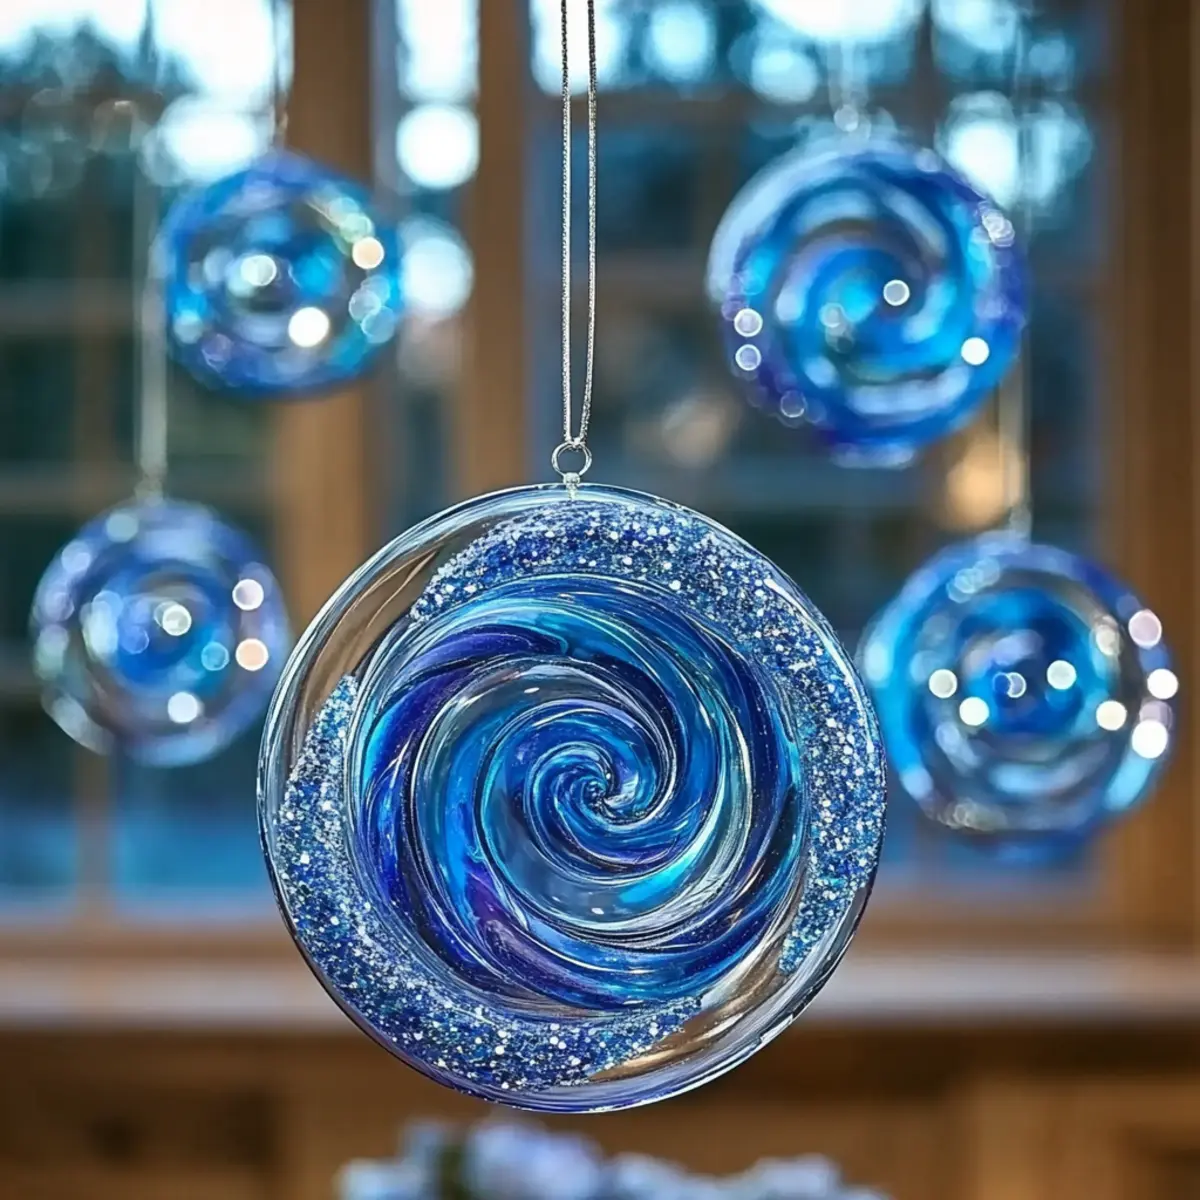
Storage Tips for Crayon Suncatchers
-
Room Temperature: Crayon suncatchers store well at room temperature. Keep them in a cool, dry place to maintain their vibrant colors for up to 6 months.
-
Avoid Direct Sunlight: While these suncatchers can adorn your windows, store them away from direct sunlight when not displayed to prevent fading and maintain their beauty.
-
Reheating: In case of any warping, you can gently reheat them with a low-temperature iron (with protection) for a few seconds to reshape the suncatcher lightly.
-
Make-Ahead Storage: If you decide to make multiple suncatchers, they can be prepared in advance and stored in a protective bag or box until you're ready to hang them; this keeps your Crayon Suncatchers looking fresh!
Expert Tips for Crayon Suncatchers
-
Supervise Closely: Always keep an eye on children while using the hot iron. Accidents can happen if safety isn't prioritized.
-
Color Layers: Experiment with layering darker colors underneath and lighter shades on top to create eye-catching gradients in your crayon suncatchers.
-
Protect Your Work Surface: Use an old dish towel or parchment paper during melting to avoid mess and protect your iron from crayon residue.
-
Cool and Cut Safely: Allow melted shapes to cool properly before cutting to prevent the suncatchers from breaking or sticking together.
-
UV Protection: Consider laminating your finished suncatchers if they will be displayed in direct sunlight to maintain their vibrancy and prevent fading.
What to Serve with Crayon Suncatchers?
On those bright, sunny days, a delightful craft activity becomes the perfect backdrop for a feast of fun and flavors!
-
Colorful Fruit Skewers: These fruity delights add a splash of color, making them a perfect complement to your crafty experience. Kids love to assemble their own skewers, just like crafting suncatchers!
-
Lemonade or Fruit-Infused Water: Refreshing and hydrating, these beverages will keep everyone energized. A hint of citrus pairs so well with the lively colors from the suncatchers.
-
Mini Sandwiches: Bite-sized sandwiches filled with cream cheese and veggies are fun to eat and easy to create. They provide a lovely contrast to the colorful activity unfolding.
-
Veggie Cups with Dip: Load colorful veggies like carrots, bell peppers, and cucumbers in cups with your favorite dip. These vibrant bites offer a crunchy, healthy treat that feels picnic-like.
-
Cheese and Crackers Board: A simple platter of assorted cheeses and crunchy crackers invites munching. Everyone can graze while the craft takes flight-even the adults will appreciate this palette of flavors!
-
DIY Ice Cream Sundae Station: End the day with a sweet treat! Set up an ice cream bar where family can decorate their sundaes, bringing in the same playful spirit as your suncatcher creations.
Enjoy the blend of creativity and taste as you embark on this colorful journey!
Crayon Suncatchers: Colorful Customizations
Feel free to mix and match these ideas to make your suncatchers uniquely yours!
-
Color Combinations: Experiment with mixing colors; combine red and yellow for vibrant orange or blue and green for a serene turquoise effect. The possibilities are endless!
-
Shape Themes: Create themed suncatchers like stars for a night sky or flowers for a garden; your child's imagination can lead the way!
-
Glitter Additions: Sprinkle some fine glitter in with the crayon shavings for an extra sparkle when the sun shines through. A little magic never hurts!
-
Layering Technique: Layer different colors in sections to create a rainbow effect. This adds depth and allure to your suncatchers and enhances the beauty of the finished piece.
-
Animal Shapes: Make suncatchers in the shape of favorite animals, like butterflies or fish, to add an exciting twist to your crafting adventure!
-
Thematic Color Palettes: Use seasonal colors for a splash of festivity. Think warm reds, oranges, and yellows for autumn or icy blues and whites for winter!
-
Small Cut-Outs: Once your suncatcher is cool, cut smaller shapes from the main piece for a fun garland. Hang these to create a colorful mobile that'll brighten any room!
-
DIY Stencils: Use DIY stencils to create intricate shapes and patterns, allowing for creativity with clean edges and stunning designs.
Make Ahead Options
These Crayon Suncatchers are perfect for busy home cooks looking to save time! You can shave the assorted crayons and layer the shavings in wax paper up to 24 hours in advance. Simply store the prepared layers in the refrigerator to keep them fresh until you're ready to melt. When it's time to create, just preheat your iron and follow the remaining steps, gently melting the crayon shavings to form your stunning suncatchers. This way, you can enjoy quality crafting time with your kids without the last-minute rush, yielding beautiful creations that will brighten your home!
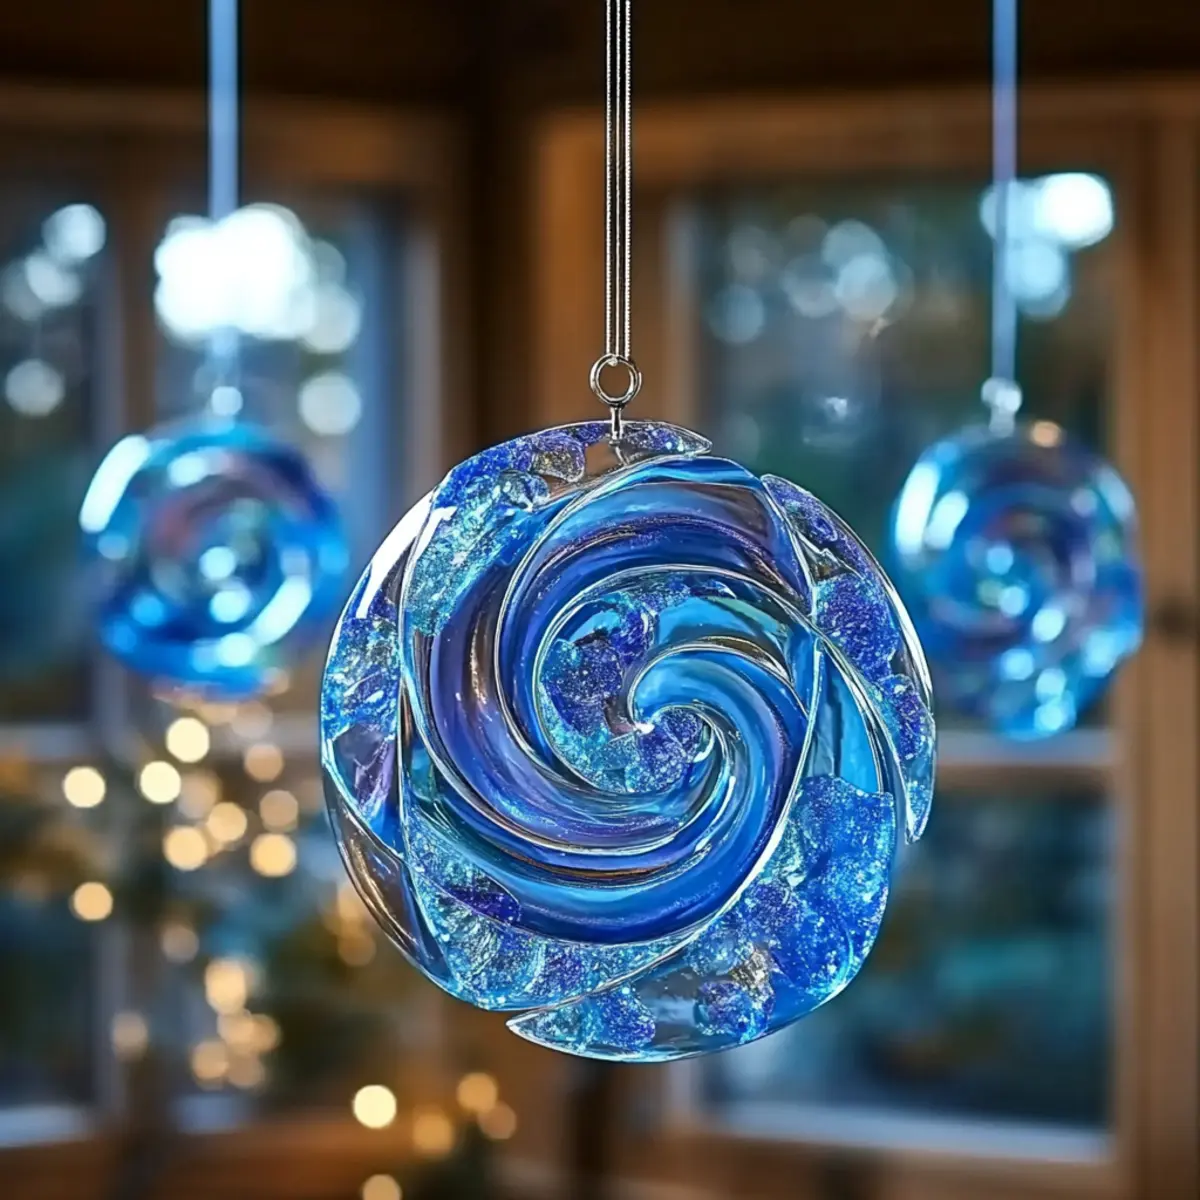
Crayon Suncatchers Recipe FAQs
How do I select the best crayons for my suncatchers?
Absolutely! When choosing crayons, look for vibrant, non-waxy options that melt well. I recommend using broken or leftover crayons, as they add unique color combinations to your suncatchers. Avoid crayons with dark spots or visible wear, as they may not melt evenly.
How should I store my Crayon Suncatchers after making them?
Store your suncatchers at room temperature in a cool, dry place away from direct sunlight. They can last up to 6 months this way. Be sure to place them in a protective bag or box to prevent scratches or damage.
Can I freeze my Crayon Suncatchers?
Freezing isn't necessary for suncatchers, but if your shapes warp, you can gently reheat them with a low-temperature iron for a few seconds to reshape them. Just remember to protect your work surface while doing this.
What if my melted crayon shapes stick to the wax paper?
No worries! If your shapes stick, make sure you let the melted crayon cool completely before peeling them off the wax paper. In the future, try using a bit more wax paper or less crayon shavings to create better separation during the melting process.
Are Crayon Suncatchers safe for kids, especially little ones?
Very! While making suncatchers is a fun project for kids, it's crucial to supervise them closely when using the hot iron. Ensure they understand safety measures, like staying away from the hot iron and handling scissors with care.
Can I customize my Crayon Suncatchers for different occasions?
Definitely! Get creative by experimenting with color layers, shapes, and themes. For example, use red and green for a festive touch around the holidays or pastel colors for a spring-themed decoration. The more the merrier!

Dazzling Crayon Suncatchers - Blue Hues That Brighten Your Day
Equipment
- Iron
- Pencil or Crayon Sharpener
- Scissors
- Hole Punch
Ingredients
For the Suncatchers
- 1 box Assorted Crayons Bring vibrancy using broken or leftover crayons.
- 2 sheets Wax Paper Essential for crafting base.
- 1 Old Dish Towel or Parchment Paper Protects work surface and iron.
- 1 String or Thread For hanging suncatchers.
Optional Tools
- 1 Hole Punch For creating holes for hanging.
Instructions
How to Make Crayon Suncatchers
- Preheat the Iron by setting it to a low heat setting for melting crayon shavings.
- Shave the assorted crayons into small pieces using a sharpener.
- Layer the crayon shavings between two sheets of wax paper.
- Protect your work area by placing a dish towel or parchment paper on top of the wax paper.
- Melt the crayons by gently pressing the iron onto the towel for 10-15 seconds.
- Cool the melted shapes slightly before peeling back the wax paper.
- Cut out shapes from the melted crayon art using scissors.
- Hang your suncatchers by creating a hole and attaching string or thread.



Leave a Reply