
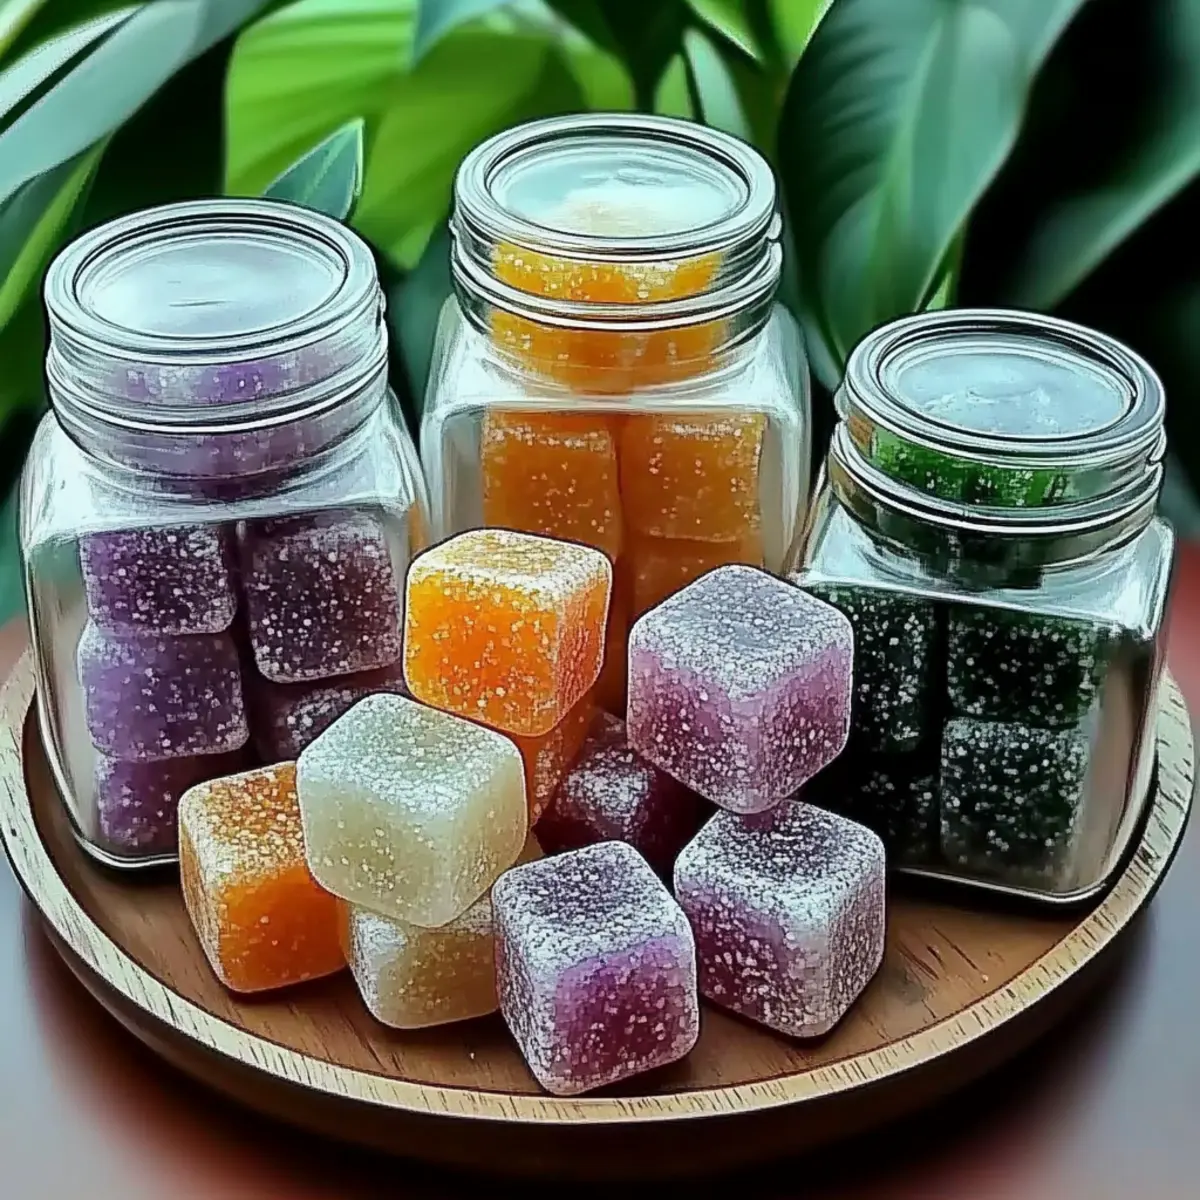
Walking into a room filled with delightful aromas has a way of lifting the spirit, doesn't it? When I discovered how to create DIY aroma stones, I felt like I unlocked a new layer of home comfort. With just a handful of simple ingredients, I transformed my living space into a sanctuary of scent without the chemicals found in commercial air fresheners. Plus, it's a project that taps into my creative side!
These charming stones, infused with essential oils, are a feast for the senses-beautiful, customizable, and perfect for any room in your home. Whether you're in the mood for calming lavender or invigorating lemon, you can craft your aroma stones to match your personality and the season. And the best part? They take only about 10 minutes to make! So, if you're ready to elevate your home naturally and craftily, let's dive into this refreshing DIY project that will make your home not just smell good, but look delightful, too!
Why are DIY Aroma Stones a must-try?
Uniqueness: These aroma stones allow you to express your creativity with personalized shapes and scents, making each piece truly one-of-a-kind.
Natural Ingredients: With no harsh chemicals, they provide a safe way to freshen your home, using only baking soda, cornstarch, and essential oils.
Effortless Process: In just 10 minutes, you can whip up a delightful batch, meaning you can quickly infuse your space with joy!
Versatile Scents: Whether you prefer soothing lavender or zesty citrus, you can customize the fragrance to suit any mood or occasion-even try combining scents for something special!
Stunning Décor: Their lovely appearance allows them to double as a charming decorative element in your home. Refresh your spaces with these lovely creations! For additional tips on home crafts, be sure to check out our DIY creative projects.
DIY Aroma Stones Ingredients
For the Stones
- Baking Soda - Essential for creating the structural foundation of your aroma stones; no direct substitutes are recommended.
- Cornstarch - Adds texture and helps form the stones; can be swapped with arrowroot powder if needed.
- Water - Activates the dry ingredients to create a moldable mixture; tap water works perfectly.
- Essential Oils - Infuses each stone with a delightful fragrance; choose your favorite scents or blends to personalize your DIY aroma stones.
- Food Coloring (optional) - For those wishing to add a splash of color; mica powder can be used for a shimmering effect instead of traditional coloring.
Whether you're making these DIY aroma stones as a creative outlet or to freshen up your home, this recipe is as enjoyable as it is practical!
How to Make DIY Aroma Stones
-
Whisk Together: In a large bowl, combine 2 cups of baking soda and 1 cup of cornstarch. Mix thoroughly until the ingredients are well blended and smooth, creating a stable base for your stones.
-
Add Water Gradually: Slowly add 1¼ cups of water to the dry mixture, stirring continuously. Aim for a wet sand texture that holds together when squeezed-this is the perfect consistency for molding!
-
Color Your Mixture: If you wish to create multicolored stones, divide the mixture into separate bowls. Add food coloring to each bowl and mix until the desired shades are achieved.
-
Incorporate Essential Oils: For a delightful fragrance, add 10-15 drops of your chosen essential oil to each bowl. Stir well to ensure the scent is evenly distributed throughout the mixture.
-
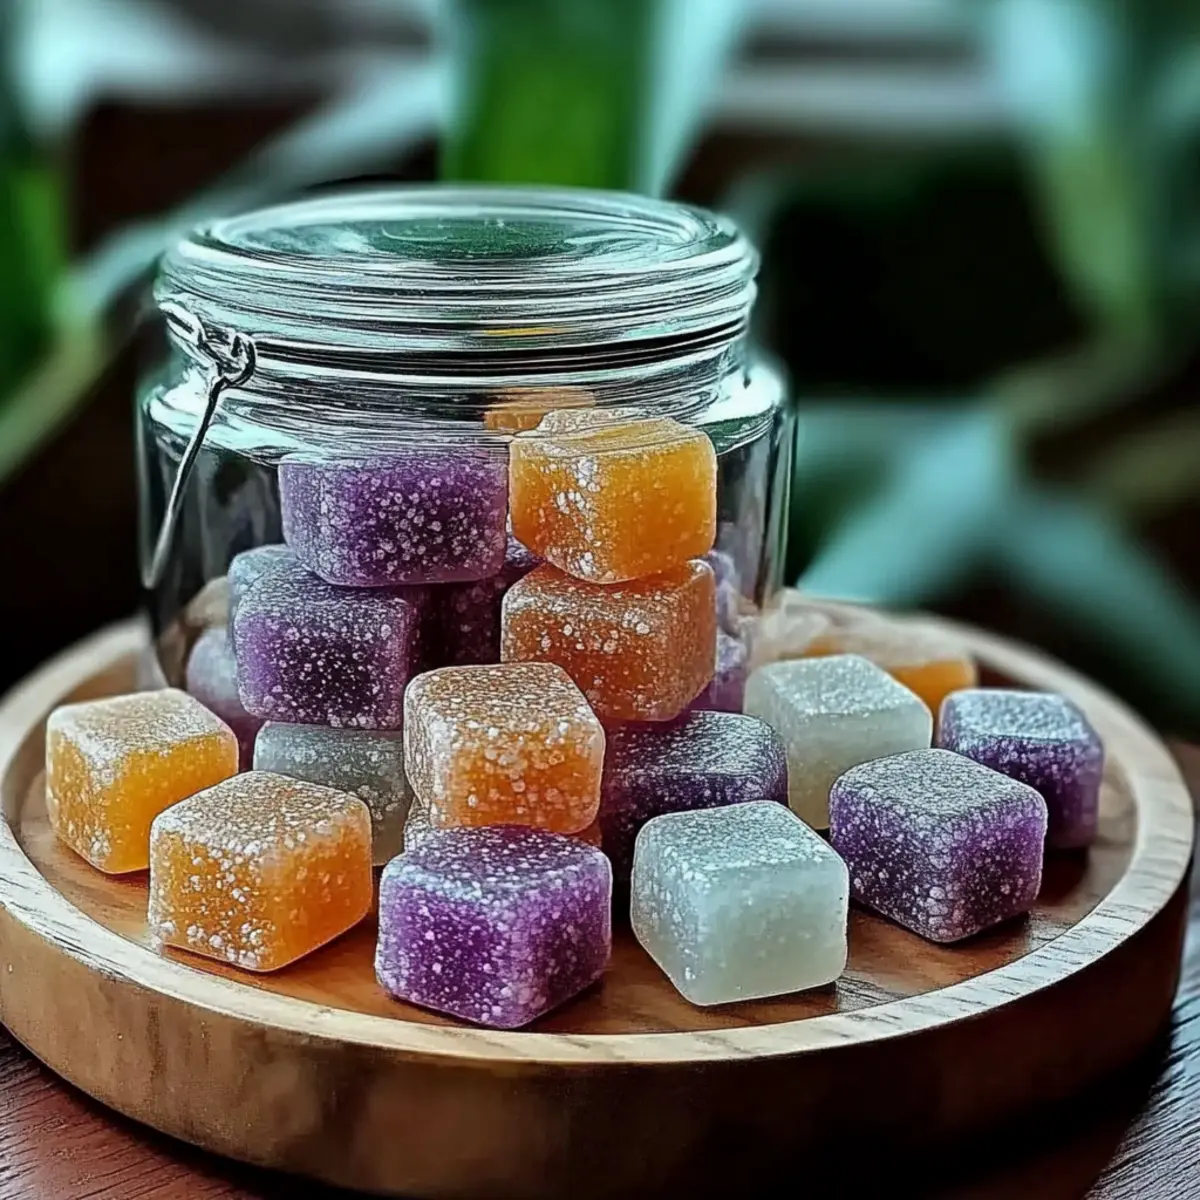
Shape Your Stones: Form the aroma stones by hand or press the scented mixture into silicone molds to create interesting shapes. Get creative-each stone can be a unique masterpiece!
-
Dry Your Creations: Place the stones on wax paper or a drying rack, allowing them to dry for 24-48 hours. The drying time will depend on the size of the stones and the humidity in your area, so be patient!
-
Refresh and Enjoy: Once dry, you can place your aroma stones in various spots around your home. As the scent fades, simply refresh them with a few drops of essential oil to keep the delightful aroma alive!
Optional: Add dried flowers to your mixture for a decorative touch!
Exact quantities are listed in the recipe card below.
Expert Tips for DIY Aroma Stones
- Consistency Check: Aim for a moldable texture by ensuring the mixture resembles wet sand; too much water will lead to runny stones that won't hold their shape.
- Add Texture: Enhance the beauty of your stones by incorporating dried flowers or herbs like lavender or rose petals into the mixture for decoration and added aroma.
- Mold Variety: Use intricate silicone molds to create uniquely shaped stones that can visually elevate your home decor, making them even more special!
- Scent Combinations: Don't hesitate to mix different essential oils; blending scents can create a delightful and personalized fragrance profile that suits your space perfectly.
- Storage Tips: Keep any leftover aroma stones in an airtight container to preserve their scent; refresh them with additional drops of essential oils when needed.
Make Ahead Options
These DIY Aroma Stones are perfect for busy home cooks looking to create a soothing atmosphere without the last-minute rush! You can prepare the stone mixture and shape it into forms up to 3 days in advance. Simply follow steps 1 through 5 from the instructions, then place your un-dried stones on a wax paper or drying rack. To maintain their quality, make sure to keep them in a cool, dry place and cover with a light cloth to prevent moisture. When you're ready to finish, allow them to dry for 24-48 hours before using or gifting. You'll have beautifully crafted aroma stones that bring delightful scents to your home, all while saving valuable time for other activities!
How to Store and Freeze DIY Aroma Stones
Room Temperature: Keep your DIY aroma stones in a cool, dry place and enjoy their fragrance for up to 3 months. Avoid direct sunlight to maintain color and scent.
Airtight Container: Store extra stones in an airtight container to preserve their aromatic qualities. This method will keep them fresh and fragrant for future use.
Refreshing the Scent: When the scent starts to fade, simply add a few drops of your favorite essential oils to the stones to revive their delightful aroma.
Avoid Freezing: Freezing is not recommended for DIY aroma stones, as moisture can affect their texture and fragrance release.
What to Serve with DIY Aroma Stones?
Create a harmonious atmosphere in your home with the delightful scents of these charming DIY creations.
- Scented Candles: Complement the aroma stones with flickering candles that enhance your space's ambiance, creating a cozy and inviting atmosphere.
- Essential Oil Diffuser: Pair with a diffuser to ensure a continuous flow of your favorite fragrances, deepening your aromatic experience.
- Herb Sachets: Fill small fabric bags with dried herbs such as lavender or rosemary to accent your aroma stones, adding a rustic touch of nature.
- Decorative Bowls: Use beautiful bowls to display your stones, making them a centerpiece that sparks conversation while infusing the room with scent.
- Natural Potpourri: Combine aroma stones with dried flowers and spices for an appealing look and a fragrant burst, making your home smell heavenly.
- Fragrant Simmer Pots: Create a warm, inviting scent by simmering herbs and spices on the stovetop, providing a deliciously aromatic background to your DIY aroma stones.
- Fresh Flowers: Surround your stones with fresh blooms; their lovely fragrance and vibrant colors enhance the overall aesthetic of your space.
- Tabletop Fountains: The gentle sound of flowing water adds to the serene environment, beautifully pairing with the calming scents of your handmade stones.
DIY Aroma Stones Variations & Substitutions
Feel free to get creative and personalize your aroma stones with these delightful twists and swaps!
-
Scent Alternatives: Choose different essential oils like eucalyptus for an invigorating aroma or peppermint for a refreshing vibe. Let your preference guide your scents!
-
Textured Add-ins: Incorporate dried herbs like rosemary or chamomile into the mixture for visual appeal and a natural fragrance boost that complements the essential oils.
-
Color Choices: Instead of food coloring, try natural dyes from beet juice or turmeric for earthy hues, adding a charming touch without synthetic colors.
-
Shape Shifters: Use cookie cutters or fun molds to create themed shapes for holidays or seasons, turning your aroma stones into festive décor pieces.
-
Enhanced Aroma: Add a few drops of fragrance oils alongside essential oils for an amplified scent experience; combinations can lead to unique and captivating aromas!
-
Seasonal Scents: Switch up your essentials based on the season-pumpkin spice in fall, floral scents in spring-allowing the fragrance to match the changing ambiance of your home.
-
Ocean Vibes: Mix in crushed sea salt for a fresh, beachy scent and texture, making your DIY aroma stones feel like a seaside escape right in your living room!
DIY Aroma Stones Recipe FAQs
What are the best essential oils to use for DIY aroma stones?
Absolutely! The best essential oils depend on the mood you want to create. For calming vibes, try lavender or chamomile. If you prefer something invigorating, citrus oils like lemon or orange are fantastic choices. You can also mix oils to create your own unique blends-about 10-15 drops per bowl of mixture works well!
How long do DIY aroma stones last?
Very! When stored properly, DIY aroma stones can last up to 3 months. To keep them smelling delightful, store them in a cool, dry place, away from direct sunlight. If you notice the scent diminishing, a quick refresher with a few drops of essential oil will bring them back to life!
How should I store my leftover aroma stones?
Absolutely! To preserve their fragrance, keep any extra aroma stones in an airtight container, away from humidity. This method keeps them fresh and potent for whenever you want to use them again. Just remember to give them a refresh with additional essential oils if they begin to lose their scent.
How do I avoid rocky or broken aroma stones?
The key is the right consistency! When mixing your ingredients, aim for a texture similar to wet sand-this allows them to hold their shape. If your mix feels too watery, add a sprinkle more baking soda until you achieve the right moldable consistency. If a stone does break during drying, simply glue it back together after it dries and add a touch of essential oil to cover the break.
Can I use these stones around pets?
Very! While the DIY aroma stones made with essential oils are generally safe, be cautious with certain oils that may not be pet-friendly, such as tea tree or eucalyptus. Always check the safety of specific essential oils before use, and if your pet is sensitive or has known reactions, opt for milder scents like lavender or chamomile.
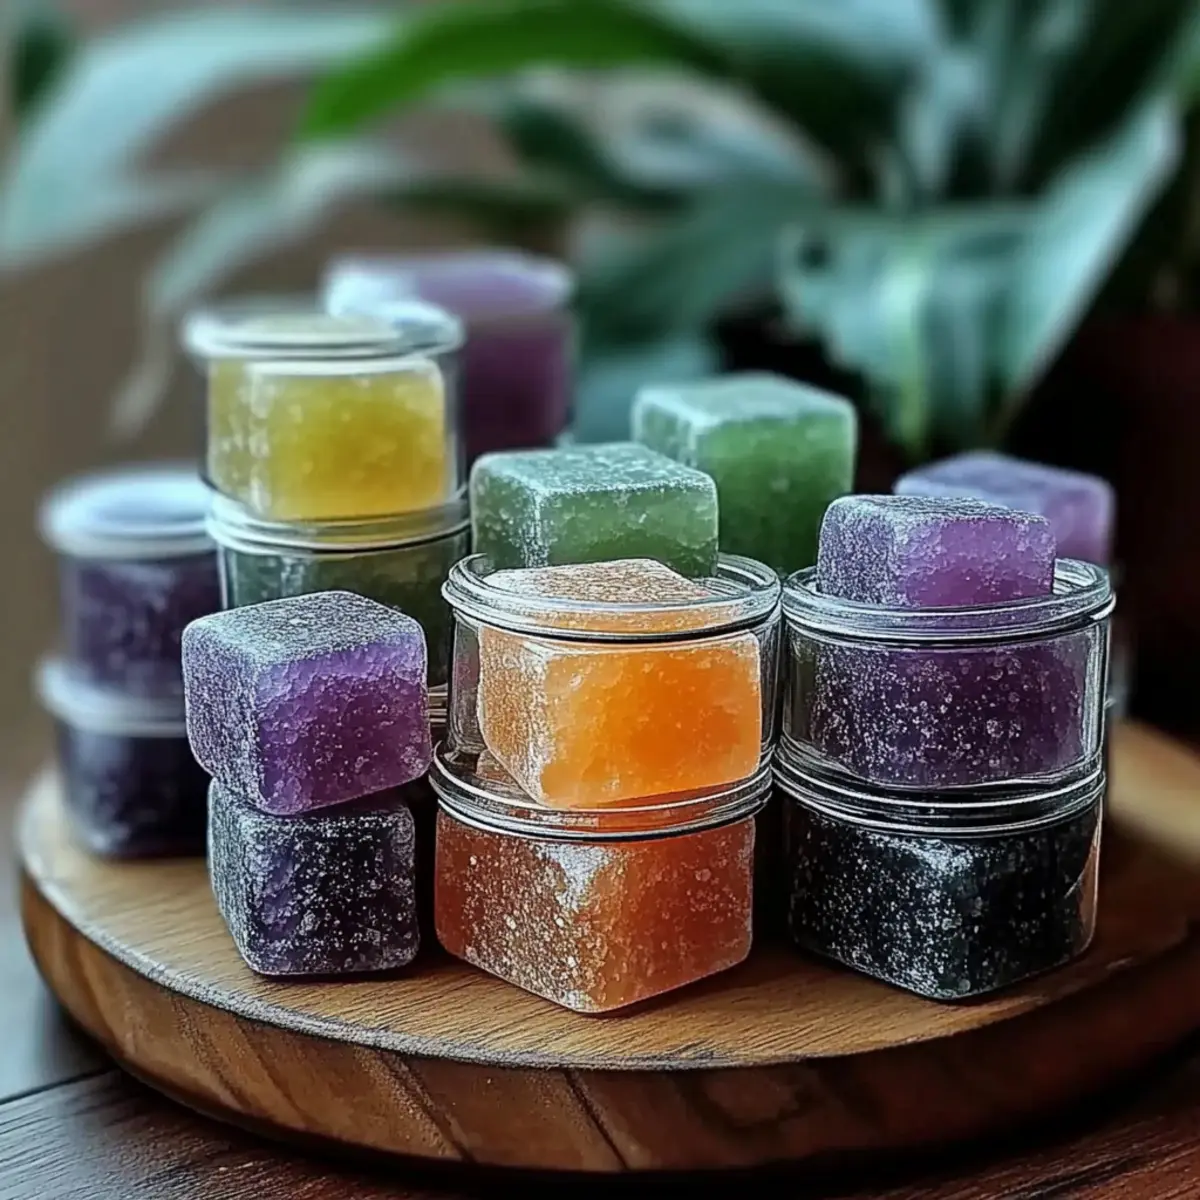
Can I customize the colors of my DIY aroma stones?
Definitely! Feel free to add food coloring or mica powder during the mixing process to create stunning shades that suit your decor. Divide the dough into separate bowls to create a rainbow of colors, mixing your chosen shades until they are vibrant and even. You can even create designs or patterns, allowing your creativity to shine!

DIY Aroma Stones: Naturally Scented & Beautifully Unique
Equipment
- large bowl
- silicone molds
- Whisk
- Wax paper or drying rack
Ingredients
For the Stones
- 2 cups Baking Soda Essential for creating the structural foundation.
- 1 cup Cornstarch Adds texture and can be swapped with arrowroot powder if needed.
- 1.25 cups Water Activates the dry ingredients.
- 10-15 drops Essential Oils Choose your favorite scents.
- Food Coloring (optional) For those wishing to add a splash of color.
Instructions
How to Make DIY Aroma Stones
- In a large bowl, combine 2 cups of baking soda and 1 cup of cornstarch. Mix thoroughly until smooth.
- Slowly add 1¼ cups of water to the dry mixture, stirring continuously until you achieve a wet sand texture.
- If making multicolored stones, divide mixture into separate bowls and add food coloring as desired.
- Add 10-15 drops of essential oil to each bowl and stir to ensure even distribution of fragrance.
- Form the aroma stones by hand or press mixture into silicone molds for shaping.
- Place the stones on wax paper or a drying rack and allow to dry for 24-48 hours.
- Once dry, place the aroma stones around your home and refresh with essential oil as needed.


Leave a Reply