
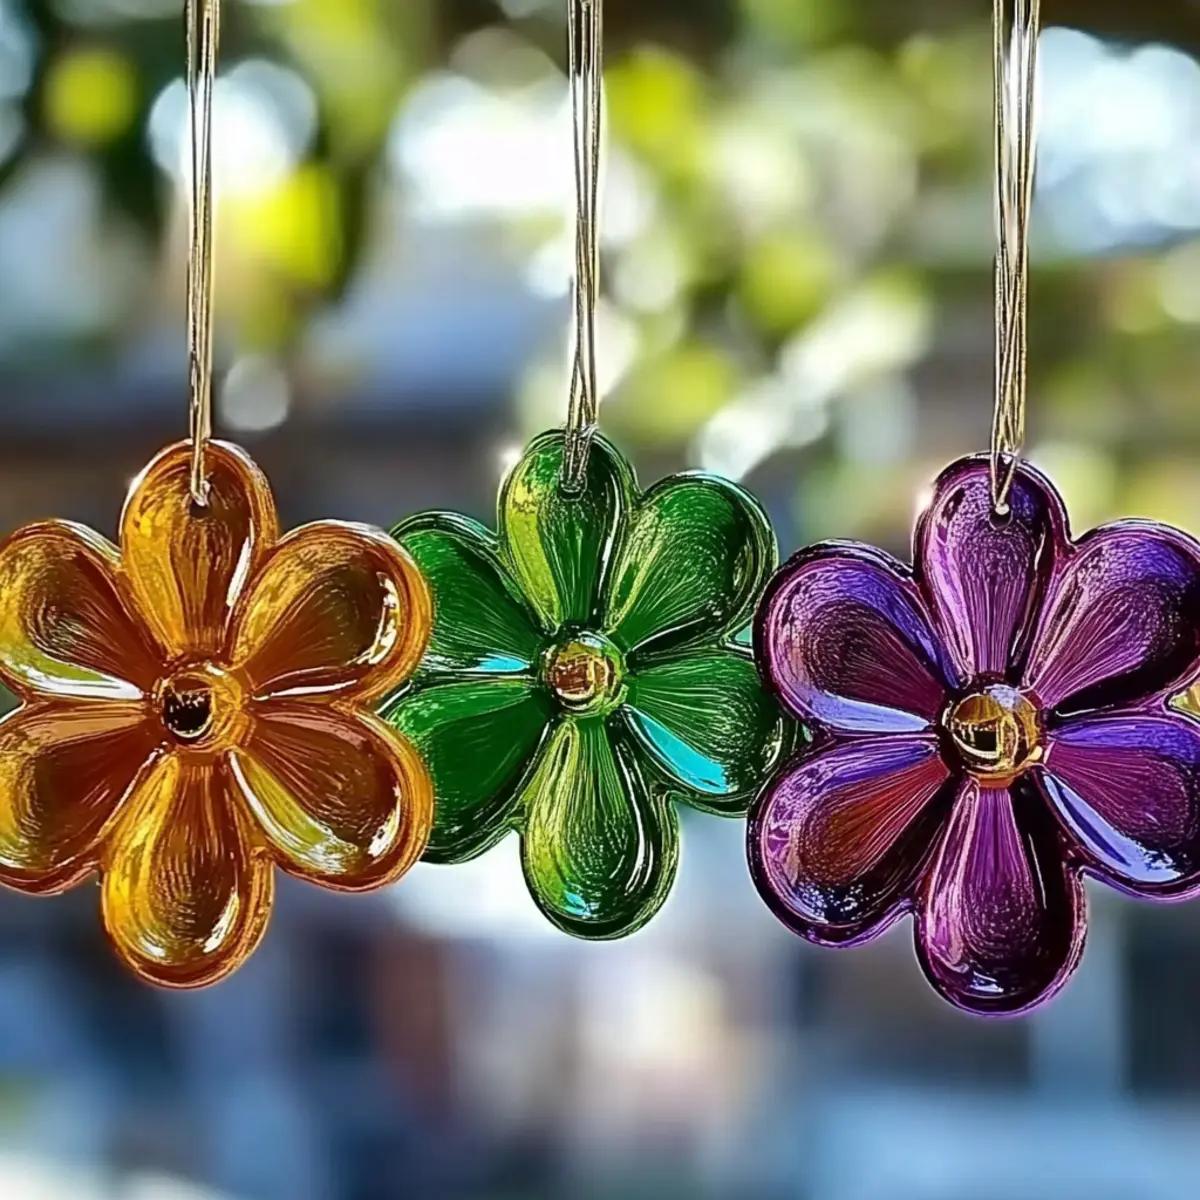
As I watched the sunlight filtering through the leaves in my garden, I felt inspired to bring a touch of nature indoors. That's when I decided to create something magical - DIY bioplastic suncatchers! These colorful, eco-friendly crafts are the perfect way to brighten up any space while teaching kids about sustainability. The vibrant hues dancing in the light will mesmerize children and adults alike, transforming your home into a playful art gallery.
What makes these suncatchers truly special is their easy preparation and charming versatility. You can customize them with your favorite colors, shapes, or even seasonal themes, turning an ordinary crafting session into an extraordinary experience. So whether you're looking for a fun family activity or a creative project for a rainy day, join me in making these delightful, hatching dino eggs and watch the joy unfold!
Why will you love DIY Bioplastic Suncatchers?
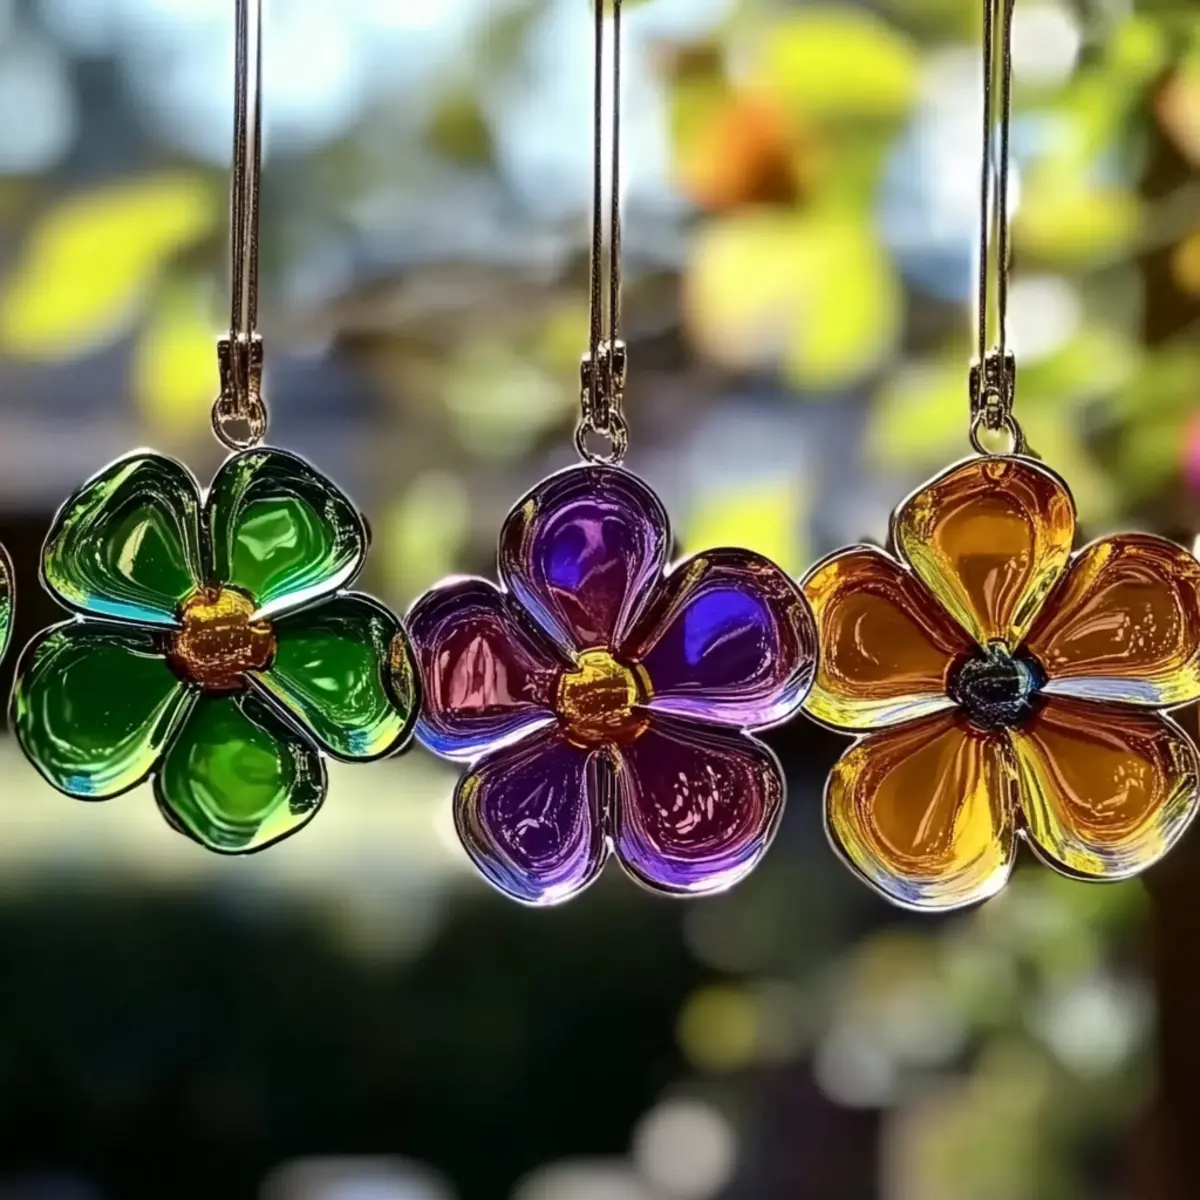
Colorful, Eco-Friendly Fun: These suncatchers bring a splash of vibrancy to any window, casting beautiful patterns when the light shines through.
Simple Instructions: No crafting experience needed! With just a few easy steps, you'll create stunning works of art.
Versatile Designs: Customize your suncatchers with seasonal themes, colors, and shapes to fit your home décor or special occasions.
Educational Experience: Perfect for kids, this craft promotes creativity and teaches valuable lessons about sustainability and recycling.
Quick and Enjoyable: You can whip these up in no time, making for an exciting crafting session that satisfies and engages your little helpers.
Transform your crafting into a magical experience with these delightful projects!
DIY Bioplastic Suncatcher Ingredients
For the Bioplastic Base
• Cornstarch - Acts as the main structural component; substitute with arrowroot powder for a similar effect.
• Water - Combines with cornstarch to create a smooth mixture; distilled water is best for clarity.
• White Vinegar - Helps activate the fizzing process during crafting; apple cider vinegar is a good alternative.
• Glycerin (optional) - Adds flexibility for a more dynamic texture; omit if you prefer a firmer finish.
For Color and Design
• Food Coloring (optional) - Enhances the visual appeal of your suncatchers, vibrant gel colors work wonders.
• Glitter (optional) - For a sparkling effect; add right before the mixture sets to preserve the shimmer.
Surfacing Tools
• Wax Paper or Parchment Paper - Use as a non-stick surface for your creations, ensuring easy removal when dry.
• Spoon or Craft Stick - Necessary for mixing ingredients; any sturdy utensil will do just fine.
• Cookie Cutters or Straws (optional) - Perfect for shaping your designs and adding unique details.
• String or Ribbon - To hang your finished suncatchers, turning them into delightful decorations.
Creating DIY Bioplastic Suncatchers is a charming way to decorate your home while promoting eco-friendliness. Happy crafting!
How to Make DIY Bioplastic Suncatchers
-
Mix Ingredients: In a bowl, combine cornstarch, water, and white vinegar. Stir until the mixture is smooth and free of lumps, creating a creamy base for your suncatchers.
-
Add Glycerin: If using, stir in glycerin for a flexible texture. Mix well, ensuring it is evenly incorporated before moving on to the next step.
-
Color Your Mixture: Add your choice of food coloring, mixing thoroughly to achieve your desired vibrancy. Feel free to experiment with multiple colors for a fun marbled effect!
-
Pour and Shape: Carefully pour the mixture onto wax paper, using cookie cutters or straws to create shapes. Let your creativity run wild-this is the fun part!
-
Set and Dry: Allow the shapes to dry for about 1-2 hours, until firm but slightly soft. Ensure they are in a dry area to prevent any dampness affecting the final product.
-
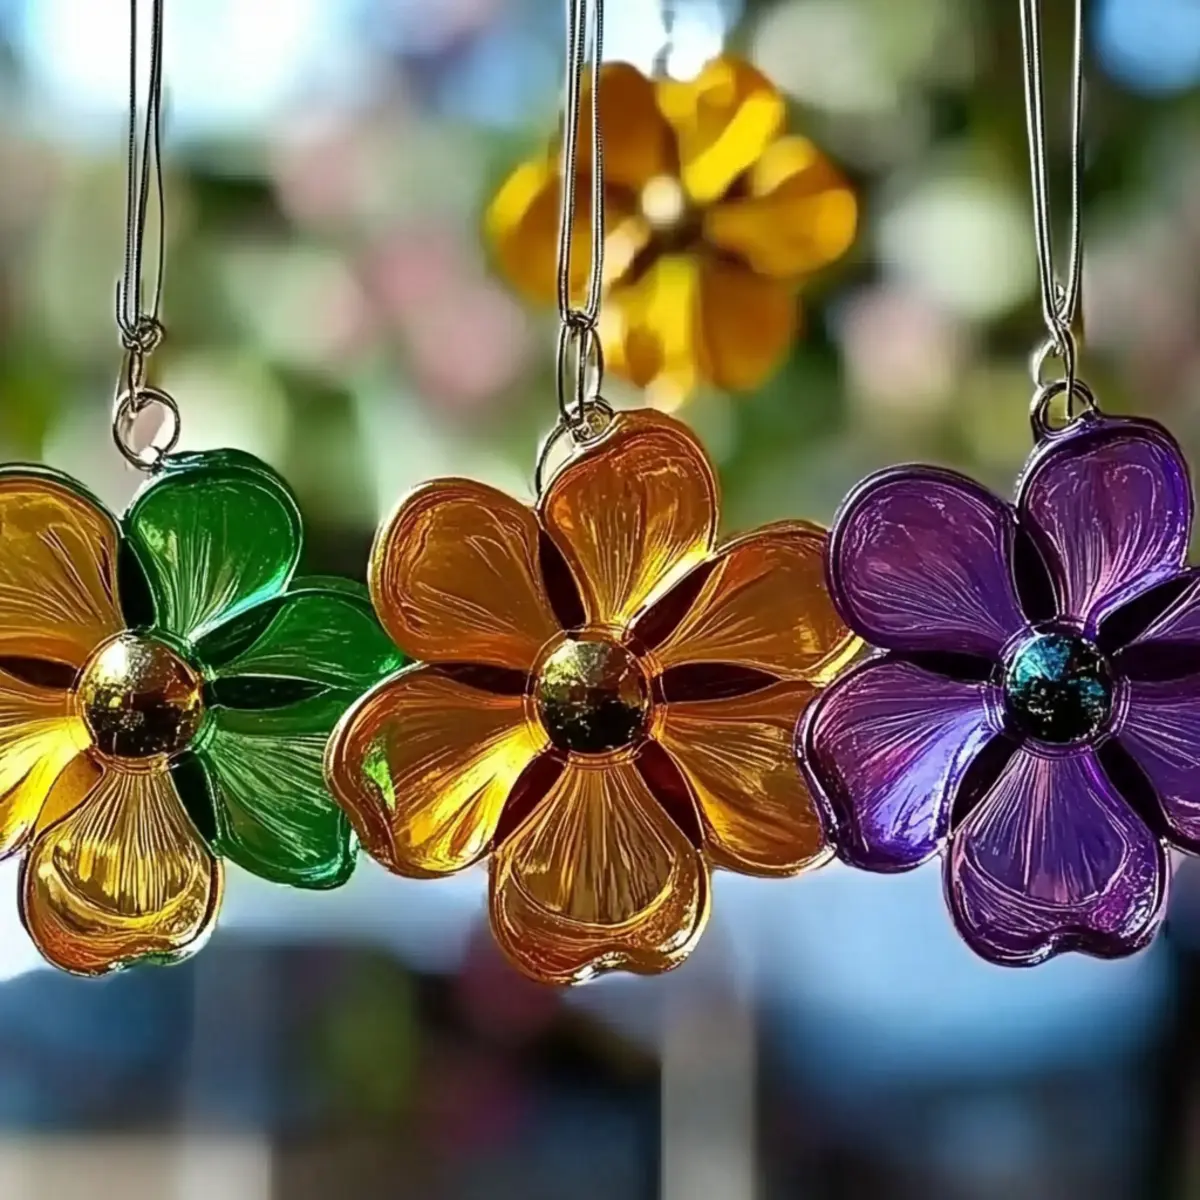
Finish and Display: Once completely dry, use string or ribbon to hang your suncatchers in a sunny spot. Watch in delight as they catch the light and brighten your space!
Optional: For an extra sparkle, sprinkle glitter into your mixture before it sets.
Exact quantities are listed in the recipe card below.
Expert Tips for DIY Bioplastic Suncatchers
-
Pre-measure Ingredients: Have everything ready before mixing to streamline the process and ensure a smooth crafting experience, avoiding rush and messes.
-
Use Careful Mixing: Make sure to stir gently to avoid bubbles, as they can affect the appearance of your finished suncatchers. A smooth mixture leads to beautiful results!
-
Design Creativity: Don't hesitate to combine colors or add glitter for unique effects, but remember to sprinkle glitter just before drying to keep it sparkling without losing its shine.
-
Proper Drying: Lay your creations in a warm, dry area to ensure they dry properly; excess moisture can lead to a soggy texture rather than the desired firmness.
-
Test Shapes First: Use a small portion of the mixture to test your cookie cutter before pouring the whole batch, making sure your chosen shapes work perfectly for your suncatchers!
Creating these DIY bioplastic suncatchers will be a delightful and educational experience for both you and your kids!
What to Serve with DIY Bioplastic Suncatchers?
Brighten up your crafting experience with delightful ideas that accentuate your creative journey!
-
Colorful Fruit Salad: A refreshing blend of vibrant, seasonal fruits brings a burst of flavor that pairs perfectly with your crafting session.
-
Leafy Green Salad: Crisp greens dressed in a tangy vinaigrette offer a healthy break amidst all the fun, keeping your energy up.
-
DIY Smoothies: Whip up a sweet, creamy smoothie using your favorite fruits and yogurt. It's a quick, nutritious way to sip while you craft!
-
Veggie Sticks & Hummus: Crunchy vegetables served with creamy hummus make for a perfect snacking option, letting everyone graze while creating.
-
Baking Cookies Together: Take a break in the crafting to whip up a batch of colorful cookies! Decorate to match your suncatchers for an extra fun twist.
-
Lemonade Stand: Set up a refreshing lemonade station to keep everyone hydrated and energized. Bright and zesty, it complements the cheerful crafting vibes.
-
Decorate Your Cupcakes: A mini cupcake decorating session allows everyone to match their sweet treats to the colorful suncatchers, creating a delightful experience.
These pairing ideas ensure a full day of creativity and enjoyment, making your crafting session a delightful celebration!
DIY Bioplastic Suncatcher Variations
Feel free to get creative with these enchanting suncatchers and make them uniquely yours!
- Natural Dyes: Use beet juice or spinach to create beautiful, organic hues for your suncatchers.
- Seasonal Shapes: Shape your creations into seasonal motifs like stars or hearts for special occasions.
- Textured Effects: Incorporate dried flowers or leaves in the mixture for an eye-catching natural texture.
- Layered Colors: Pour different colored mixtures in layers to create stunning color gradients.
- Glitter Galore: Add a touch of sparkle by mixing in glitter before the mixture sets for extra twinkle!
For a delightful twist, try creating themed suncatchers, like festive pumpkins for Halloween or pastel flowers for spring. These variations add a magical touch to your crafting experience!
Make Ahead Options
These DIY Bioplastic Suncatchers are perfect for busy home cooks looking for a fun craft to prep in advance! You can prepare the mixture up to 24 hours ahead of time by combining the cornstarch, water, white vinegar, and glycerin in a bowl, then refrigerating it until you're ready to craft. To maintain the quality of your suncatcher mixture, make sure to cover it tightly to prevent any drying out. When you're ready to create, simply re-stir the mixture, add your preferred food coloring, and proceed with pouring and shaping. With this make-ahead option, you'll save valuable time while still enjoying a delightful crafting experience with your kids!
Storage Tips for DIY Bioplastic Suncatchers
Room Temperature: Keep your completed DIY bioplastic suncatchers in a cool, dry place to maintain their charm and durability.
Fridge: If you want to store the uncooked mixture, cover it tightly and refrigerate for up to 24 hours. Bring to room temperature before using.
Drying: Allow the suncatchers to set completely before handling or displaying them. Once dry, they can last for several weeks when stored properly.
Display: For best results, hang your creations in sunny spots, where they can catch the light beautifully. Avoid areas with excess moisture to keep them intact.
DIY Bioplastic Suncatchers Recipe FAQs
What type of cornstarch should I use?
Absolutely! You can use regular cornstarch, which is commonly available in grocery stores. If you're looking for alternatives, arrowroot powder works similarly and is a great option if you're avoiding corn products.
How do I store my completed Suncatchers?
To maintain their colorful charm and durability, store your completed DIY bioplastic suncatchers in a cool, dry place away from direct sunlight. This way, they can last for several weeks. If you need to store the uncooked mixture, cover it tightly and refrigerate for up to 24 hours. Just make sure to bring it back to room temperature before using!
Can I freeze my DIY bioplastic mixture?
Yes, you can freeze the uncooked mixture; however, be sure to place it in an airtight container. It should be good for about 1-2 months in the freezer. When you're ready to use it, let it thaw completely in the refrigerator overnight, then mix it well before pouring onto wax paper to create your suncatchers.
What should I do if my suncatchers are too sticky after drying?
If you find your suncatchers are still sticky after the drying period, this can be a result of excess moisture in your environment or improper ratios of ingredients. You can try putting them in a warm, dry area to help evaporate moisture. For future batches, ensure your drying area is not humid and consider slightly reducing the amount of water you use in the mixture.
Are these suncatchers safe for pets and kids?
Very! The ingredients used in these DIY bioplastic suncatchers are non-toxic, making them safe for children. However, it's always best to supervise young kids during craft time to ensure they don't ingest any materials, even though they're safe. And while the suncatchers are non-toxic, it's advisable to keep them out of reach from pets to prevent any unwanted chewing or ingestion.
Can I use natural dyes for coloring the suncatchers?
Yes, indeed! If you're looking for a more eco-friendly approach, try using natural food dyes made from fruits, vegetables, and flowers. Beet juice, turmeric, or even spinach can provide beautiful colors while enhancing the sustainability aspect of your crafting project. Just remember to strain the juice to remove any pulp before mixing!
Enjoy crafting these magical creations with your kids!
DIY Bioplastic Suncatchers: Eco-Friendly Magic for Kids
Equipment
- bowl
- Spoon
- Wax Paper
Ingredients
For the Bioplastic Base
- 1 cup cornstarch substitute with arrowroot powder for a similar effect
- 1 cup water distilled water is best for clarity
- 1 tablespoon white vinegar apple cider vinegar is a good alternative
- 1 tablespoon glycerin optional, adds flexibility
For Color and Design
- as desired food coloring optional, vibrant gel colors work wonders
- as desired glitter optional, add right before mixture sets
Surfacing Tools
- 1 wax paper or parchment paper use as a non-stick surface
- 1 spoon or craft stick necessary for mixing
- as needed cookie cutters or straws optional for shaping
- 1 string or ribbon to hang the finished suncatchers
Instructions
How to Make DIY Bioplastic Suncatchers
- In a bowl, combine cornstarch, water, and white vinegar. Stir until smooth.
- If using, stir in glycerin for a flexible texture. Mix well.
- Add your choice of food coloring and mix to achieve desired vibrancy.
- Pour the mixture onto wax paper, using cookie cutters or straws to create shapes.
- Allow the shapes to dry for about 1-2 hours until firm but slightly soft.
- Once dry, use string or ribbon to hang your suncatchers.


Leave a Reply