There's a festive buzz in the air, and nothing captures the spirit of the season quite like the scrumptious pairing of chocolate and peppermint. Picture this: the rich aroma of chocolate wafting through your kitchen, combined with the exhilarating hint of peppermint. That's exactly what these Chocolate Peppermint Cookie Cups deliver!
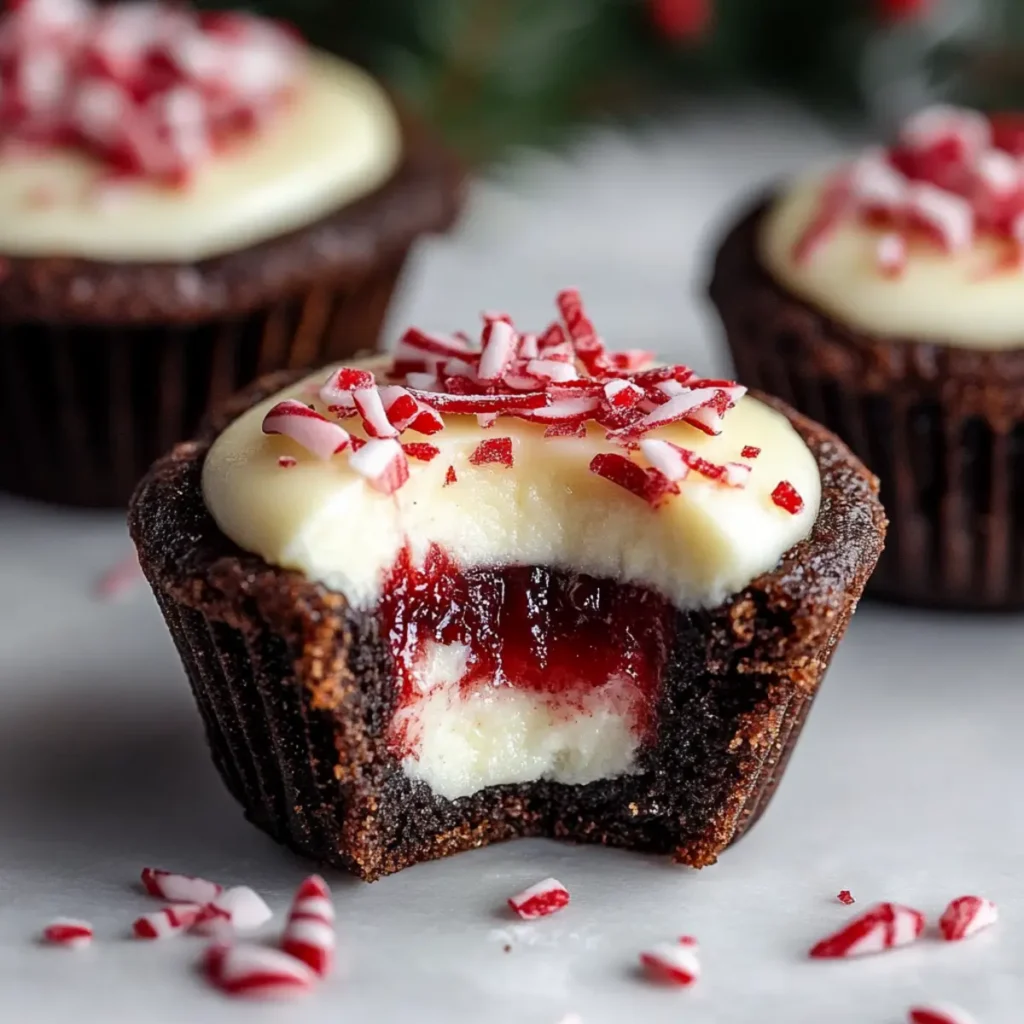
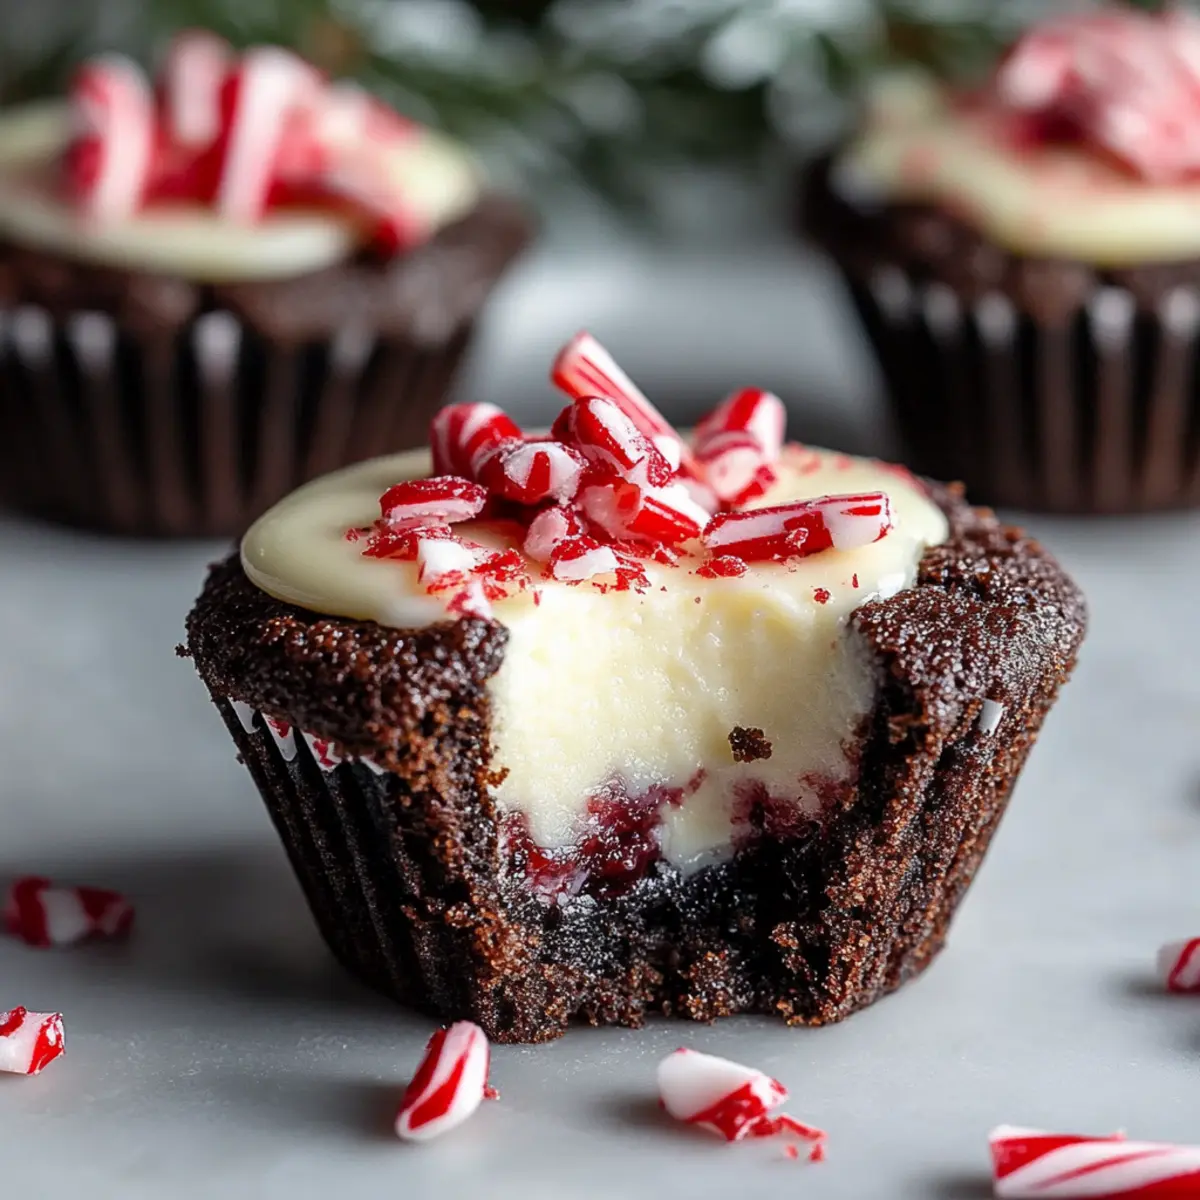
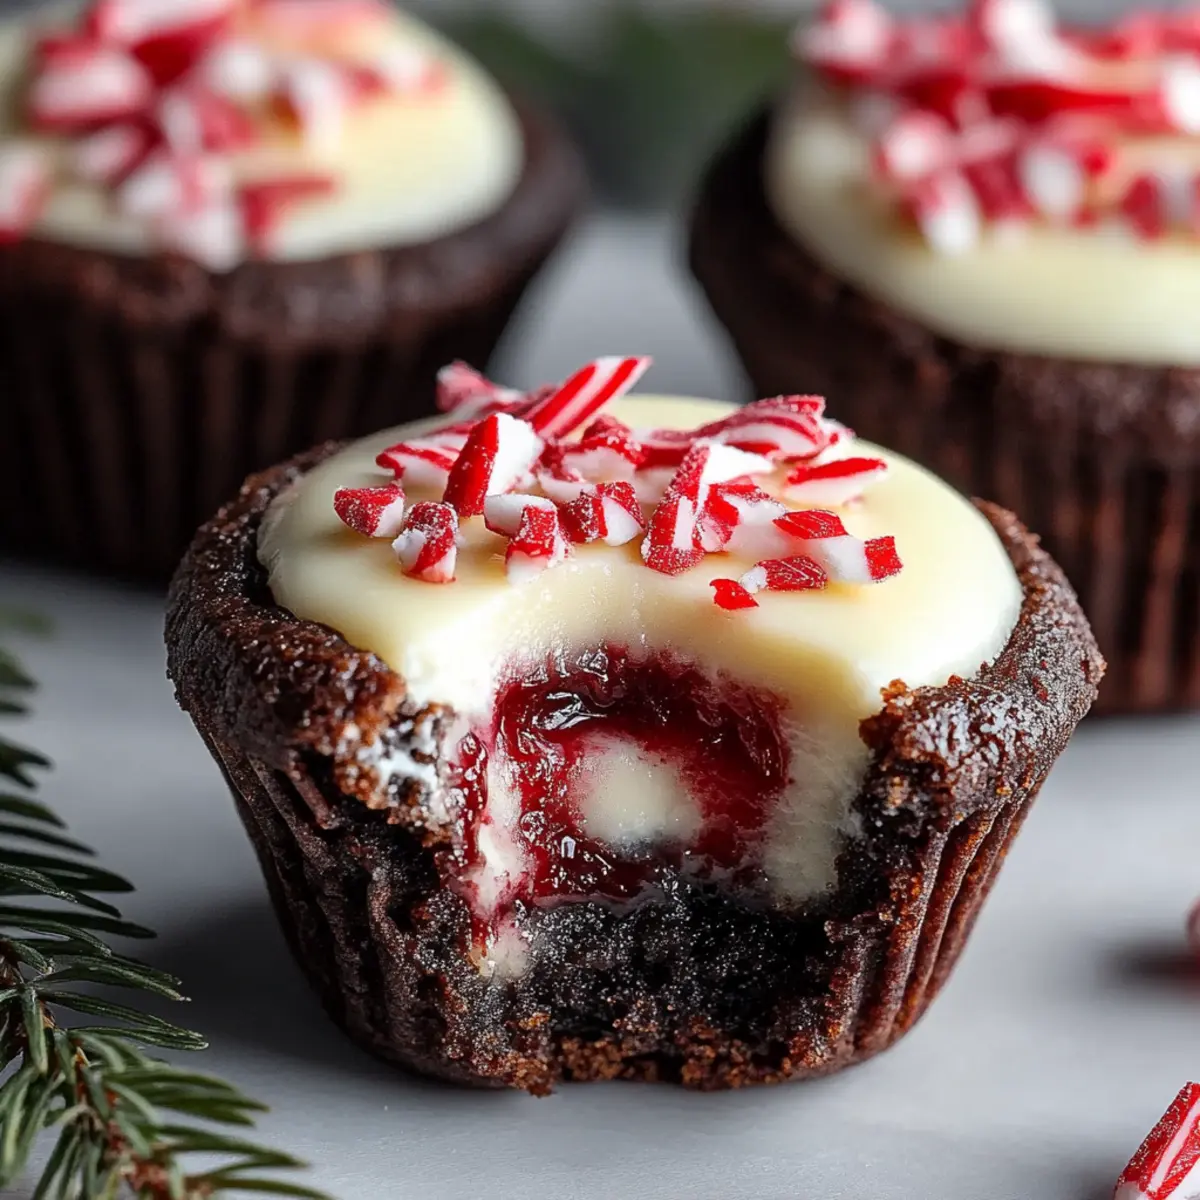
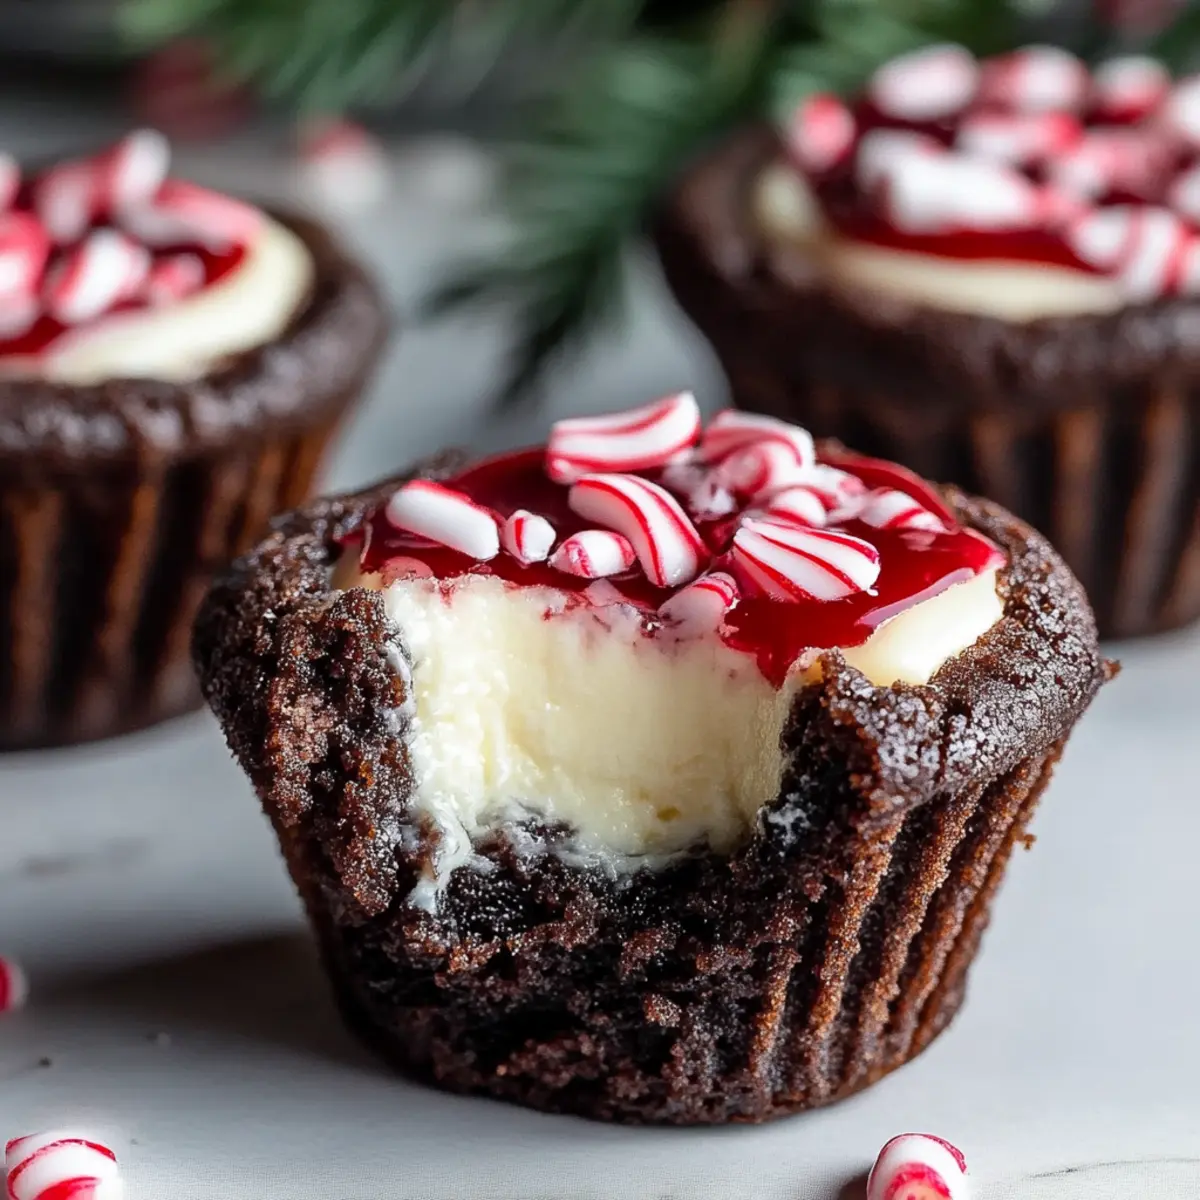
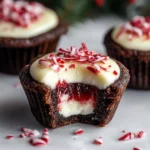
I created this delightful treat to surprise my friends at our holiday gathering-little did I know they would turn into the star of the dessert table. Each cookie cup boasts a fudgy base, cradling a creamy minty cheesecake filling that may just make you swoon. Whether you're looking to impress guests or simply want to treat yourself, these adorable creations not only look gorgeous but are also surprisingly easy to make.
With each bite, you'll experience the perfect blend of rich chocolate and refreshing mint, making them an ideal addition to any festive celebration. Grab your apron and let's get baking; these treats are bound to become a cherished favorite!
Why You'll Love Chocolate Peppermint Cookie Cups
Irresistible Flavor Combination: The marriage of rich chocolate and refreshing peppermint creates a symphony of taste that's irresistible during the holidays.
Adorable Presentation: These cookie cups are not only tasty but also visually stunning, making them perfect for holiday gatherings.
Easy to Make: Don't worry if you're not a baking pro; this recipe requires just a few simple steps.
Customizable Delight: Feel free to experiment with different fillings or toppings, ensuring each batch is unique!
Crowd Pleaser: Dazzle your friends and family alike; they're bound to fall in love with these delectable treats!
Chocolate Peppermint Cookie Cups Ingredients
For the Cookie Base
- All-Purpose Flour - Provides structure; substitute with gluten-free flour blend for a gluten-free option.
- Cocoa Powder (Regular and Black) - Adds chocolate flavor and color; black cocoa gives a richer taste.
- Baking Soda - Leavens the cookie dough.
- Salt - Enhances flavor.
- Unsalted Butter - Adds richness; ensure it's softened for easy mixing.
- Granulated Sugar - Contributes sweetness and texture.
- Brown Sugar - Adds moisture and a hint of caramel.
- Eggs - Binds ingredients together; use room temperature for better mixing.
- Vanilla Extract - Enhances flavor.
For the Cheesecake Filling
- Heavy Cream - Creates an airy texture; can substitute with whipped Greek yogurt for a lighter option.
- Cream Cheese - Base for the filling that contributes to creaminess.
- Powdered Sugar - Sweetens the filling and helps it hold shape.
- Peppermint Extract - Infuses the filling with a refreshing mint flavor, essential for the Chocolate Peppermint Cookie Cups.
For Garnishing
- Candy Canes - Adds a delightful crunch and festive flair to each cookie cup.
How to Make Chocolate Peppermint Cookie Cups
-
Preheat Oven: Start by setting your oven to 350°F. Don't forget to spray two cupcake tins with cooking spray to prevent sticking.
-
Mix Dry Ingredients: In a mixing bowl, combine the all-purpose flour, both cocoa powders, baking soda, and salt. Stir until well blended, setting the stage for a rich chocolate flavor.
-
Cream Butter and Sugars: In a separate bowl, beat the softened unsalted butter with granulated and brown sugars. Mix until light and fluffy, creating a rich, creamy texture.
-
Add Eggs and Vanilla: Incorporate the eggs one at a time, mixing well after each addition. Follow by adding the vanilla extract, ensuring everything is combined smoothly.
-
Combine Wet and Dry Ingredients: Gradually fold the dry mixture into the wet ingredients. Mix until just combined to form your delicious cookie dough.
-
Portion Dough: Use a scoop to fill each cupcake tin with the cookie dough. Bake in the preheated oven for 10-13 minutes, until the edges are set but the centers are soft.
-
Create Wells: While the cookies are still warm, use a small jar to gently press down in the center of each cookie, making a well for the cheesecake filling.
-
Cool Cookies: Allow the cookie cups to cool in the tins for about 10 minutes, then transfer them to a wire rack to cool completely.
-
Prepare Filling: Whip the heavy cream in a bowl until stiff peaks form. In another bowl, beat the cream cheese with powdered sugar and peppermint extract until smooth. Gently fold in the whipped cream.
-
Pipe Filling: Spoon the cheesecake filling into a piping bag and carefully pipe it into each cooled cookie well, filling them generously.
-
Chill: Place the filled cookie cups in the refrigerator for 1-2 hours. This chilling time allows the filling to set beautifully.
-
Garnish: Before serving, sprinkle the tops of the cookie cups with chopped candy canes for a festive touch and delightful crunch.
Optional: For an extra touch of decadence, drizzle some melted chocolate over the top.
Exact quantities are listed in the recipe card below.
What to Serve with Chocolate Peppermint Cookie Cups?
Enhance your festive dessert experience with delightful pairings that complement these charming cookie cups.
- Peppermint Hot Chocolate: A cozy, creamy drink that perfectly mirrors the minty goodness of the cookies-ideal for warming up on chilly nights.
- Vanilla Ice Cream: A scoop of velvety vanilla adds a refreshing contrast, balancing the rich chocolate and mint flavors beautifully.
- Fresh Berries: Serve with a side of mixed berries for a pop of color and a tartness that cuts through the sweetness, making every bite refreshing.
- Eggnog: This classic holiday drink lends a creamy, spiced backdrop that harmonizes wonderfully with the peppermint in the cookie cups.
- Chocolate Ganache Drizzle: Elevate your cookie cups further by drizzling warm chocolate ganache over them for an extra layer of indulgence.
- Coffee or Espresso: The deep, rich flavors of coffee are a fantastic match, enhancing the chocolate notes while awakening your palate for more sweets.
- Peppermint Bark: Add a delightful crunch with peppermint bark, sharing the same festive spirit while creating a textural contrast to the chewy cookie cups.
- Sparkling Water with Mint: Refresh and cleanse your palate with a bubbly drink infused with mint; it's light and festive, perfectly matching your cookie affair.
- Gingerbread Cookies: For a holiday-inspired theme, pair with lightly spiced gingerbread cookies-this duo offers a festive flavor explosion!
Chocolate Peppermint Cookie Cups Variations
Feel free to mix and match ingredients to suit your taste buds and dietary needs!
-
Gluten-Free: Substitute all-purpose flour with a gluten-free flour blend for delicious cookie cups everyone can enjoy.
-
Dairy-Free: Use coconut cream and dairy-free cream cheese in the filling for a rich and creamy option that's totally dairy-free.
-
Mint Alternatives: Swap out peppermint extract for almond or orange extract for a unique flavor twist that adds a fresh zest.
-
Chocolate Lovers: Fold in mini chocolate chips or add a drizzle of melted dark chocolate on top for an indulgent touch.
-
Nutty Goodness: Incorporate finely chopped nuts, like walnuts or pecans, into the cookie dough for an extra crunch and flavor boost.
-
Alternative Sweeteners: Use maple syrup or honey instead of granulated sugar for a different sweetness profile in the cookie base.
-
Spicy Kick: Add a pinch of cayenne or chili powder to the cookie dough for a surprising heat that pairs beautifully with the sweet peppermint.
-
Seasonal Swaps: During the spring, substitute peppermint with fresh lemon zest for a bright, citrusy delight that's perfect for any occasion.
Expert Tips for Chocolate Peppermint Cookie Cups
-
Don't Overbake: Keep an eye on your cookies; overbaking can lead to a dry texture. You want them soft and gooey in the center for the best Chocolate Peppermint Cookie Cups!
-
Chill Your Cream: Use a chilled bowl and beaters to whip the heavy cream. This helps achieve the perfect airy texture for your cheesecake filling.
-
Quality Matters: Opt for high-quality cocoa powder for the richest flavor in the cookie base. This small change makes a big difference!
-
Proper Cooling: Allow your cookie cups to cool completely before adding the filling; this prevents any melting and ensures a beautiful presentation.
-
Experiment with Fillings: Feel free to swap out the peppermint extract for other flavors like almond or vanilla for a delightful twist.
Make Ahead Options
These Chocolate Peppermint Cookie Cups are perfect for busy holiday schedules! You can prepare the cookie base up to 24 hours in advance-simply bake them, cool completely, and store them in an airtight container at room temperature. The creamy cheesecake filling can also be made ahead and refrigerated for up to 3 days; just make sure it's well-covered to maintain its freshness. When you're ready to serve, pipe the filling into the cooled cookie wells and chill for at least 1-2 hours to ensure the filling is perfectly set. This advance preparation allows you to enjoy more time with family and friends while still serving up a delightful festive treat!
How to Store and Freeze Chocolate Peppermint Cookie Cups
- Room Temperature: These delightful cookie cups can be stored at room temperature for up to 2 days in an airtight container, but be prepared for them to get devoured quickly!
- Fridge: For longer freshness, keep them in the refrigerator for up to 3 days. Just ensure they're covered to maintain their soft texture.
- Freezer: Freeze the cookie cups (without toppings) in a single layer. Once frozen, transfer them to a freezer bag for up to 4 weeks. Thaw in the refrigerator before serving.
- Reheating: If you wish to enjoy them slightly warmed, pop them in a preheated oven at 350°F for about 5 minutes. This will enhance the fudgy base of the Chocolate Peppermint Cookie Cups!
Chocolate Peppermint Cookie Cups Recipe FAQs
How do I know if my ingredients are ripe or fresh?
Absolutely! For the best chocolate peppermint cookie cups, make sure your butter is softened to room temperature for easy mixing. The eggs should also be at room temperature, as this helps them incorporate better into the dough. While flour and sugars don't spoil quickly, check cocoa powder for freshness-if it's clumpy or has an off smell, it's time for a fresh bag.
What is the best way to store leftover cookie cups?
Very! Store your chocolate peppermint cookie cups in an airtight container in the fridge. They'll stay fresh for up to 3 days. Just be sure to place parchment paper between layers, if stacking, to keep them intact and prevent sticking.
Can I freeze these cookie cups, and how?
Sure thing! To freeze the cookie cups, first, let them cool completely. Then, place them (without the candy cane topping) on a baking sheet in a single layer and freeze until solid-about 1 to 2 hours. After that, transfer them to a zipper freezer bag, ensuring you push out as much air as possible. They can be stored in the freezer for up to 4 weeks, and you can thaw them overnight in the refrigerator before serving.
What if my cookie cups turn out hard or dry?
No problem! If your cookie cups feel hard, it could be due to overbaking. Always check them a couple of minutes before the suggested baking time-you're looking for edges that are set but centers that remain soft and slightly underbaked. If you end up overbaking, try applying a layer of the cheesecake filling; it will add moisture and enhance the overall texture.
Can pets eat chocolate peppermint cookie cups?
Oh no! Chocolate is toxic to pets, particularly dogs and cats. The peppermint extract may also cause stomach upset in pets if consumed in large quantities. It's best to keep these delightful treats out of reach and enjoy them yourself!
Are there alternatives for the cream cheese filling if I'm lactose intolerant?
Absolutely! For a dairy-free alternative, you can use vegan cream cheese or cashew cream instead of traditional cream cheese. To make cashew cream, soak 1 cup of raw cashews in water for 4-6 hours, then blend with 1 tablespoon of lemon juice, a pinch of salt, and a bit of maple syrup to taste. This will create a deliciously creamy filling that works wonderfully in the cookie cups!
Irresistibly Gooey Chocolate Peppermint Cookie Cups with Cheesecake Filling
Equipment
- Oven
- Cupcake Tins
- Mixing bowls
- Piping Bag
Ingredients
For the Cookie Base
- 1 cup All-Purpose Flour Substitute with gluten-free flour for a gluten-free option.
- ½ cup Cocoa Powder (Regular)
- ¼ cup Cocoa Powder (Black) Adds richer taste.
- 1 teaspoon Baking Soda
- ½ teaspoon Salt
- ½ cup Unsalted Butter Ensure it's softened.
- ½ cup Granulated Sugar
- ¼ cup Brown Sugar Adds moisture.
- 1 large Eggs Use room temperature.
- 1 teaspoon Vanilla Extract
For the Cheesecake Filling
- 1 cup Heavy Cream Can substitute with whipped Greek yogurt.
- 8 ounces Cream Cheese
- ½ cup Powdered Sugar
- 1 teaspoon Peppermint Extract Essential for flavor.
For Garnishing
- 2 tablespoons Candy Canes Chopped for topping.
Instructions
Steps to Make Cookie Cups
- Preheat your oven to 350°F and spray two cupcake tins with cooking spray.
- In a mixing bowl, combine all-purpose flour, cocoa powders, baking soda, and salt. Mix well.
- In a separate bowl, cream the softened unsalted butter with granulated and brown sugars until light and fluffy.
- Add eggs one at a time, mixing well after each addition. Stir in the vanilla extract.
- Gradually fold the dry mixture into the wet ingredients until just combined.
- Use a scoop to fill each cupcake tin with dough and bake for 10-13 minutes.
- While warm, press down in the center of each cookie to create a well for filling.
- Allow cookie cups to cool in the tins for 10 minutes, then transfer to a wire rack.
- Whip the heavy cream until stiff peaks form. In another bowl, beat cream cheese with powdered sugar and peppermint extract until smooth, then fold in the whipped cream.
- Spoon the cheesecake filling into a piping bag and pipe into each cooled cookie well.
- Chill cookie cups in the refrigerator for 1-2 hours to set.
- Before serving, sprinkle with chopped candy canes.

Leave a Reply