When the sun begins to shine a little brighter and the days stretch longer, I'm often reminded of the little crafts that bring joy to both my home and my heart. One of my favorite activities is creating vibrant, eco-friendly sun catchers that catch the light and add a cheerful pop of color to any space. I stumbled upon this delightful DIY project during a playful afternoon with friends, and it transformed not just our craft day but also how I view sustainability.
These bioplastic sun catchers are perfect for anyone looking to break free from the routine of fast-paced living. With just a few simple, natural ingredients, you can craft beautiful decorations that not only look stunning but also reflect a commitment to eco-consciousness. As you mix your ingredients and pour colorful hues into cookie cutters, you'll find that this creative endeavor is therapeutic and fun, making it an ideal activity for both kids and adults. So grab your supplies, and let's dive into this crafting adventure that promises to fill your home with light and beauty!
Why Choose Bioplastic Suncatchers DIY?
Creativity Unleashed: This project offers a fun way to express your artistic side while crafting.
Eco-Friendly Fun: Using natural ingredients helps promote sustainability, making every sun catcher a statement piece.
Perfect for All Ages: Kids and adults will enjoy this interactive, hands-on experience, sparking joy and connection.
Brighten Your Space: Turn any window into a colorful display of light, adding cheer to your home.
Quick and Easy: With simple steps and minimal materials, you can transform your day into a crafting adventure, making it easy to fit into your schedule.
Therapeutic Crafting: The act of creating can be a wonderful stress relief, allowing you to unwind and enjoy the moment!
Bioplastic Suncatchers DIY Ingredients
Get ready to create beautiful sun catchers with these simple, eco-friendly ingredients!
For the Mixture
- Cornstarch - Provides structure; ensure it is fully dissolved to avoid clumps in your bioplastic suncatchers DIY.
- Water - Acts as the base for your mixture; adjust the amount for your desired consistency.
- Glycerin - Adds shine and maintains flexibility; don't skip this for a glossy finish!
- Vinegar - Helps adjust texture and acts as a preservative; use as needed in the mixture.
For the Color
- Natural food coloring - Allows for vibrant hues; adjust the amount for your preferred intensity.
- Essential oils (optional) - For a delightful aroma; pick your favorite to personalize your craft!
Feel free to gather these ingredients and let the fun begin! Your home will soon be filled with colorful bioplastic sun catchers that catch the light beautifully.
How to Make Bioplastic Suncatchers DIY
-
Prepare Mixture: In a saucepan over low heat, combine cornstarch and water. Stir continuously until the mixture is smooth and completely dissolved-this creates the base of your bioplastic suncatchers.
-
Incorporate Ingredients: Add glycerin and vinegar into the saucepan, mixing well until you have a uniform blend. This brings flexibility and shine to your final product, ensuring your sun catchers look stunning.
-
Color It Up: Gradually stir in natural food coloring to reach your desired hue. Feel free to mix colors for unique shades-this step is where your creativity shines!
-
Pour and Shape: Carefully pour the mixture into cookie cutters arranged on a baking sheet. Make sure to spread the mixture evenly to create uniform shapes that will delight everyone!
-
Drying: Allow your sun catchers to dry completely. Depending on the thickness, this may take several hours or overnight-we recommend patience for the best results!
-
Crafting: Once completely dry, gently remove your colorful creations from the cookie cutters. You'll be amazed at the beautiful translucence reminiscent of stained glass!
-
Finishing Touch: Optionally, hang your sun catchers using twine or string in windows, letting the sunlight enhance their vibrant colors.
Optional: For added charm, you can sprinkle biodegradable glitter into your mixture before pouring it into the cookie cutters.
Exact quantities are listed in the recipe card below.
Expert Tips for Bioplastic Suncatchers DIY
- Dissolve Carefully: Ensure the cornstarch is fully dissolved to prevent clumps in your mixture, which can affect the final appearance of your bioplastic suncatchers.
- Experiment with Colors: Don't hesitate to layer different colors in the cookie cutters; this creates a dynamic and eye-catching effect that enhances your sun catchers' beauty.
- Mind the Drying Time: Patience is key-allow the sun catchers to dry completely for the best results. Thicker shapes may need more time, so don't rush!
- Protection is Key: Store any unused mixture in an airtight container to keep it fresh for future crafting sessions; this helps avoid waste during your DIY projects.
- Use Natural Additives: Incorporate essential oils not just for fragrance, but also to personalize your sun catchers, giving them character and making them special for your space.
What to Serve with Bioplastic Suncatchers DIY?
Create a festive atmosphere and enjoy the beautiful sights of your handiwork by complementing your crafting session with delightful snacks and beverages.
-
Fresh Fruit Skewers: Colorful and nutritious, these skewers mirror the vibrant hues of your sun catchers, making them an enjoyable nibble while you craft.
-
Herbal Iced Tea: Refreshing and soothing, this drink can be enjoyed by kids and adults alike, keeping everyone cool and hydrated during your creative fun.
-
Mini Sandwiches: Easy to grab and eat, mini sandwiches filled with fresh ingredients provide a satisfying boost and keep energy levels high as you craft.
-
Veggie Platter with Dip: Crisp and crunchy, a colorful array of veggies paired with a zesty dip is a perfect healthy snack for a crafting session.
-
Chocolate-Covered Pretzels: A sweet and salty treat, these fun snacks make for a deliciously addictive bite while your creations dry.
-
Fruit-Infused Water: Stay refreshed with infused water featuring slices of citrus or berries. It's not only revitalizing but visually appealing too!
Let your crafting day be filled with sights and tastes that elevate the joy of creating your bioplastic sun catchers, making it a wholesome experience for everyone involved!
How to Store and Freeze Bioplastic Suncatchers DIY
Room Temperature: Keep your finished bioplastic suncatchers in a cool, dry place away from direct sunlight to preserve their colors and integrity for up to 2 weeks.
Fridge: If you anticipate a delay in hanging them, storing your sun catchers in the fridge can help prolong their life, ideally for up to 1 month.
Freezer: While not typically recommended, you can freeze them for a short period (up to 1 month) if sealed in an airtight container, though expect some texture changes upon thawing.
Cleaning Tips: Clean your sun catchers with a damp cloth to maintain their shine and brightness, ensuring they look spectacular whenever you catch the sun!
Bioplastic Suncatchers DIY Variations
Unleash your creativity and customize your sun catchers for a unique touch!
-
Glitter Boost: Add biodegradable glitter to the mixture for a sparkly effect that catches the light beautifully. You'll adore how these shimmers elevate the final product!
-
Scented Sunshine: Incorporate different essential oils like lavender or citrus zest into the mix, offering an aromatic experience that invites joy into your home. A touch of fragrance can transform the ambiance!
-
Layering Colors: Pour different colored mixtures into the same mold for breathtaking layered effects, creating a stunning visual appeal reminiscent of a sunset. It's an artistic way to explore color blending!
-
Shape Diversity: Use a variety of cookie cutter shapes such as stars, butterflies, or flowers for a whimsical touch, perfect for any occasion. Let your imagination run wild with fun silhouettes!
-
Natural Dyes: Experiment with natural dye sources like beet juice or turmeric instead of food coloring, making your sun catchers more eco-friendly while creating lovely pastel hues. It's a beautiful way to embrace nature!
-
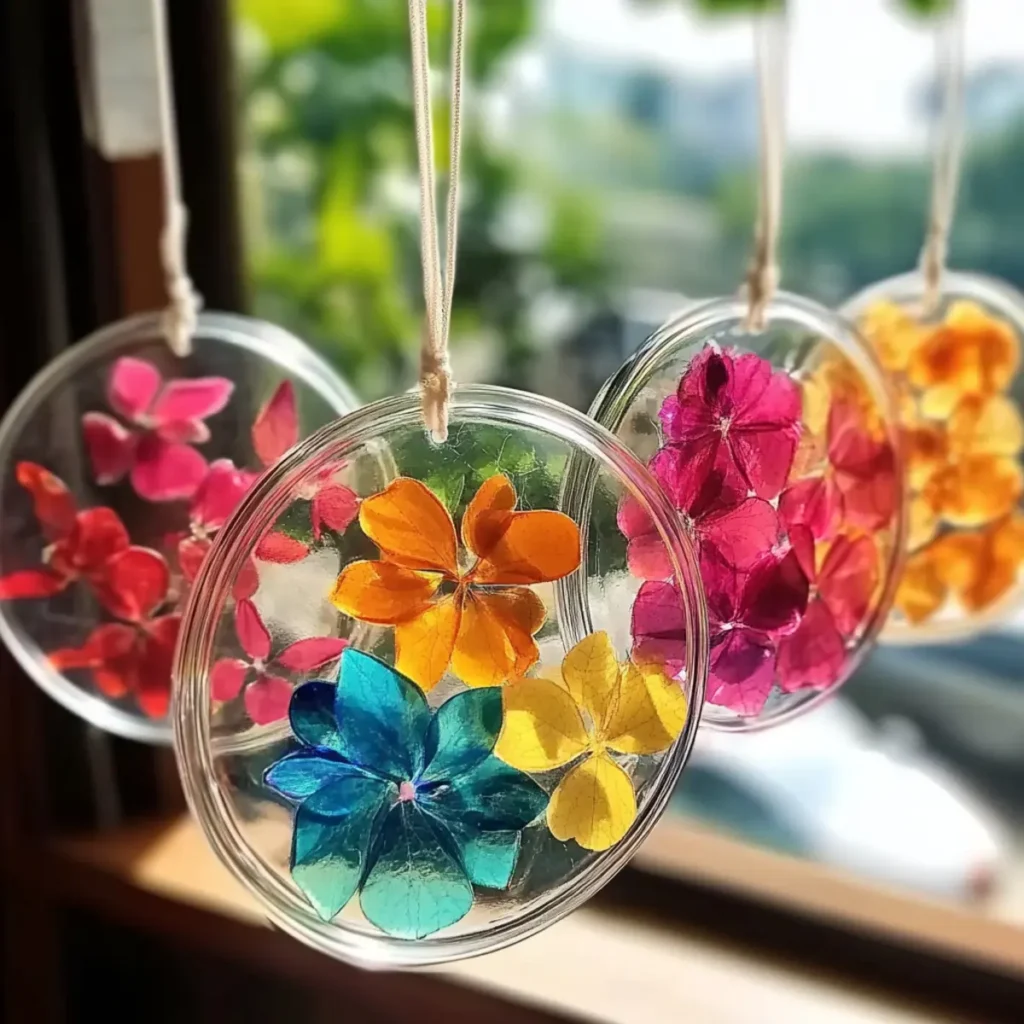
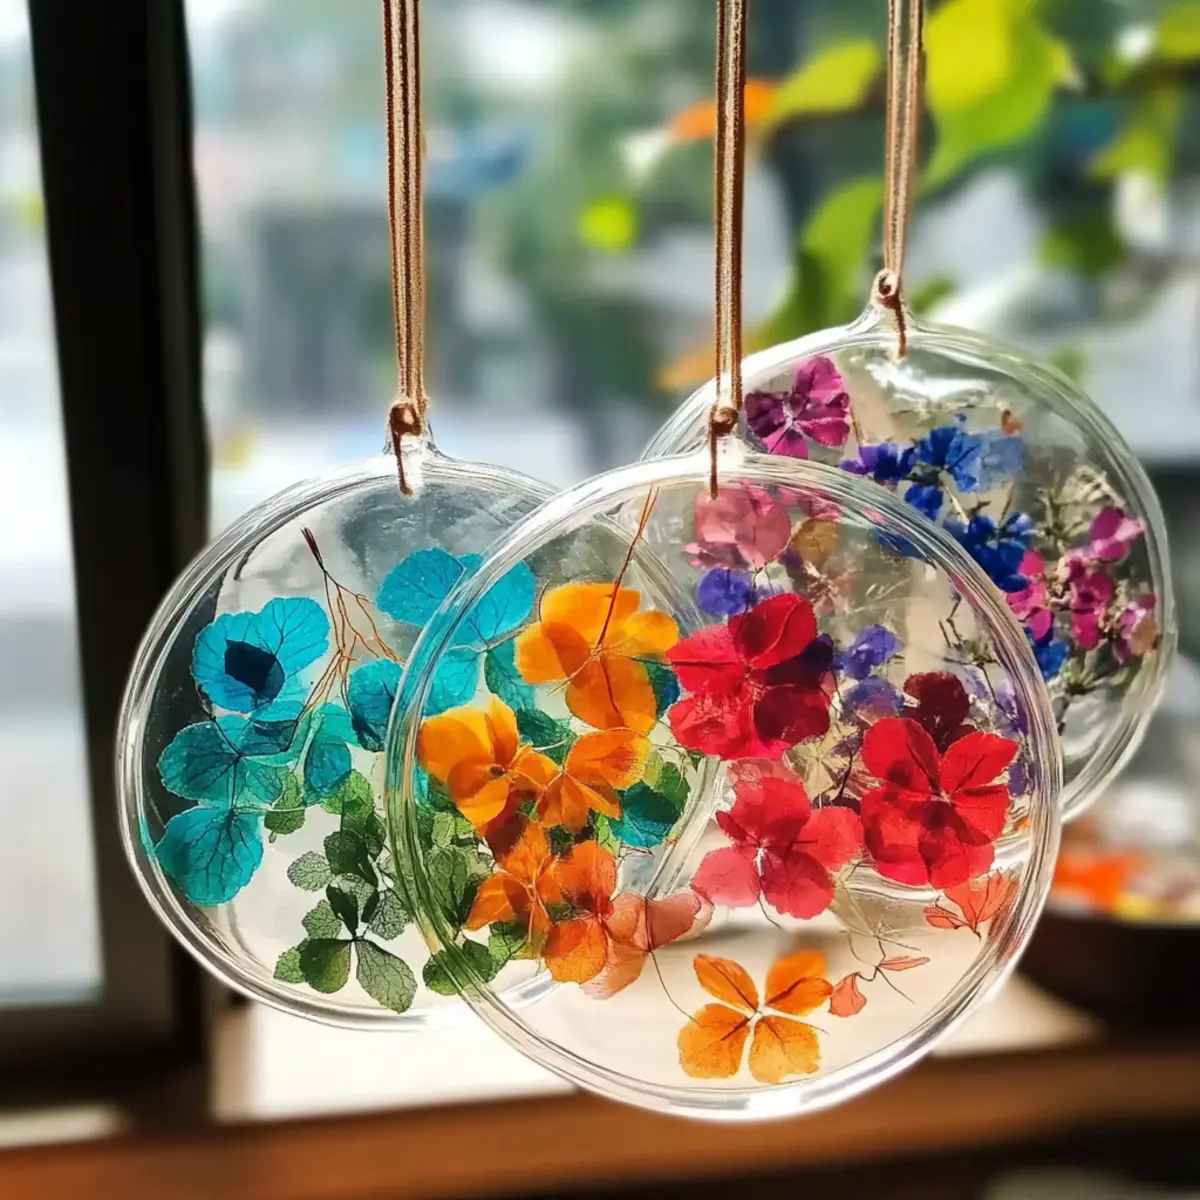
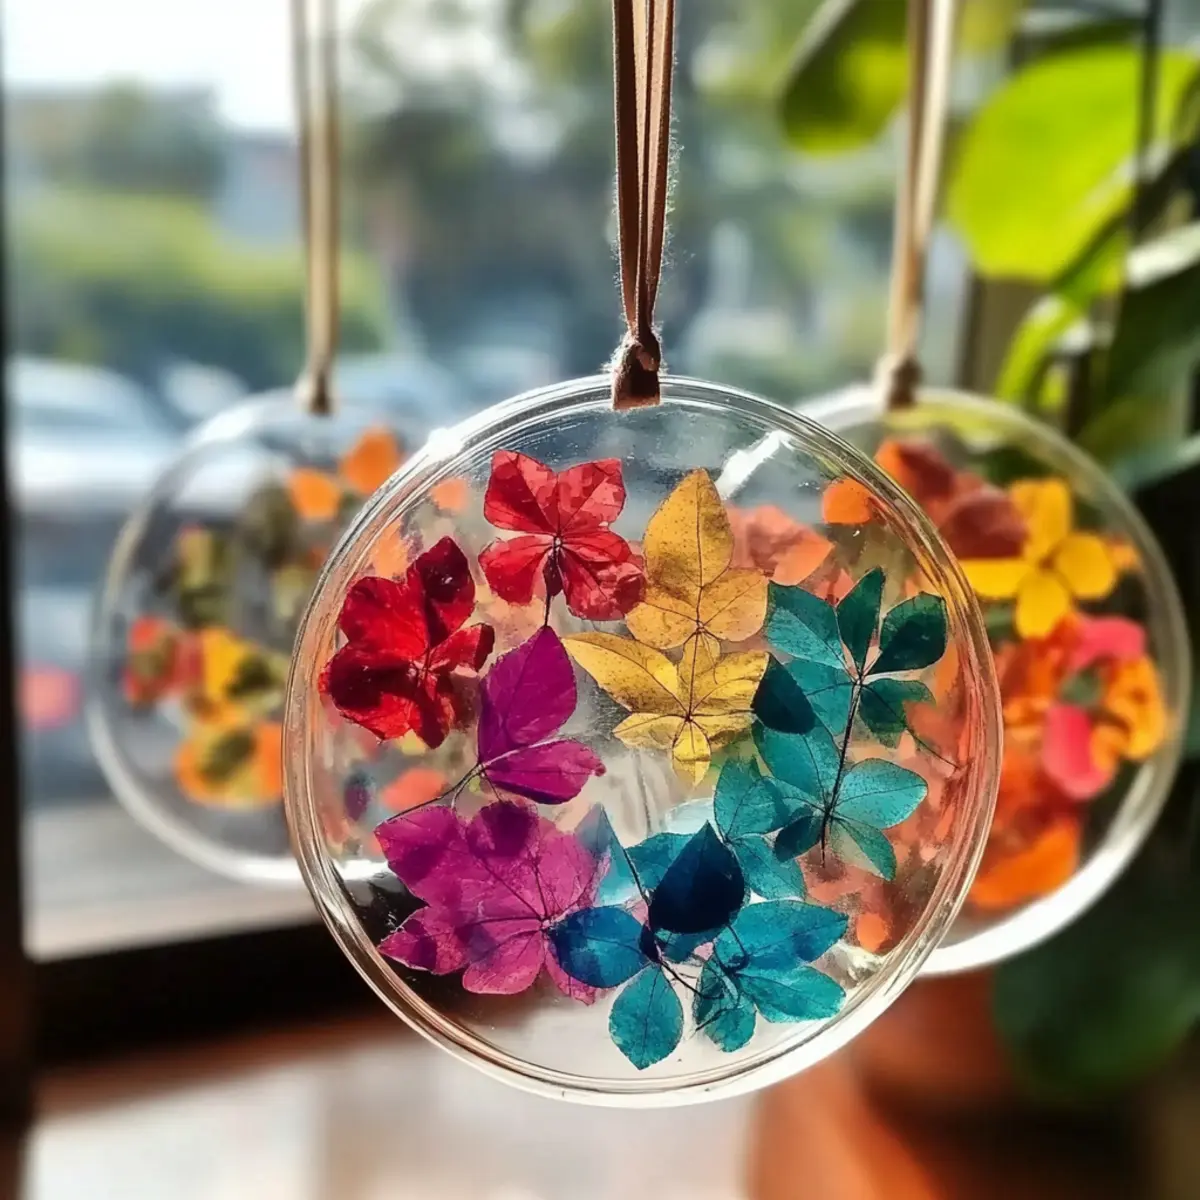
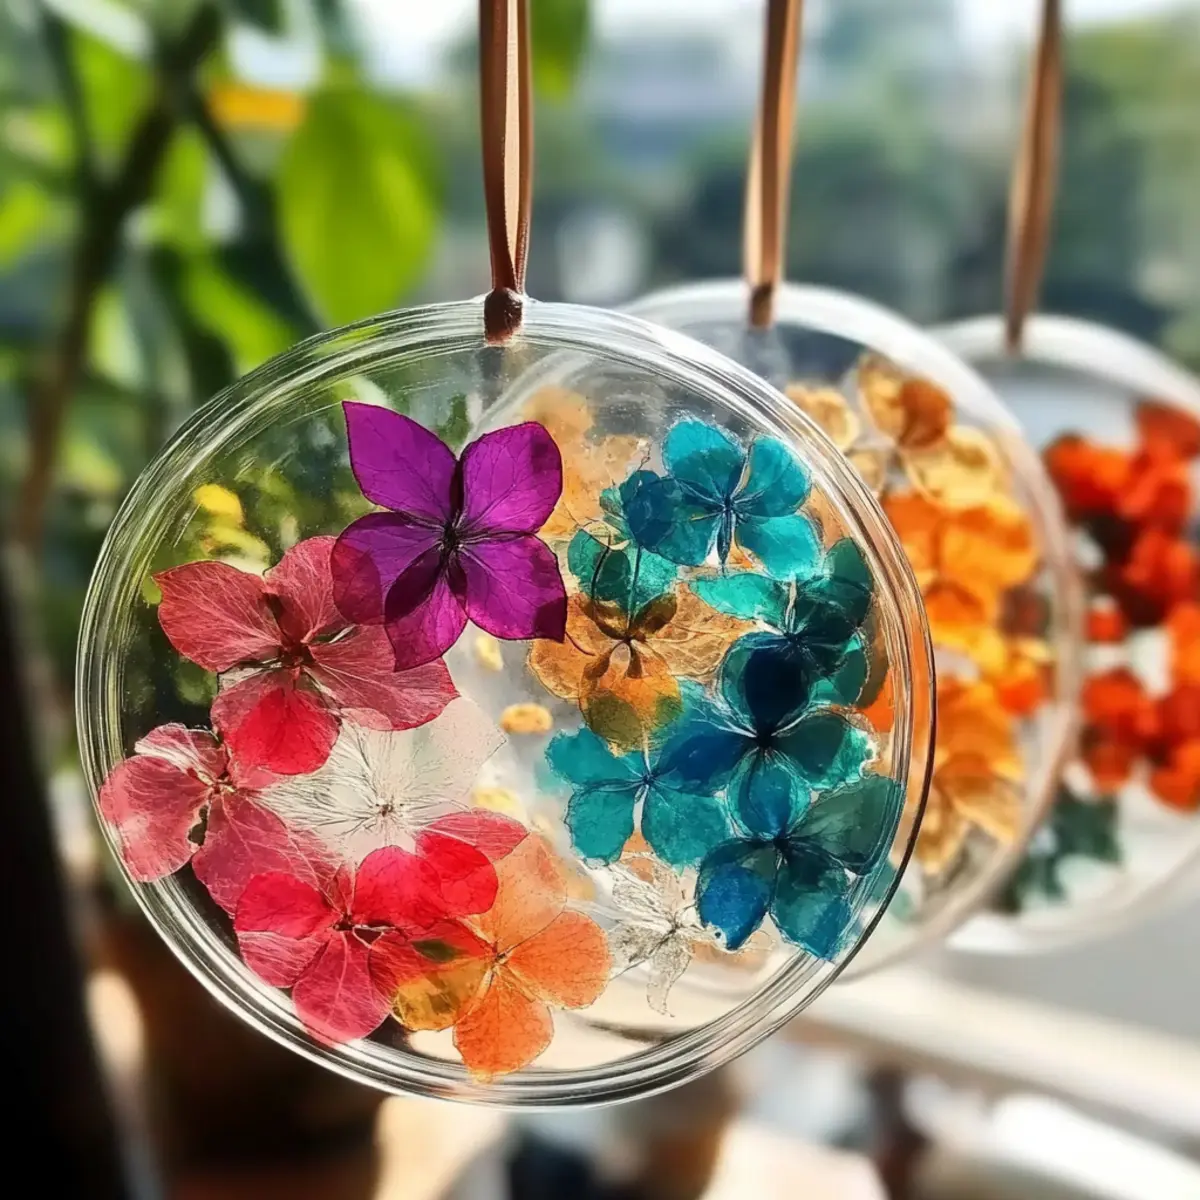
Transparent Inserts: Insert small lightweight items like leaves or flower petals into the mixture before it sets to add an organic feel and texture. They'll create a stunning nature-inspired effect once dried!
-
Mini Versions: Scale down your shapes to create smaller sun catchers that can double as playful fridge magnets or gifts. Tiny treasures can deliver big smiles!
-
Heat Variations: Adjust the amount of glycerin for a thicker or thinner texture, altering how your sun catchers look and feel. It's a fun experiment to find your perfect consistency!
Make-Ahead Tips for Bioplastic Suncatchers DIY
These Bioplastic Suncatchers DIY are perfect for meal prep enthusiasts who love crafting! You can prepare the base mixture (cornstarch, water, glycerin, and vinegar) up to 24 hours in advance; just store it in an airtight container in the refrigerator to maintain its quality. When you're ready to create, let the mixture come to room temperature before adding your natural food coloring. You can also cut and shape your sun catchers ahead of time, allowing them to dry completely (this may take several hours or overnight). Once dry, simply remove them from the molds and hang them up, ensuring they catch the sun beautifully. This way, you can enjoy a colorful and creative atmosphere in your home without the last-minute rush!
Bioplastic Suncatchers DIY Recipe FAQs
What kind of cornstarch should I use for this recipe?
Absolutely! You should use regular, plain cornstarch, which is easily found in the baking aisle of your supermarket. Look for a brand without any additives, as this will ensure that your bioplastic sun catchers maintain their integrity and texture.
How should I store my finished bioplastic sun catchers?
It's best to keep your finished bioplastic sun catchers in a cool, dry place away from direct sunlight. They can last for up to 2 weeks at room temperature. If you anticipate a longer wait before hanging them, pop them in the fridge to extend their lifespan for up to 1 month. Just make sure they're in an airtight container to prevent moisture from affecting them!
Can I freeze my bioplastic sun catchers?
While not commonly recommended, you can freeze your bioplastic sun catchers for a short period (up to 1 month) if they are sealed in an airtight container. However, take note that freezing might alter their texture slightly upon thawing. If you choose to freeze them, allow them to thaw at room temperature before using them for the best results.
What should I do if my mixture clumps while cooking?
No worries! If your mixture clumps, this could be due to the cornstarch not being dissolved fully. Simply return the saucepan to the low heat and stir continuously. If it remains clumpy, you can add a little more water, mixing it until smooth, ensuring the mixture achieves that lovely gel-like texture.
Are there any allergy considerations when using these ingredients?
Very! Always check for allergies before using any ingredients, particularly natural food coloring and essential oils. If you or anyone in your household has allergies to certain scents or colors, you may want to stick to uncontaminated cornstarch and water, turning your sun catchers into a purely minimalist art form or use alternative natural color sources, like beet juice or turmeric, that you know are safe.
Can kids help with making these sun catchers?
Absolutely! This crafting project is perfect for kids under adult supervision, as it allows them to explore their creativity while learning about eco-friendly practices. However, make sure an adult handles the saucepan as it requires low heat, and assist the little ones in pouring and shaping for safety!

Create Irresistibly Fun Bioplastic Suncatchers DIY - Savory Splash!
Equipment
- saucepan
- Baking sheet
- cookie cutters
Ingredients
For the Mixture
- 1 cup Cornstarch Provides structure; ensure it is fully dissolved to avoid clumps.
- 1 cup Water Acts as the base for your mixture; adjust for desired consistency.
- 2 tablespoons Glycerin Adds shine and maintains flexibility.
- 1 tablespoon Vinegar Helps adjust texture and acts as a preservative.
For the Color
- as needed Natural food coloring Allows for vibrant hues; adjust for preferred intensity.
- optional Essential oils For a delightful aroma; pick your favorite.
Instructions
How to Make Bioplastic Suncatchers DIY
- In a saucepan over low heat, combine cornstarch and water. Stir continuously until the mixture is smooth and fully dissolved.
- Add glycerin and vinegar into the saucepan, mixing well until uniform.
- Gradually stir in natural food coloring to reach your desired hue.
- Carefully pour the mixture into cookie cutters on a baking sheet.
- Allow your sun catchers to dry completely for several hours or overnight.
- Once dry, gently remove from cookie cutters.
- Optionally, hang your sun catchers using twine or string in windows.


Leave a Reply