
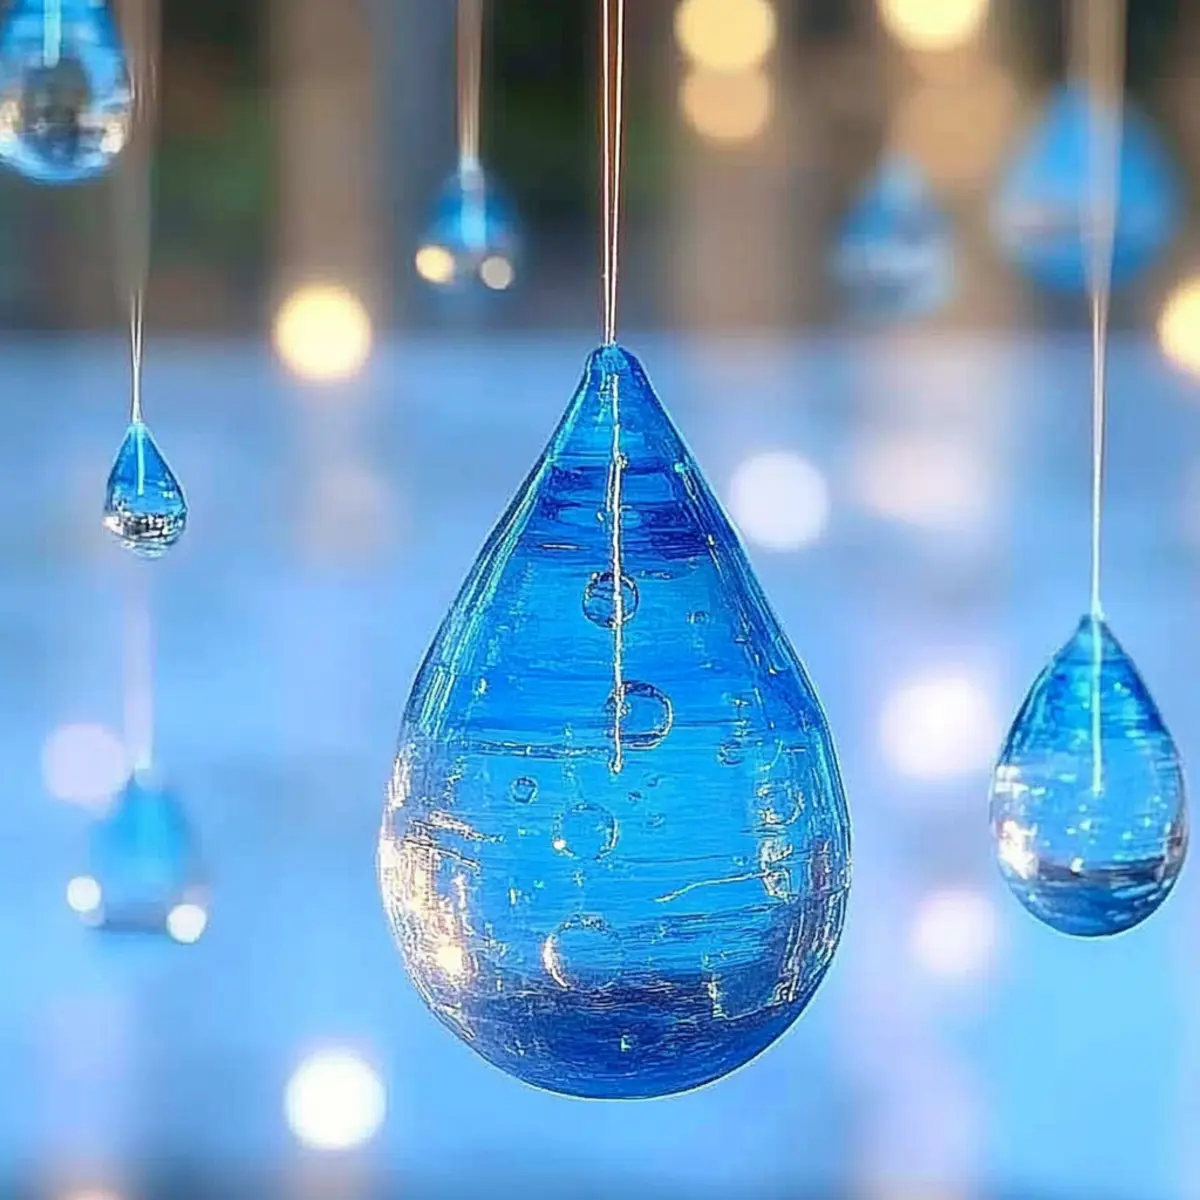
With the rain softly pattering against the window, I found myself in the mood to add a splash of color to my home. Inspired by the beautiful hues of the overcast sky, I embarked on a delightful DIY adventure with the kids: making Blue Crayon Raindrop Suncatchers! This craft not only brings joy and creativity into our day but also introduces the fun concept of recycling used crayons.
In just 10 minutes, we transformed forgotten crayons into beautiful decorations that catch the light and create whimsical reflections. Each suncatcher tells a story as it dances in the sunlight, casting vibrant blues all around the room. If you're looking for a quick, engaging activity to brighten up a rainy day or a fun project to do with children, you'll love making these eye-catching suncatchers! Let's get crafting and bring a piece of that cheerful rain indoors! 🌧💙
Why are Blue Crayon Raindrop Suncatchers so special?
Whimsical charm: These suncatchers add a joyous touch to any window, creating a delightful atmosphere.
Engaging activity: Perfect for kids! They'll love the creative process of recycling crayons.
Easy to make: With minimal materials and just 10 minutes of crafting time, you're guaranteed fun and creativity without hassle.
Vibrant hues: The beautiful shades of blue catch the sunlight brilliantly, transforming any room.
Versatile designs: Feel free to mix it up with different colors and shapes for each season. Have a look at variations like mixing swirls for added creativity!
Eco-friendly: Celebrate sustainability by giving old crayons a new life and teaching kids about recycling.
Blue Crayon Raindrop Suncatcher Ingredients
-
For the Suncatchers
• Blue Crayons - Provides color and vibrancy; use your favorite shades of blue for various effects.
• Waxed Paper - Acts as a melting surface and holds the melted crayons together; parchment paper can be used as an alternative.
• Iron - Melts crayon shavings; ensure adult supervision is present during use for safety. -
For the Cutting and Hanging
• Scissors - Needed to cut out shapes for the suncatchers; opt for safety scissors if children are involved.
• Embroidery Floss/String - Used to hang the final suncatchers; substitutes could include ribbon or twine.
With just these simple ingredients, your Blue Crayon Raindrop Suncatchers will come to life, catching the light and bringing joy to your home! 🌧💙
How to Make Blue Crayon Raindrop Suncatchers
-
Choose Crayons: Start by selecting a variety of blue crayons, removing their wrappers with care. The more shades you choose, the more magical the final result will be!
-
Create Shavings: Use a pencil sharpener to shave the crayons into small bits. Spread these colorful shavings evenly on a sheet of waxed paper, creating a festive canvas.
-
Prepare for Melting: Gently place another sheet of waxed paper over the crayon shavings. This acts as a protective barrier while the magic happens!
-
Melt the Shavings: Set your iron to the lowest setting. Carefully iron the top sheet for about 10-20 seconds until the crayons melt and blend into a beautiful hue.
-
Cool Down: Once melted, let the wax cool completely on a flat surface. This ensures that your suncatchers will keep their mesmerizing shapes.
-
Cut Shapes: After cooling, use scissors to draw and cut out raindrop shapes from the melted wax. Get creative with different sizes!
-
Add Hanging Elements: Punch holes at the top of each raindrop shape. Thread your embroidery floss or string through these holes and tie a secure knot.
-
Display: Now, it's time to show off your creations! Hang your suncatchers in a sunny window and watch them catch the light beautifully.
Optional: Tie a decorative bow at the top for an extra charming touch!
Exact quantities are listed in the recipe card below.
What to Serve with Blue Crayon Raindrop Suncatchers?
Bring joy to your crafting day with some delightful snacks and drinks that are as vibrant as your creations!
-
Rainbow Fruit Skewers: A colorful blend of fresh fruits makes a refreshing, healthy treat to enjoy while crafting. Each bite complements the lively colors of the suncatchers.
-
Homemade Lemonade: Bright and tart, this thirst-quencher is perfect for sunny crafting days when you're surrounded by your colorful creations.
-
Cheese and Crackers Platter: A savory option to balance the sweetness of crafts, providing a satisfying crunch while you get creative.
-
Chocolate Dipped Pretzels: These sweet-and-salty treats are simple to make, providing a fun bite-sized snack to keep the creative energy flowing.
-
Mini Veggie Cups: Individual cups filled with fresh veggies and dip encourage healthy snacking while keeping hands busy-perfect for little ones helping with the suncatchers!
-
Cupcake Decorating: Set up a mini decorating station with colorful frosting and sprinkles. Just like crafting, it sparks creativity, and kids can take a sweet treat home!
-
Smoothie Bar: Blend up some vibrant fruit smoothies. Let everyone create their own mix, just like you do with crayons, making it a fun and healthy addition to your craft day.
-
Fun Mocktails: Whip up some colorful mocktails with fruit juices and sparking water to celebrate a successful crafting session, sparking conversation and cheers!
These delightful pairings will enhance your crafting experience, making it both fun and tasty! 🌈✨
Expert Tips for Blue Crayon Raindrop Suncatchers
-
Crayon Choices: Use a mix of blue shades for depth in your suncatchers, enhancing the overall visual effect when the light shines through.
-
Melting Temperature: Always set your iron to the lowest setting to prevent burning the waxed paper or crayons; it ensures a smooth melting process.
-
Supervise Kids: Keep a close watch on children during the ironing phase, as the iron can cause burns; it's best to let adults handle this part.
-
Design Variations: Feel free to experiment with different shapes beyond raindrops, like hearts or stars, to create themed decorations for various occasions.
-
Cleaning Up: After creating your suncatchers, remember to clean the iron's plate carefully to avoid any crayon residue for future use.
-
Storage Care: Store the suncatchers flat in a cool, dry place when not displayed to prevent bending or warping, preserving their vibrant look!
Storage Tips for Blue Crayon Raindrop Suncatchers
Cool, Dry Place: Keep your suncatchers stored in a cool, dry area when not on display to prevent any bending or warping.
Flat Storage: Store the suncatchers flat between sheets of waxed paper or in an airtight container to maintain their vibrant shapes.
Limited Sun Exposure: Avoid prolonged direct sunlight when storing; excess heat can cause the wax to soften and lose its form.
Seasonal Displays: Rotate your decorations seasonally! Use a storage box labeled for each season to easily access and enjoy your blue crayon raindrop suncatchers.
Blue Crayon Raindrop Suncatchers Variations & Substitutions
Feel free to let your imagination soar and give these suncatchers your own unique twist!
-
Color Mix: Blend different shades of crayon to create mesmerizing swirls or gradients for added depth. The result? A mesmerizing spectacle of colors that dance in the sunlight!
-
Shape Shift: Instead of raindrops, try cutting out stars, hearts, or even seasonal icons. Holiday-themed decorations bring an extra sparkle to festivities-imagine these brightening up your holiday windows!
-
Seasonal Shades: Use pastel crayons for spring suncatchers or vibrant oranges and reds for fall. Each season's palette brings a fresh vibe to your decor and encourages nature-inspired creativity!
-
Textured Layers: Add waxed paper between your crayon layers to create texture. This small change can lend a dynamic quality to light reflections, turning ordinary into extraordinary.
-
Incorporate Glitter: For a magical twist, sprinkle some eco-friendly glitter onto the melted crayon layer. This twinkling addition will catch eyes and hearts alike!
-
Natural Embellishments: Attach pressed flowers or leaves under the waxed paper before melting. This charming touch adds a gorgeous, organic element that celebrates the beauty of nature.
-
Themed Collections: Create a set of suncatchers in various blue shades along with other colors for a rainbow collection. Imagine a colorful display hanging in your window, each piece telling a story!
-
Hanging Techniques: Experiment with natural twine or colorful ribbons instead of embroidery floss for hanging. This simple switch can enhance the overall aesthetic of your suncatchers, blending perfectly with any decor style.
Make Ahead Options
These Blue Crayon Raindrop Suncatchers are perfect for busy crafters looking to save time while still enjoying creativity! You can prepare crayon shavings up to 24 hours in advance; simply store them in an airtight container in a cool place to maintain their vibrancy. For added convenience, fully complete the melting and cooling steps, then keep the cut shapes in a dry, flat location for up to 3 days. When you're ready to hang your suncatchers, just punch holes and thread the embroidery floss through, tying a knot before displaying them in a sunny window. This way, you can enjoy beautiful homemade decorations without the last-minute rush!

Blue Crayon Raindrop Suncatchers Recipe FAQs
What type of blue crayons should I use?
Absolutely! Using various shades of blue will add depth and dimension to your suncatchers. I often mix dark navy, sky blue, and teal for a more vibrant effect. Just remember to remove the wrappers before you start crafting!
How should I store my suncatchers when not displayed?
Very important! Store your Blue Crayon Raindrop Suncatchers flat in a cool, dry place to avoid any bending or warping. I recommend placing them between sheets of waxed paper or inside an airtight container to keep their beautiful shapes intact.
Can I freeze the suncatchers for later use?
Not necessary! These suncatchers are best when kept at room temperature. Freezing isn't recommended as the wax could crack or lose its design when thawing. Instead, they can be made ahead of time and stored properly for seasonal displays.
What happens if the crayons burn during melting?
Don't worry-it happens! If you notice a smoke smell or the crayons start to burn, it means the iron is too hot. Always keep your iron on the lowest setting and check it every few seconds while you melt. If you encounter any burning, let the iron cool off before proceeding with a new batch to avoid ruining your designs.
Are there any dietary considerations for pets or allergies?
While the materials are non-edible, always keep these suncatchers out of reach of pets and small children. If you have allergy concerns, ensure that the crayons used are non-toxic and check for any specific ingredients or dyes that may cause reactions.
Can I use other colors or shapes for variations?
Absolutely! Mixing in other colors can create stunning effects. I often use yellows and greens for a spring theme, or reds and pinks for festive occasions. You can also experiment with different shapes like stars, hearts, or even seasonal motifs like pumpkins for autumn! Let your creativity shine!
Spark Joy with Blue Crayon Raindrop Suncatchers – Catch the Light!
Equipment
- Iron
- Pencil sharpener
- Scissors
Ingredients
For the Suncatchers
- 5-10 pieces Blue Crayons Use various shades of blue for effects
- 2 sheets Waxed Paper Parchment paper can be used as an alternative
- 1 unit Iron Ensure adult supervision during use
For the Cutting and Hanging
- 1 pair Scissors Opt for safety scissors if children are involved
- 1 length Embroidery Floss/String Substitutes could include ribbon or twine
Instructions
How to Make Blue Crayon Raindrop Suncatchers
- Start by selecting a variety of blue crayons, removing their wrappers with care.
- Use a pencil sharpener to shave the crayons into small bits. Spread these colorful shavings evenly on a sheet of waxed paper.
- Gently place another sheet of waxed paper over the crayon shavings.
- Set your iron to the lowest setting. Carefully iron the top sheet for about 10-20 seconds until the crayons melt.
- Once melted, let the wax cool completely on a flat surface.
- After cooling, use scissors to draw and cut out raindrop shapes from the melted wax.
- Punch holes at the top of each raindrop shape. Thread your embroidery floss or string through these holes and tie a secure knot.
- Hang your suncatchers in a sunny window and enjoy!


Leave a Reply