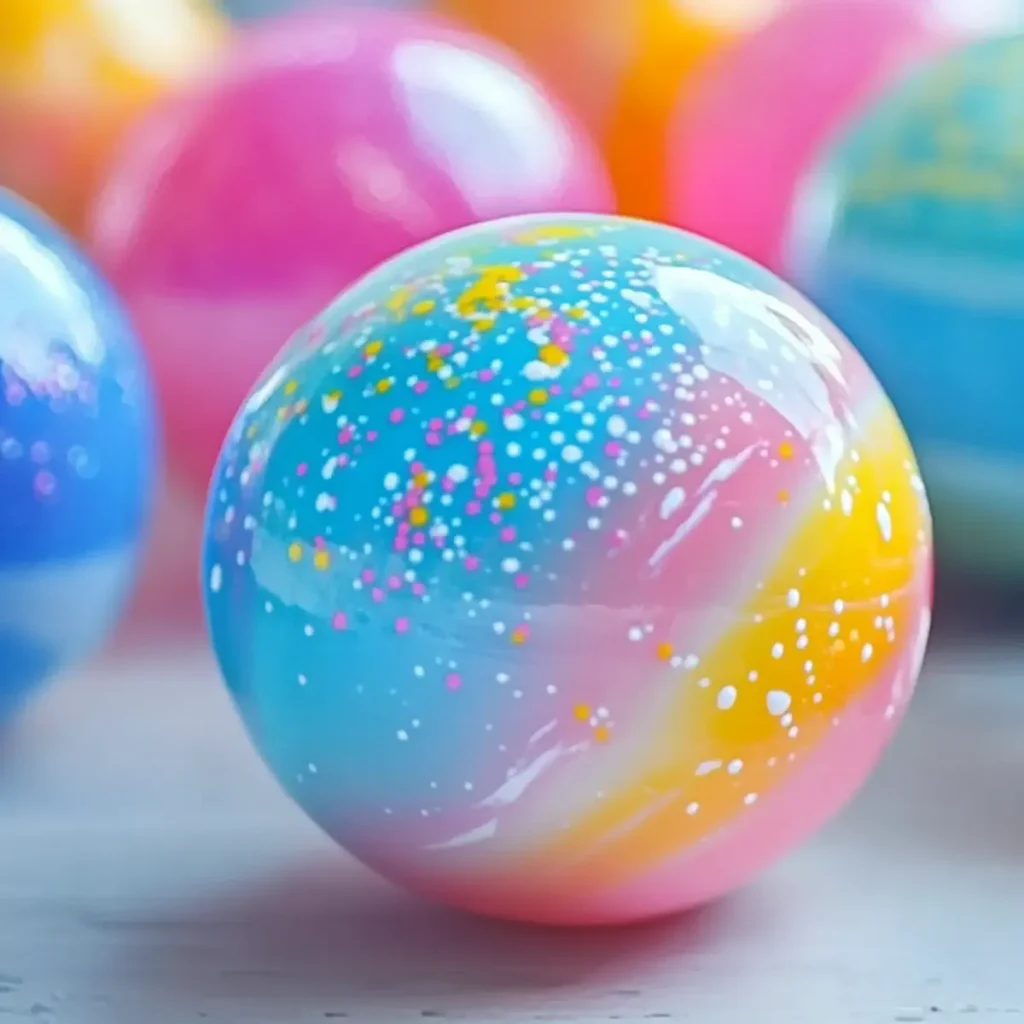
There's something incredibly exhilarating about creating your own toys, and today, I invite you to tap into that joy with this DIY Bouncy Ball recipe! Imagine the satisfaction of watching your creation spring into action, bouncing higher than you ever thought possible. This easy-to-follow project can be wrapped up in just 15 minutes, using only three simple ingredients you likely already have at home.
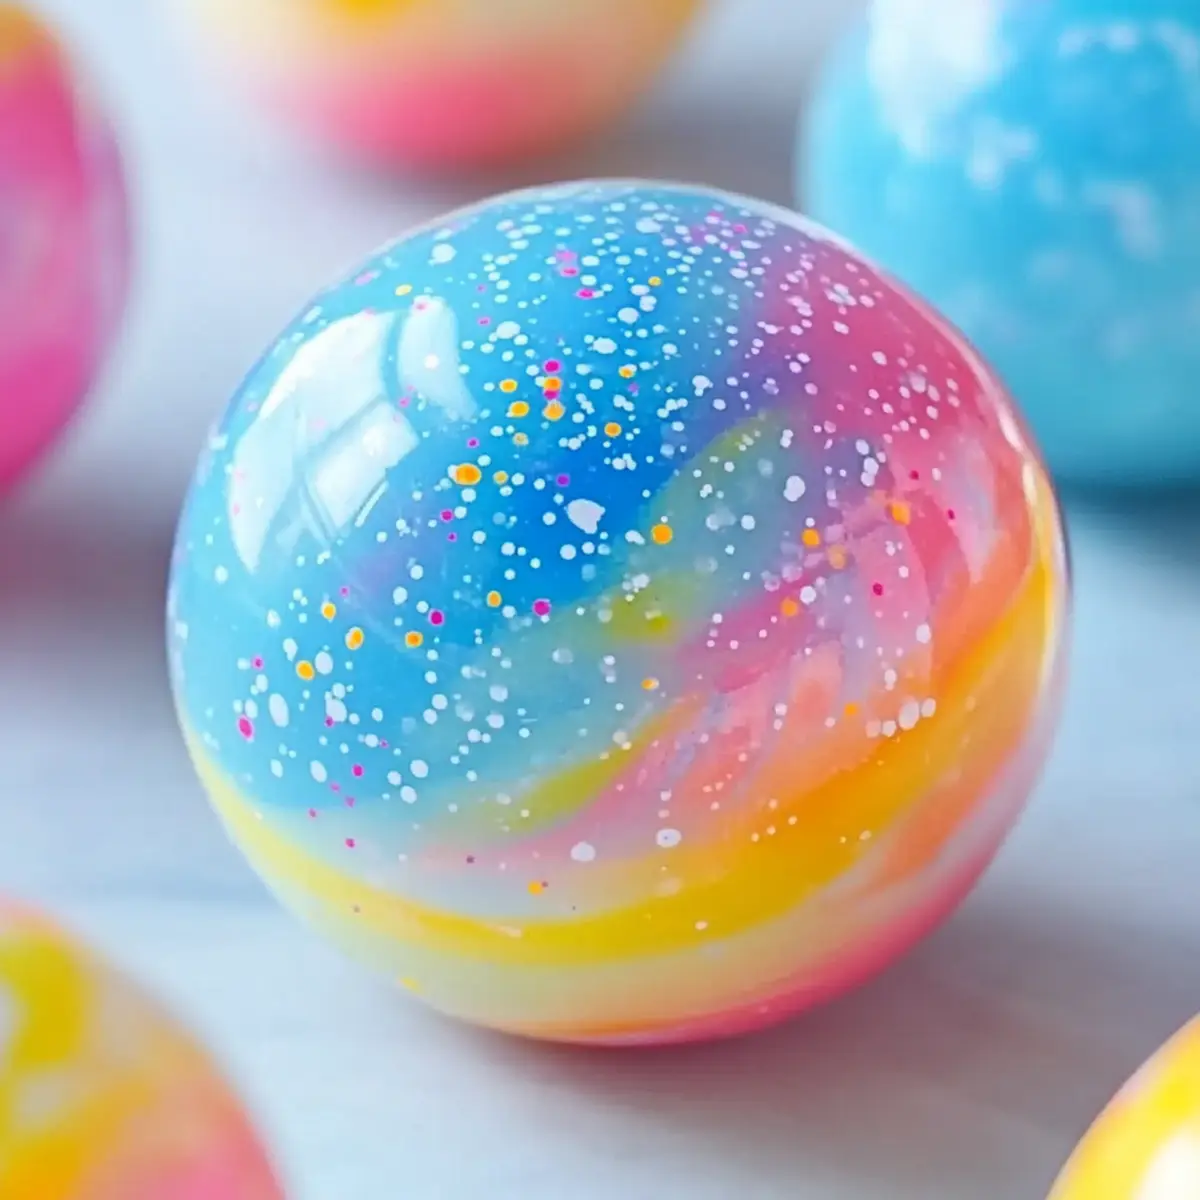
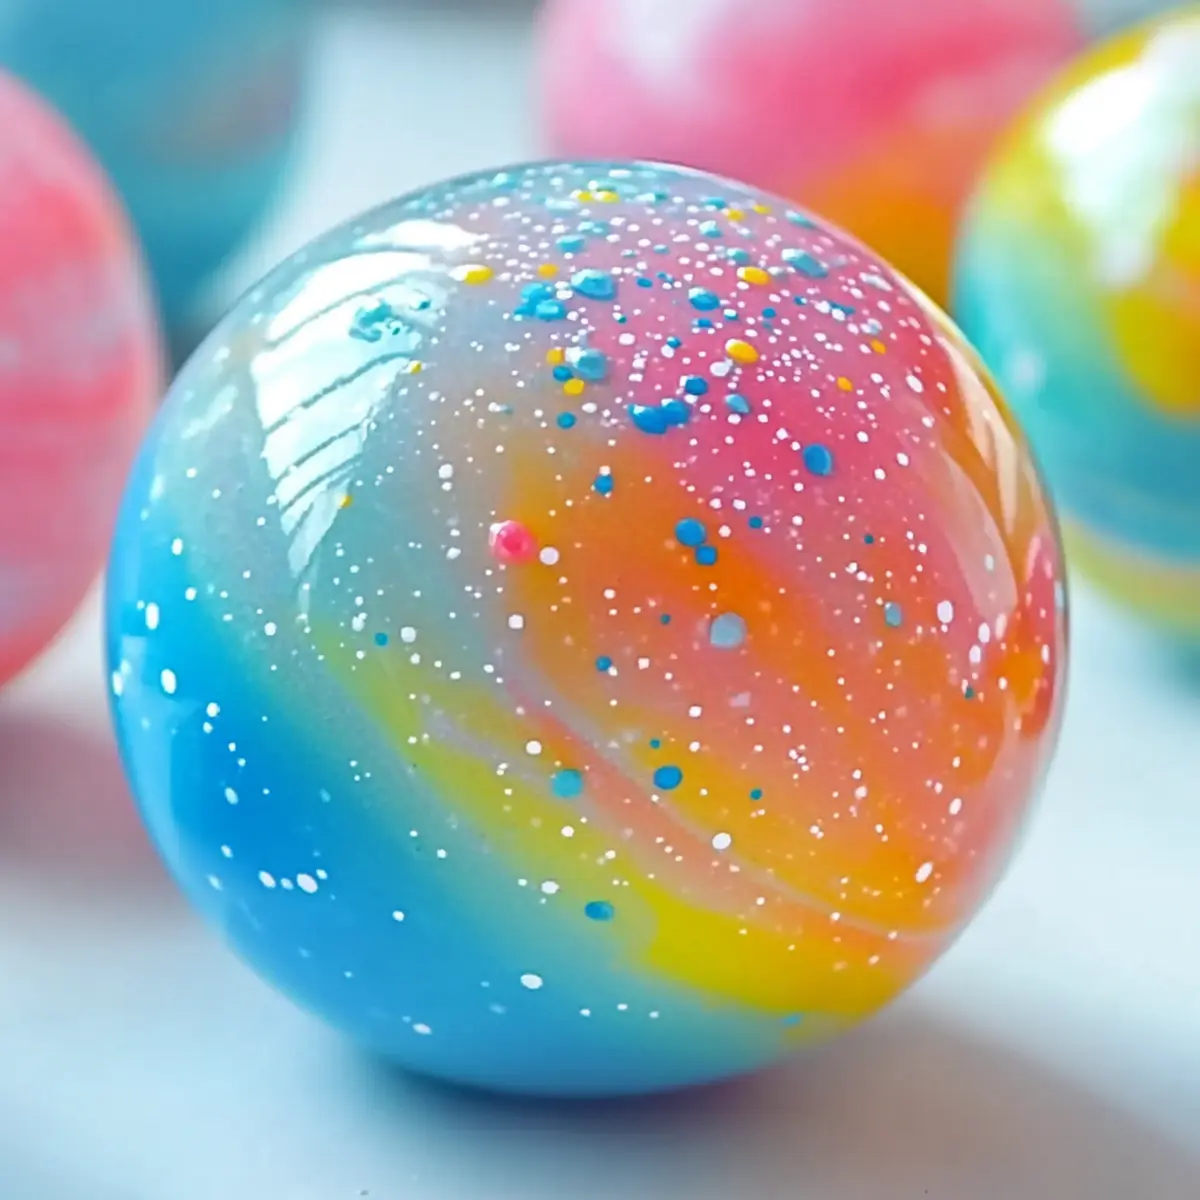
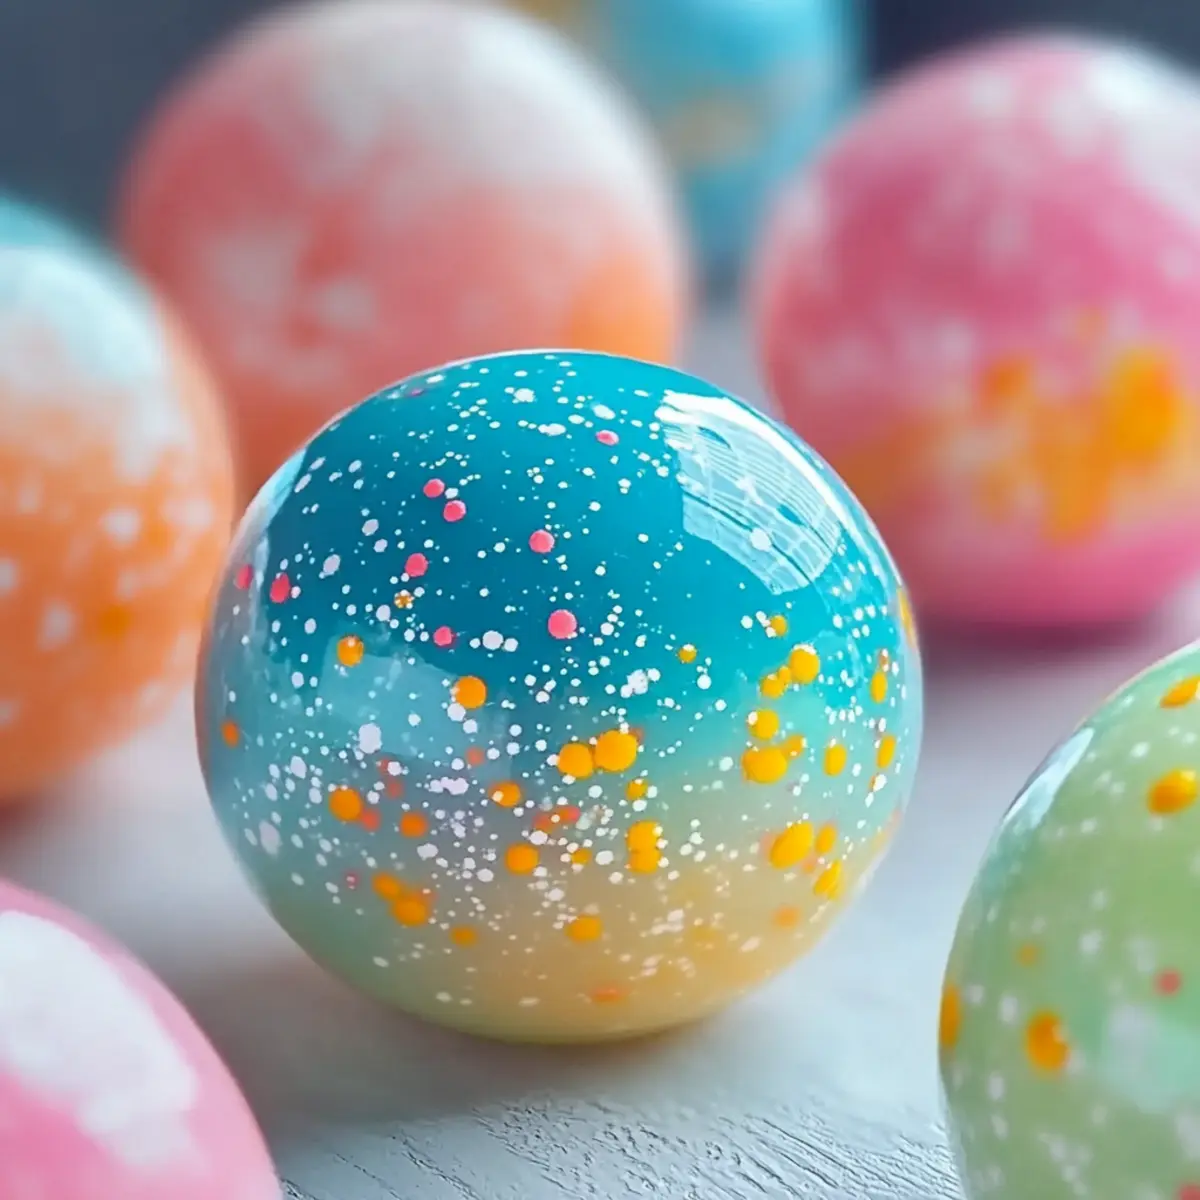
Whether you're looking for an engaging activity with your kids or a satisfying solo craft, this bouncy ball recipe promises fun for everyone involved. Feel free to unleash your creativity by adding vibrant colors or sparkly glitter to make each ball a unique masterpiece. Not only will you enjoy the process of crafting, but you'll also have a playful keepsake to enjoy afterward. So, gather your materials, and let's turn your afternoon into a bouncy adventure!
Why is this Bouncy Ball DIY Recipe perfect?
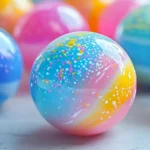
Creativity Unleashed: This DIY bouncy ball craft allows everyone to express their creativity! Use vibrant colors, sparkly glitter, or even scented oils to personalize each ball.
Quick and Easy: With just three simple ingredients and about 15 minutes of your time, you'll have a delightful project that's perfect for a fun afternoon.
Hands-On Learning: The bouncy ball making process is not just fun; it's a great way to teach kids about chemistry while they engage in hands-on crafting.
Perfect for All Ages: Whether you're a kid or just a kid at heart, this project appeals to everyone who loves to make!
Playtime Essential: Once crafted, these bouncy balls provide endless entertainment-ideal for outdoor play or party favors. Enjoy more creative projects with our helpful tips on crafting further!
Bouncy Ball DIY Recipe Ingredients
-
For the Base Mixture
• White School Glue - Provides the base for the bouncy texture; recommended for best results while avoiding substitutes like tacky glue for optimal bounce.
• Warm Water - Necessary for dissolving borax and mixing with glue; room temperature water can be used if warm water isn't handy. -
For the Bounce
• Borax Powder - Acts as a hardening agent; ensure it's fully dissolved to prevent any gritty texture in your bouncy ball. -
Optional Add-Ons
• Food Coloring - Adds vibrancy to your creation; use multiple drops for bold colors or marbled effects.
• Glitter/Fragrance - Enhances visual appeal and adds a delightful scent; add just a little for the best results.
This engaging Bouncy Ball DIY Recipe will have you crafting and playing in no time!
How to Make Bouncy Ball DIY
-
Prepare Borax Solution: In a separate container, dissolve 2.5 grams of borax powder in 30 ml of warm water. Stir until fully dissolved to avoid any grittiness.
-
Mix Glue and Water: In another bowl, combine 15 ml of white school glue with 15 ml of warm water. Mix thoroughly until you achieve a smooth paste.
-
Combine Mixtures: Slowly pour the borax solution into the glue mixture while stirring continuously. You'll notice it starting to thicken-this is a good sign!
-
Form the Ball: After a few moments of mixing, the mixture will start to clump together. Use your hands to knead the mixture until it forms a ball.
-
Adjust Texture: If the ball feels too sticky, add a pinch more borax solution; if it's too dry, a touch of water will help bring it back to the right consistency.
-
Shape and Store: Once you have the perfect consistency, form it into a smooth ball shape. Store it in a cool, dry place to keep it bouncy and fresh.
Optional: Decorate with glitter or a few drops of scented oil for added fun!
Exact quantities are listed in the recipe card below.
Make Ahead Options
These Bouncy Ball DIY Recipe creations are perfect for busy home cooks looking to engage their children in a fun craft project! You can prep the borax solution up to 24 hours in advance by dissolving 2.5 grams of borax in 30 ml of warm water and storing it in an airtight container. Additionally, you can measure and combine the school glue with warm water ahead of time, keeping this mixture sealed to prevent drying out. When you're ready to make the bouncy balls, simply combine the prepped mixtures and follow the remaining steps as usual. This way, you'll save time and have the materials ready for spontaneous creativity!
Bouncy Ball DIY Recipe Variations
Feel free to customize your bouncy ball creation with these fun ideas that will enhance your crafting experience!
-
Colorful Swirls: Mix multiple food coloring drops into the glue before combining. Watch your bouncy ball emerge with gorgeous, vibrant marbled patterns!
-
Glitter Blast: Add a sprinkle of glitter to your glue mixture for a sparkling touch. The result will dazzle and make playtime even more delightful.
-
Scented Surprise: Incorporate a few drops of your favorite essential oil to add a soothing fragrance. Each bounce will come with a whiff of lavender, lemon, or whatever scent you choose!
-
Eco-Friendly Twist: Use natural ingredients like cornstarch instead of borax. This can create a softer ball while teaching kids about eco-friendly crafting.
-
Bouncy Ball Size: Vary the size by adjusting how much mixture you take while forming the ball. Create larger ones for a fun challenge in outdoor games or smaller ones for tossing and catching!
-
Transparent Magic: Substitute white glue with clear glue for a crystal-like finish. This twist will create stunning bouncy balls that catch the light beautifully.
-
Textured Fun: Experiment with adding small beads or mini foam balls into the mixture for added texture. The result will be unique and just as bouncy!
-
Glow-in-the-Dark: Use glow-in-the-dark paint instead of food coloring. Perfect for nighttime fun, your kids will love chasing these glowing balls in the dark!
What to Serve with Bouncy Ball DIY Recipe?
Crafting brings out the playful child in everyone, especially when those creations are bouncing to life!
-
Outdoor Playtime: Encourage kids to take their bouncy balls outside for endless games, fostering physical activity and creative play.
-
Crafting Party: Perfect for birthday parties or gatherings where kids can make their own, encouraging collaboration and social interaction.
-
DIY Gift Bags: Include the bouncy balls as delightful party favors, allowing each child to leave with their own handmade toy.
-
Art Supplies: Complement the crafting experience with additional supplies like stickers, markers, or paint for kids to personalize their bouncy balls further.
-
Picnic Snacks: Serve finger-friendly snacks like fruit skewers or cheese cubes to keep the energy up during crafting and playtime.
-
Storytime: Conclude the crafting session with a fun, engaging story centered around playfulness and adventure.
Storage Tips for Bouncy Ball DIY Recipe
-
Room Temperature: Store your bouncy balls at room temperature in a cool, dry location, away from direct sunlight to maintain their bounce for up to 3 weeks.
-
Wrapping: Keep the bouncy balls wrapped in plastic or place them in an airtight container to prevent them from drying out and losing their elasticity over time.
-
Freezing: While not generally necessary, you can temporarily freeze the bouncy balls for fun experiments, but only for short periods (up to 1 hour). Allow them to return to room temperature before playing.
-
Reheating: If the bouncy balls feel stiff, gently knead them by hand to restore their shape. Avoid using heat sources, as they may damage the texture.
Expert Tips for the Best Bouncy Ball DIY Recipe
-
Use the Right Glue: Choose white school glue for the bouncy texture; substitutes like tacky glue may impact the overall bounce.
-
Dissolve Borax Completely: Take your time to ensure borax powder is fully dissolved in warm water to prevent gritty balls.
-
Knead for Bounce: Proper kneading is essential; the more you work the mixture, the bouncier your final product will be.
-
Add Color Carefully: If using food coloring, start with just a few drops-it's easier to darken than to lighten.
-
Store Safely: Keep your bouncy balls in a cool, dry place, away from direct sunlight to maintain their bounce and color.
-
Supervise Kids: Always supervise children during this craft project, as borax can be harmful if ingested.
Bouncy Ball DIY Recipe FAQs
What type of glue works best for making bouncy balls?
Using white school glue is essential for achieving that perfect bouncy texture. I recommend avoiding tacky glue as it may not yield the same level of bounciness. The smoother the glue, the better your ball will turn out!
How should I store my bouncy balls?
To keep your bouncy balls fresh and elastic, store them in a cool, dry place at room temperature. Wrapping them in plastic wrap or placing them in an airtight container helps prevent them from drying out, maintaining their bounciness for up to 3 weeks. Just be sure to keep them out of direct sunlight!
Can I freeze my bouncy ball for any reason?
While it's not generally necessary, you can freeze your bouncy balls for up to 1 hour for some fun experiments. Just remember to let them return to room temperature before playing, as this will help restore their elasticity.
What if the mixture feels too sticky or too dry?
If your bouncy ball mixture turns out too sticky, adding a pinch more borax solution will help improve its texture. On the flip side, if it becomes too dry, a small amount of water can bring it back to the desired consistency. Feeling the texture while kneading is key to achieving that perfect bounce!
Is it safe for kids to make this bouncy ball DIY recipe?
Absolutely! However, I recommend supervising children during the crafting process, as borax can be harmful if ingested. Make it a fun learning experience by explaining the chemistry behind the project! Always ensure they wash their hands after handling the materials.
Can we add glitter or scents to the bouncy balls?
Yes! Incorporating glitter for some sparkle or a few drops of scented oils is a fantastic way to enhance your bouncy balls. Just be sure to add minimal amounts as too much could affect the texture. It's all about making each creation as unique as you desire!
Bouncy Ball DIY Recipe: Easy Fun for Creative Kids
Equipment
- bowl
- Container for Borax Solution
- Stirring Tool
Ingredients
Base Mixture
- 15 ml White School Glue Provides the base for the bouncy texture
- 15 ml Warm Water Necessary for dissolving borax and mixing with glue
For the Bounce
- 2.5 grams Borax Powder Acts as a hardening agent
Optional Add-Ons
- Food Coloring Adds vibrancy to your creation
- Glitter/Fragrance Enhances visual appeal and adds a delightful scent
Instructions
Directions
- Dissolve 2.5 grams of borax powder in 30 ml of warm water. Stir until fully dissolved.
- Combine 15 ml of white school glue with 15 ml of warm water. Mix thoroughly until smooth.
- Slowly pour the borax solution into the glue mixture while stirring continuously.
- Once it starts to thicken, knead the mixture with your hands until it forms a ball.
- Adjust texture with more borax solution if too sticky, or a touch of water if too dry.
- Form into a smooth ball shape and store in a cool, dry place.


Leave a Reply