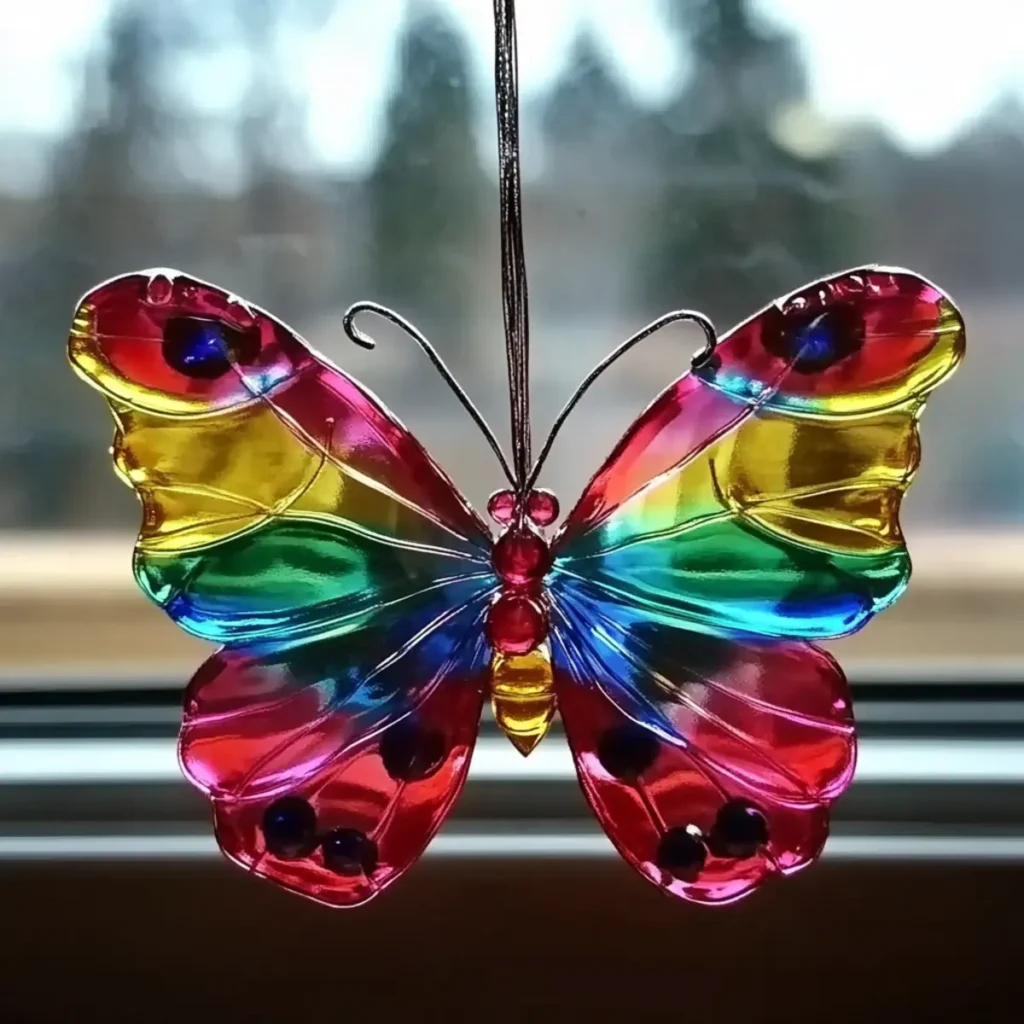
There's a unique joy that comes with transforming everyday materials into something mesmerizing, and that's exactly what you'll experience while crafting these delightful butterfly suncatchers. As I set out to create a vibrant masterpiece, the thoughtful blending of colors and the movement of glue brought out both my inner artist and child. These colorful decorations don't just brighten your windows; they capture sunlight in a spectacular dance, turning any space into a whimsical wonderland. Perfect for a cozy afternoon with your little ones, this DIY craft encourages bonding and creativity while providing instant gratification.
In just a few hours, you'll have stunning suncatchers resembling shimmering jewels, ready to brighten your home. So, gather your materials and prepare for a delightful crafting experience that promises smiles and magical moments. Let's dive into this simple yet enchanting project that's bound to become a favorite in your household!
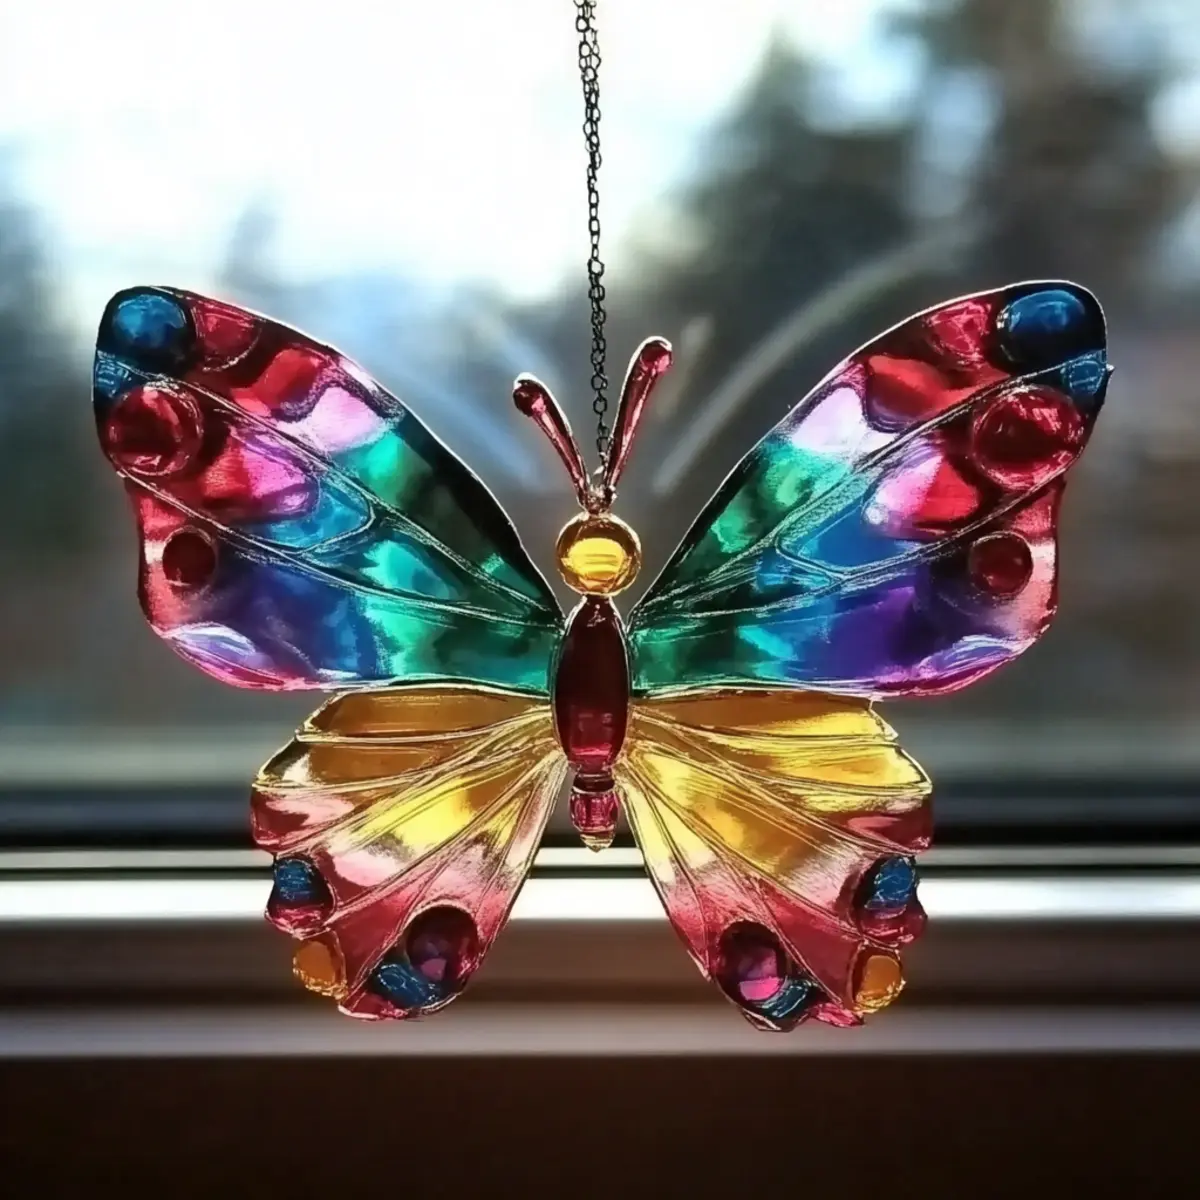
Why love Butterfly Suncatchers for your home?
Joyful Crafting Experience: Engaging in this project brings together creativity and fun, making it a great way to bond with your family.
Vibrant Aesthetic: The colorful designs create a stunning visual impact, infusing your home with joy and light.
Easy to Make: With minimal materials and straightforward steps, you can whip up beautiful suncatchers in no time.
Family-Friendly Fun: Perfect for children and adults alike, everyone can unleash their artistic flair.
Versatile Decoration: Use different shapes and colors to match any seasonal theme, giving your space a refreshing touch.
Quick Gratification: In just a few hours, you'll be rewarded with breathtaking art pieces ready to adorn your windows!
Butterfly Suncatchers Ingredients
• Get ready to gather the magical components for your Butterfly Suncatchers-let's make some colorful creations!
For the Base
- Clear School Glue - This acts as your binding agent; choose non-toxic options for child safety.
- Butterfly-Shaped Silicone Molds - Perfect for creating beautiful shapes that pop out easily.
For the Color
- Food Coloring - Use vibrant shades; experiment with a drop or two per mold for stunning effects.
- Toothpicks - Great for swirling colors together and crafting unique designs.
For Extra Sparkle
- Glitter - Add a sprinkle to enhance your suncatcher's shimmer and shine.
- Optional Decorations - Use sequins, string, and a hole punch to add personal touches once your suncatchers are cool.
For Crafting Comfort
- Parchment Paper - Protects your workspace and makes cleanup a breeze while you craft.
How to Make Butterfly Suncatchers
-
Prepare Your Workspace:
Lay down parchment paper on a flat surface to prevent any glue spills. This will keep your crafting area clean and make for easy cleanup later! -
Fill Molds with Glue:
Carefully pour clear school glue into your butterfly-shaped silicone molds, filling them to about three-quarters full. This ensures enough space for color mixing without spilling over. -
Add Food Coloring:
Drop one or two colors of food coloring into the glue. Use a toothpick to swirl the colors gently together, creating beautiful marbled effects. Remember, a little goes a long way! -
Sprinkle Optional Decorations:
If you want to add a touch of sparkle, lightly sprinkle glitter or other decorations on top of the colored glue. This will give your suncatchers even more charm and personality. -
Set and Cure:
Allow the molds to sit undisturbed for about 2-3 hours, or until the glue has fully set and feels firm to the touch. Patience is key here to ensure a flawless finish! -
Remove Suncatchers:
Once cured, gently peel the suncatchers from the silicone molds. They should pop out easily, revealing their vibrant, glossy surfaces that resemble little jewels!
Optional: Hang them with string to create a lovely display that dances in the sunlight.
Exact quantities are listed in the recipe card below.

Storage Tips for Butterfly Suncatchers
Room Temperature: Store finished butterfly suncatchers in a cool, dry place. Avoid areas with high humidity to prevent distortion and maintain their beautiful shimmer.
Avoid Direct Sunlight: Keep them away from direct sunlight when not on display, as prolonged exposure can fade the colors over time.
Protection from Rain: If hanging outside, ensure they're placed in covered areas to shield against rain, which can damage the suncatchers.
Reusing Materials: If you decide to create more suncatchers using the same molds, ensure they're thoroughly cleaned and dried before starting your next colorful project.
What to Serve with Butterfly Suncatchers?
Brighten your crafting space with colorful suncatchers that are sure to enchant everyone!
-
Cozy Cookies: Soft, chewy cookies provide the perfect sweet treat to enjoy while crafting, fueling creativity with every bite. Think chocolate chip or funfetti for a festive touch!
-
Fruit Skewers: These colorful and fresh bites are great for snacking between crafting sessions. They add a burst of nutrition and vibrant colors, making them a visually appealing option.
-
Sparkling Lemonade: A refreshing drink that complements crafting beautifully! The fizzy, tangy notes keep you energized and hydrated as you create your whimsical butterfly suncatchers.
-
Creative Snack Board: Set out a variety of nuts, cheese cubes, and veggies with dips. This DIY approach parallels your crafting project and allows everyone to pick their favorites while they work.
-
Mini Cupcakes: Delightful mini confections that are easy to grab and enjoy without interrupting the flow of crafting. Choose colorful icing that matches your suncatcher hues for a festive touch!
-
DIY Smoothie Bar: Let everyone mix and match their favorite fruits and yogurt. This adds an interactive element to your crafting day and fuels everyone's artistic energy.
-
Colorful Spritzers: Mix fruit juice with sparkling water for a dazzling drink option. The liveliness of the spritzer reflects the playful spirit of your butterfly suncatchers!
Creating these beautiful suncatchers is the perfect way to spend quality time with friends and family, so why not enhance the experience with delectable treats and drinks? Enjoy your colorful crafting adventure!
Butterfly Suncatcher Variations
Feel free to add your own flair to these creative suncatchers, making them even more special for your home!
-
Shape Shifting: Use various silicone molds, such as flowers or stars, to create a diverse collection of designs that cater to different tastes.
-
Pastel Perfection: For a soft and subtle approach, choose pastel colors instead of bright hues, giving your suncatchers a delicate, dreamy feel.
-
Seasonal Swaps: Change your color palette based on the season. Think warm oranges and browns for autumn or bright reds and greens for the holidays.
-
Glitter Glam: Enhance the sparkle by mixing colored glitter into the glue before pouring; it'll create a mesmerizing, shimmering effect that catches the light beautifully.
-
Layered Colors: To create depth, pour a layer of glue, let it set slightly, then add another color on top. This technique results in stunning, multi-dimensional designs.
-
Ombre Magic: Achieve an ombre effect by blending colors from dark to light in a single mold. Just start with the darkest shade at the bottom and gradually fade to the lighter shade on top.
-
Nature-Inspired Decorations: Incorporate dried flowers or leaves into the glue for a fresh, organic design that brings the beauty of nature indoors.
-
Heating It Up: Add a few drops of essential oil (like lavender or lemon) for a subtle scent. It'll make your crafting space feel inviting and fragrant while you work.
Make Ahead Options
These Butterfly Suncatchers are perfect for busy home cooks looking to add a bit of color without the last-minute rush! You can prepare the glue and food coloring mixture up to 24 hours in advance. Simply mix your clear school glue and desired food coloring in each butterfly-shaped mold, then seal with plastic wrap to prevent dust. When you're ready to create, just remove the wrap and proceed by swirling with toothpicks and adding glitter. This way, you save valuable time while ensuring that the finished suncatchers remain just as beautiful and dazzling as ever. Enjoy crafting more effortlessly today!
Helpful Tricks for Butterfly Suncatchers
-
Choose Right Molds: Use high-quality silicone molds that provide easy release. A poor mold can lead to frustration when removing your finished suncatchers.
-
Color Blending: Don't overswirl the food coloring; you want a marbled effect, not a muddy mixture. Remember, the key to stunning butterfly suncatchers is in the delicate balance of color.
-
Setting Time: Allow adequate drying time; rushing can result in fragile pieces. Ensure your suncatchers are completely set before attempting to remove them from the molds.
-
Safe Crafting: Always supervise kids during crafting, especially when using small items like sequins or glitter which can pose a choking hazard.
-
Creative Personalization: Feel free to add your touch with decorations. Adding custom elements makes your butterfly suncatchers truly unique and reflects your family's personality.

Butterfly Suncatchers Recipe FAQs
What type of glue should I use for the butterfly suncatchers?
Absolutely! Always opt for clear school glue-preferably non-toxic, especially if kids are involved. Non-toxic glue ensures safety while still providing a strong bond for the beads.
How long do the suncatchers take to cure?
Very! You should allow the suncatchers to cure for about 2-3 hours. Patience is key to ensuring they reach the right firmness without any risk of breaking. After this time, they should feel solid and ready for carefully peeling from the molds.
How should I store my finished butterfly suncatchers?
To keep them looking their best, store the suncatchers in a cool, dry area at room temperature. Avoid high humidity, as it can cause distortion, and keep them away from direct sunlight when they're not on display-this helps prevent color fading over time.
Can I freeze my butterfly suncatchers?
Not recommended! Freezing can compromise the texture and integrity of the glue used in your butterfly suncatchers. It's best to keep them stored in a cool place out of the freezer to maintain their beautiful shimmer.
What if my suncatchers don't come out of the molds easily?
Oh no! If you're facing a sticky situation, try applying a bit of gentle pressure around the edges of the mold to loosen the suncatcher. If they resist, you can submerge the bottom of the mold in warm water for a minute-this can help release them without damaging your suncatchers.
Are there any dietary considerations I should keep in mind?
Great question! While this craft doesn't involve food, it's important to supervise children during the crafting process. Make sure all materials, particularly glitter or sequins, are kept out of reach of young children to avoid choking hazards. Choose non-toxic and safe craft supplies to ensure an enjoyable experience!
Whimsical Butterfly Suncatchers: Brighten Your Home Today
Equipment
- butterfly-shaped silicone molds
- toothpicks
- Measuring cups
Ingredients
For the Base
- 1 cup Clear School Glue Choose non-toxic options for child safety.
- 1 Butterfly-Shaped Silicone Molds Perfect for creating beautiful shapes.
For the Color
- 1-2 drops Food Coloring Use vibrant shades.
- 1 Toothpicks For swirling colors together.
For Extra Sparkle
- 1 tablespoon Glitter Add for shimmer and shine.
- Optional Decorations Use sequins, string, and a hole punch as desired.
For Crafting Comfort
- 1 sheet Parchment Paper Protects your workspace.
Instructions
How to Make Butterfly Suncatchers
- Prepare Your Workspace: Lay down parchment paper on a flat surface to prevent any glue spills.
- Fill Molds with Glue: Carefully pour clear school glue into your butterfly-shaped silicone molds, filling to about three-quarters full.
- Add Food Coloring: Drop one or two colors of food coloring into the glue and swirl gently with a toothpick.
- Sprinkle Optional Decorations: Lightly sprinkle glitter or other decorations on top of the colored glue.
- Set and Cure: Allow the molds to sit undisturbed for 2-3 hours, or until the glue feels firm.
- Remove Suncatchers: Gently peel the suncatchers from the molds, revealing their vibrant surfaces.


Leave a Reply