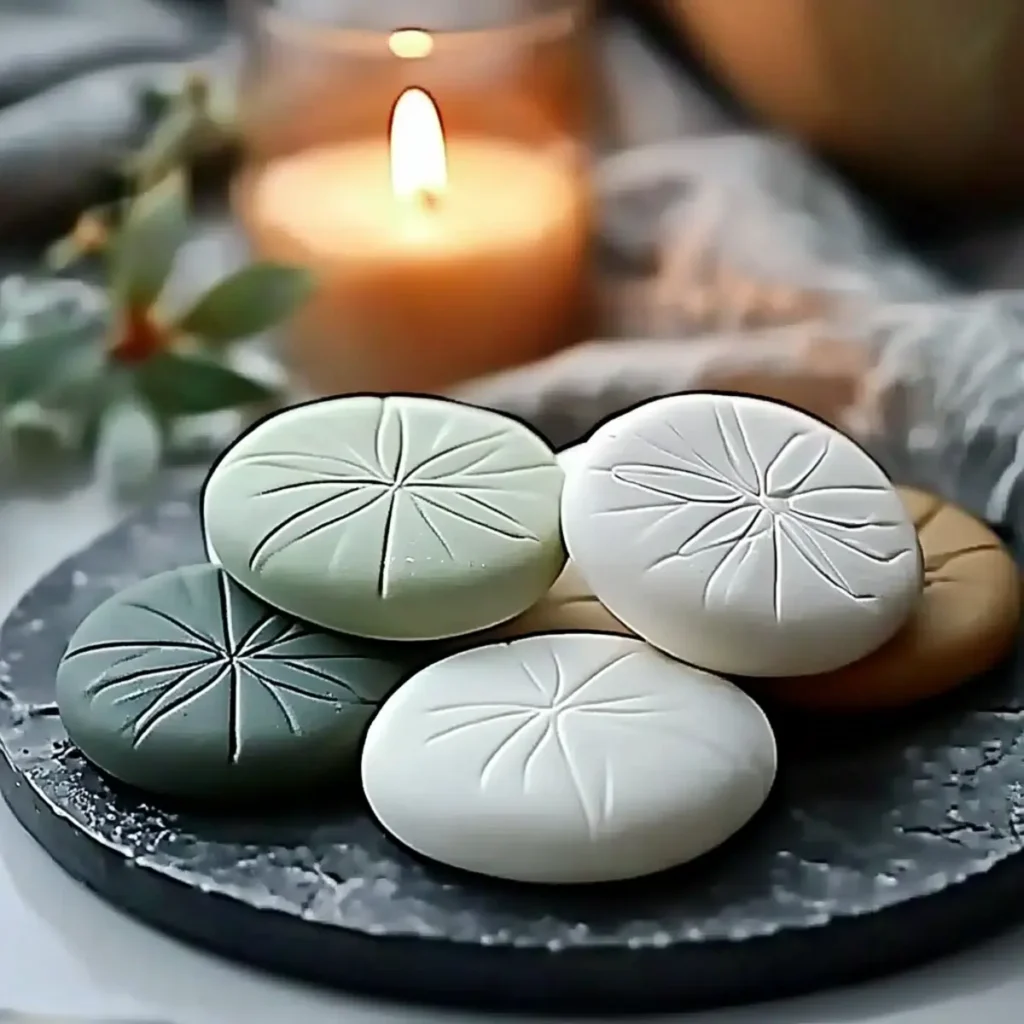
There's something uniquely satisfying about transforming simple ingredients into delightful, aromatic creations. In my quest for a home that feels more inviting and comforting, I stumbled upon the enchanting world of DIY aroma stones. These little gems not only fill your space with heavenly scents but also allow you to express your creativity.
Imagine coming home to the calming fragrance of lavender or the refreshing zing of eucalyptus floating through your living room. With these eco-friendly aroma stones, you can customize scents and even colors to reflect your personal style. Whether you're looking to eliminate lingering odors or merely elevate your home's atmosphere, these charming stones will do the trick.
Join me in this easy and rewarding journey to craft your very own natural air fresheners. Trust me, your home will thank you!
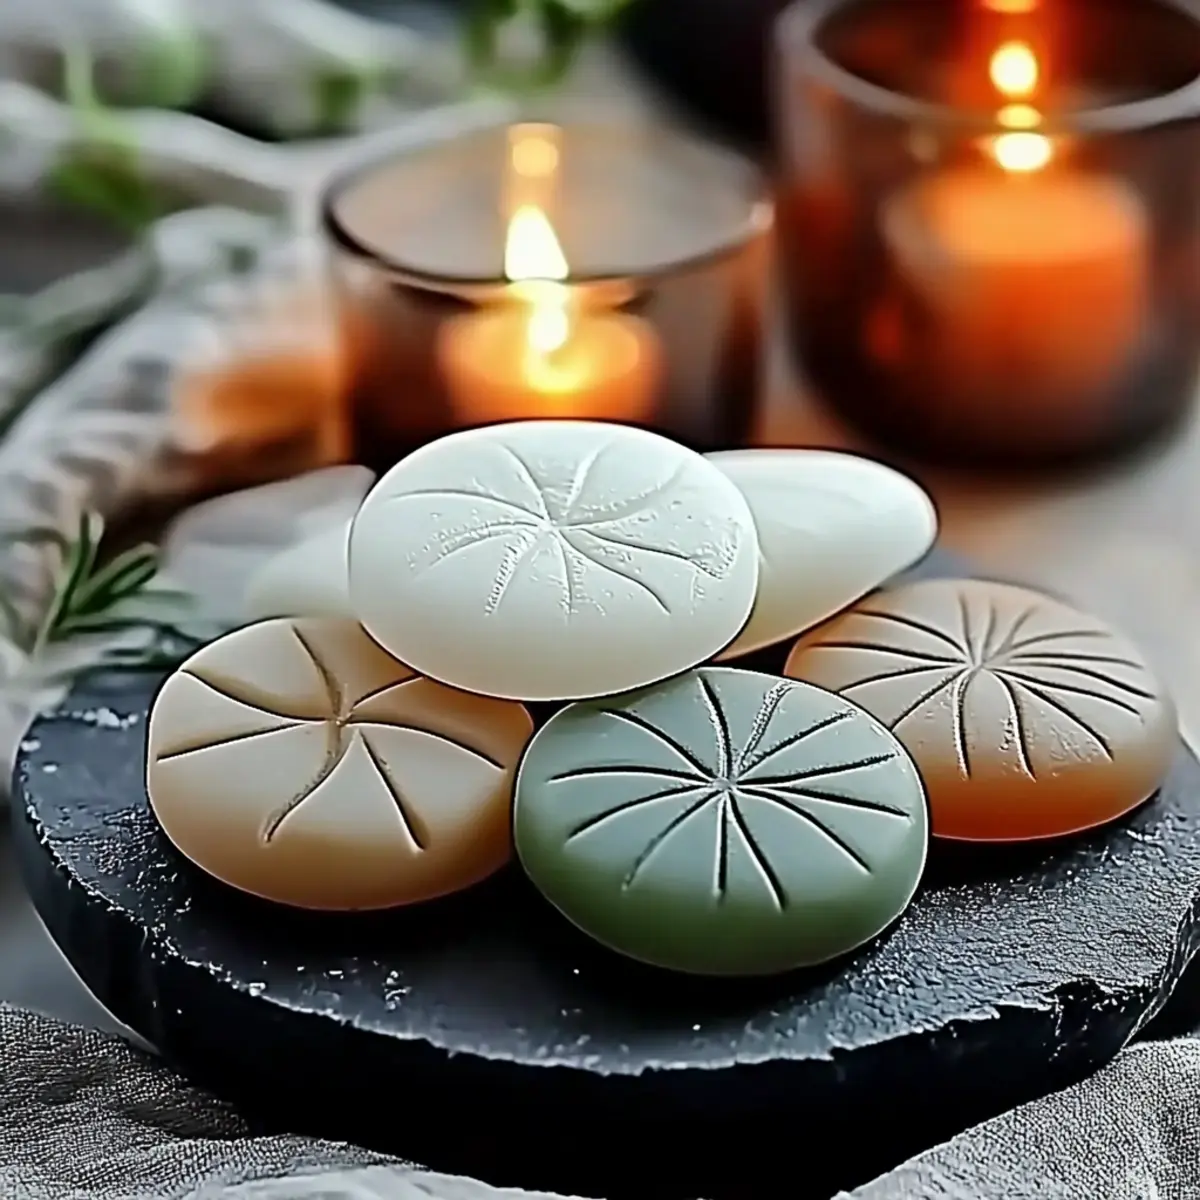
Why DIY Aroma Stones Are a Must-Try?
DIY Aroma Stones are your new best friends for a fresh, inviting home! Customizable to your favorite scents, these stones let you showcase your creativity. Eco-friendly and non-toxic, they ensure a healthier atmosphere free from artificial chemicals. Simple to make, you'll enjoy a rewarding crafting experience that even beginners can tackle. Versatile in use, place them in any room or even your car for lasting fragrance. Elevate your space naturally and embrace the delightful aromas with this easy project! Want more tips on natural air fresheners? Check out our helpful guide.
DIY Aroma Stones Ingredients
• Transform your space with these simple components!
For the Aroma Stones
- Baking Soda - Provides structure and absorbs odors; arrowroot powder can be used instead for a similar effect.
- Cornstarch - Acts as a binding agent; feel free to substitute with arrowroot powder as well.
- Warm Water - Combines dry ingredients into a dough; ensure it's warm for optimal mixing.
- Essential Oil (15-30 drops) - Infuses your aroma stones with fragrance like lavender or eucalyptus; experiment with different blends for a personalized scent.
- Optional Natural Coloring - Enhances the visual appeal of the stones; mica powder or food coloring can be used sparingly for best results.
For Molding and Drying
- Silicone Molds or Cookie Cutters - Shape your stones into fun designs; ice cube trays can also work wonders.
- Parchment Paper or Drying Tray - Essential for laying out stones to dry properly.
- Airtight Containers/Sachets - Store your finished aroma stones to retain their fragrance longer.
Crafting DIY aroma stones isn't just rewarding-it's a pathway to a naturally scented home that speaks to your personal style!
How to Make DIY Aroma Stones
-
Mix Dry Ingredients: In a mixing bowl, combine baking soda and cornstarch until well blended. This combination creates a solid structure and absorbs unwanted odors, prepping for a delightful creation.
-
Add Water: Gradually pour warm water into the dry mixture, stirring consistently. Keep mixing until the dough reaches a clay-like consistency-this should feel smooth and pliable, perfect for shaping!
-
Color (Optional): If you want your aroma stones to pop, incorporate a few drops of natural coloring. Knead it into the dough until evenly distributed to create beautiful hues that reflect your style.
-
Shape Stones: Press the dough into your chosen silicone molds or cut using cookie cutters. Smooth any rough edges with your fingers to ensure they look and feel delightful.
-
Dry: Carefully place the shaped stones on parchment paper. Let them air-dry for 24-48 hours, flipping them halfway to promote even drying. They should feel firm and dry to the touch once ready.
-
Store: After drying, safely tuck your aroma stones into airtight containers until you're ready to use them. This keeps their lovely fragrance lasting longer!
Optional: Add dried herbs or petals to enhance both the scent and appearance of your stones.
Exact quantities are listed in the recipe card below.
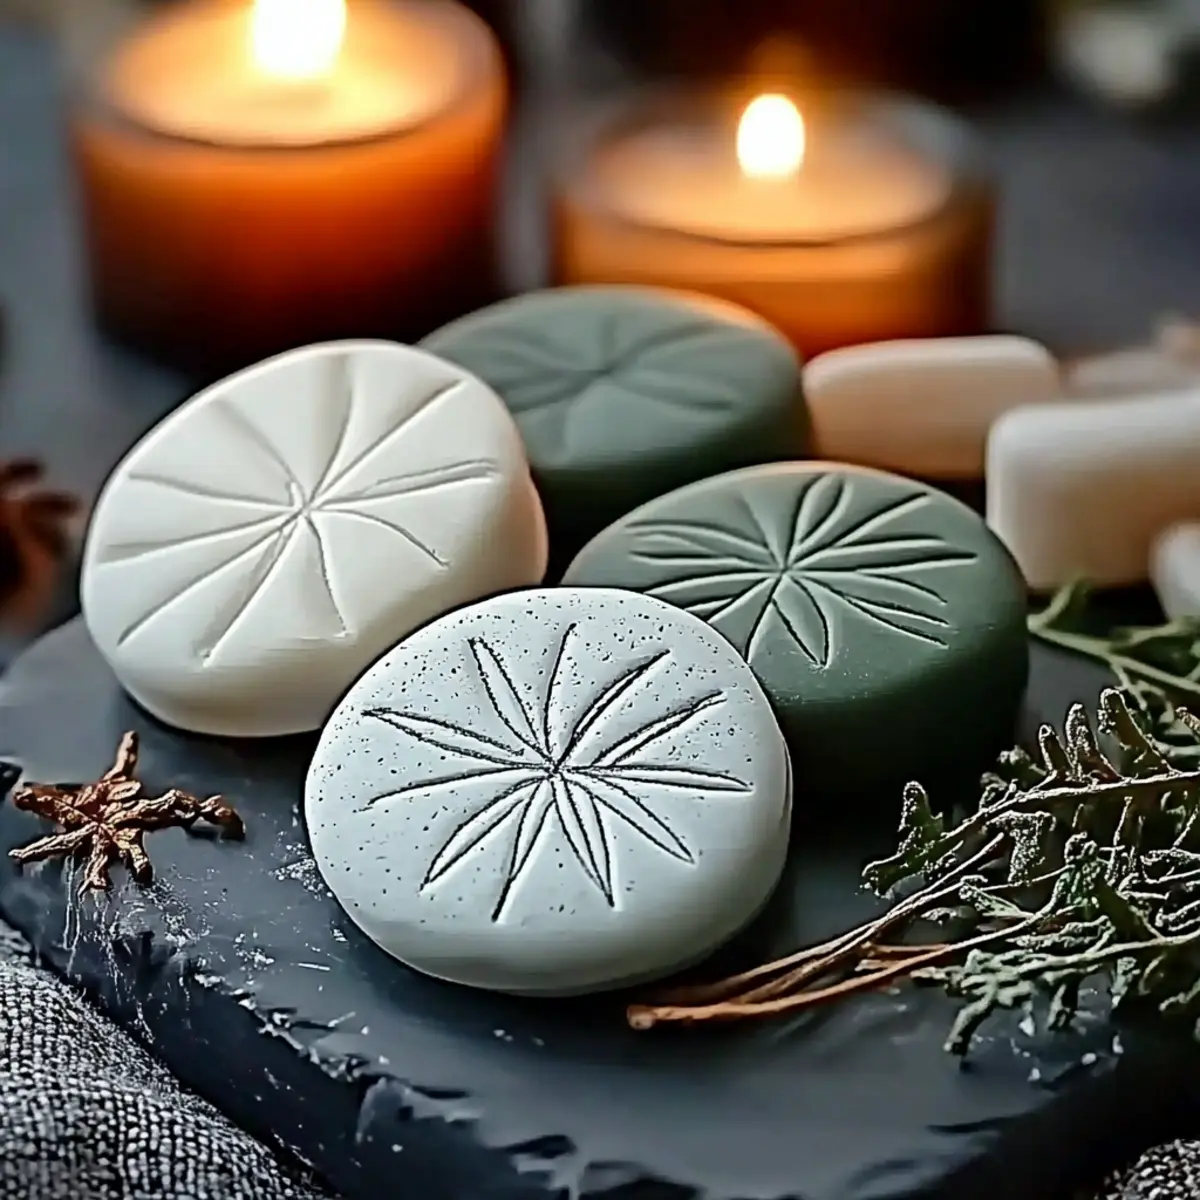
Helpful Tricks for DIY Aroma Stones
-
Choose Your Scents Wisely: Select essential oils that complement each other. For example, mixing lavender with eucalyptus creates a calming yet refreshing aroma perfect for relaxation.
-
Avoid Over-Saturation: Be cautious not to exceed the recommended drops of essential oil. Too much can cause the stones to become crumbly and lose their shape, impacting their effectiveness.
-
Monitor Drying Conditions: Humidity plays a significant role in the drying process. If it's too humid, consider using a fan or placing your stones in a well-ventilated area to speed up drying.
-
Label Your Creations: If you're experimenting with different scents, label each stone after drying. This will help you keep track of your favorites and avoid mixing them up!
-
Maintain Fragrance Effectiveness: Store your finished DIY aroma stones in airtight containers to prolong their scent life. Reapply a few drops of essential oil as needed to refresh their aroma.
How to Store and Freeze DIY Aroma Stones
Airtight Containers: Keep your finished DIY aroma stones in airtight containers to maintain their fragrance. This method ensures they remain effective and enjoyable for several months.
Cool, Dry Place: Store the aroma stones in a cool, dry area away from direct sunlight. This helps preserve their scent and structure, allowing you to enjoy them longer.
Reapplying Fragrance: When the scent starts to fade, simply add a few drops of your favorite essential oil onto the stones to refresh their aroma.
Avoid Humidity: Ensure that the storage environment is low in humidity. High humidity can affect the drying and longevity of your DIY aroma stones.
DIY Aroma Stones Variations
Feel free to get creative and make these aroma stones truly yours by exploring a world of delightful twists!
-
Herbal Infusions: Add dried herbs like rosemary or chamomile for added texture and fragrance. Each bite-sized stone becomes a soothing visual and aromatic treat.
-
Layered Scents: Create speckled stones by layering different essential oil blends. Try alternating drops of citrus and floral oils for a vibrant citrus-floral aroma.
-
Color Curations: Experiment with the colors of your stones using natural colorants. Mix and match shades to create a rainbow effect that brightens any space!
-
Baking Spice Bliss: Incorporate ground spices, such as cinnamon or nutmeg, into your mixture for a warm, inviting scent reminiscent of freshly baked treats. Imagine walking into a cozy kitchen filled with holiday spirit!
-
Woodsy Wonders: Use cedarwood or sandalwood essential oils for a deeper, more earthy scent. This variation brings the tranquil essence of nature indoors for a grounding experience.
-
Cooling Contrast: Add peppermint oil for a refreshing twist that invigorates the senses while also providing a little winter flair. Embrace a cooling, crisp atmosphere when the heat is on!
-
Fruit Forward: Opt for sweet, fruity essential oils like grapefruit or peach to create stones that lift the mood and add bursts of joy to the air!
-
Floral Dreams: Combine various floral essential oils like rose and ylang-ylang for a romantic aroma that can transform your living room into a tranquil garden oasis.
With these variations, your DIY aroma stones will not only fill your home with beauty but also reflect your unique personality and style!
Make Ahead Options
These DIY aroma stones are perfect for busy home cooks looking to savor every moment! You can pre-mix the dry ingredients (baking soda and cornstarch) up to 3 days in advance and store them in an airtight container to maintain their quality. Additionally, shape the stones and let them air-dry for 24-48 hours beforehand; just flip them halfway through for even drying. Once they're fully dried, store them in airtight containers or sachets until you're ready to use them. When you're set to enjoy your inviting scents, simply place the aroma stones wherever you desire, and you'll experience delightful fragrances without any hassle. Preparing ahead not only saves you time but ensures your home remains a welcoming sanctuary!
What to Serve with DIY Aroma Stones?
Transforming your space does not end with crafting these delightful aroma stones; there are simple yet beautiful ways to elevate their impact throughout your home.
- Bright Green Plants: Introduce lush greenery to balance the calming scents you have created. Some plants can even help purify the air, enhancing your home's atmosphere.
- Scented Candles: Pairing your aroma stones with eco-friendly scented candles can create a multi-layered olfactory experience, bringing warmth and ambience to any room. Consider soft lighting for additional coziness.
- Decorative Bowls: Arrange your aroma stones in charming bowls or trays to display them artfully throughout your home. These serve as wonderful conversation starters, adding a personal touch.
- Natural Elements: Bring in wooden or wicker accents to complement the earthy vibes of your aroma stones. This adds texture and warmth, creating a serene sanctuary at home.
- Essential Oil Diffuser: Consider an electric diffuser for an optional dynamic way to expand on your scents. You can alternate essential oils, allowing for seasonal changes in fragrance that match your mood.
- Freshly Baked Cookies: On a sensory note, the warm scent of freshly baked cookies combined with your aroma stones can create a welcoming invite, feeling like a warm hug in your space.
- Herbal sachets: Create small sachets filled with dried lavender or chamomile to pair with your stones. These sachets can enhance the aroma experience and maintain a whiff of tranquility no matter where they're placed.

DIY Aroma Stones Recipe FAQs
What is the best way to choose essential oils for my aroma stones?
Absolutely! Selecting essential oils is all about personal preference. I recommend experimenting with blending scents that complement each other-like lavender, known for its calming properties, mixed with refreshing eucalyptus. Aim for a combination of 15-30 drops total, and don't hesitate to try different blends until you find your perfect aroma!
How long can I store my DIY aroma stones, and how should I keep them?
To keep your DIY aroma stones fresh, store them in airtight containers or sachets. Doing so will help maintain their fragrance for up to 3 months. Place them in a cool, dry area away from direct sunlight to avoid heat and humidity, which can degrade their scent over time.
Can I freeze DIY aroma stones for longer storage?
While DIY aroma stones are not typically frozen, you can follow these steps if you want to keep them fresh longer: Make sure they are completely dry; then place them in a sealed bag or airtight container in the freezer. When you're ready to use them, allow them to come to room temperature before placing them around your home. This can help them retain their scent!
What should I do if my aroma stones crumble during the process?
If your stones are crumbling, it might be because of over-saturation with essential oils, or the dough was too dry. If this happens, try adjusting your next batch by reducing the essential oils. Additionally, ensure your mixture has the right consistency before molding-smooth and clay-like is ideal. If they still crumble, don't fret! You can always reform them by adding a touch of warm water.
Are DIY aroma stones safe for pets and children?
Yes! DIY aroma stones are generally safe, but it's important to be cautious with essential oils around pets and young children. Some oils, like tea tree oil or citrus oils, can be harmful to pets, particularly cats. Always keep the stones out of reach, and consider using Pet-safe essential oils like lavender or chamomile for a soothing effect in your space.
How can I refresh the scent of my aroma stones once it begins to fade?
The more the merrier! To refresh your aroma stones, simply add a few drops of your favorite essential oil on top of each stone as needed. This will bring back the lovely scents without needing to create a new batch, making it an easy and effective way to keep your home smelling delightful!
DIY Aroma Stones: The Best Natural Way to Scent Your Space
Equipment
- mixing bowl
- silicone molds
- cookie cutters
- Parchment Paper
- airtight containers
Ingredients
For the Aroma Stones
- 1 cup baking soda Provides structure and absorbs odors
- 0.5 cup cornstarch Acts as a binding agent
- 0.5 cup warm water Combine dry ingredients into a dough
- 15-30 drops essential oil Infuses aroma stones with fragrance
- as needed optional natural coloring Enhances visual appeal
For Molding and Drying
- 1 silicone molds or cookie cutters Shape your stones into fun designs
- 1 parchment paper or drying tray Essential for laying out stones to dry
- 1 airtight containers/sachets Store finished aroma stones
Instructions
How to Make DIY Aroma Stones
- In a mixing bowl, combine baking soda and cornstarch until well blended.
- Gradually pour warm water into the dry mixture, stirring consistently until the dough reaches a clay-like consistency.
- If desired, incorporate a few drops of natural coloring into the dough.
- Press the dough into your chosen silicone molds or cut using cookie cutters.
- Place the shaped stones on parchment paper and let them air-dry for 24-48 hours.
- After drying, store your aroma stones in airtight containers.



Leave a Reply