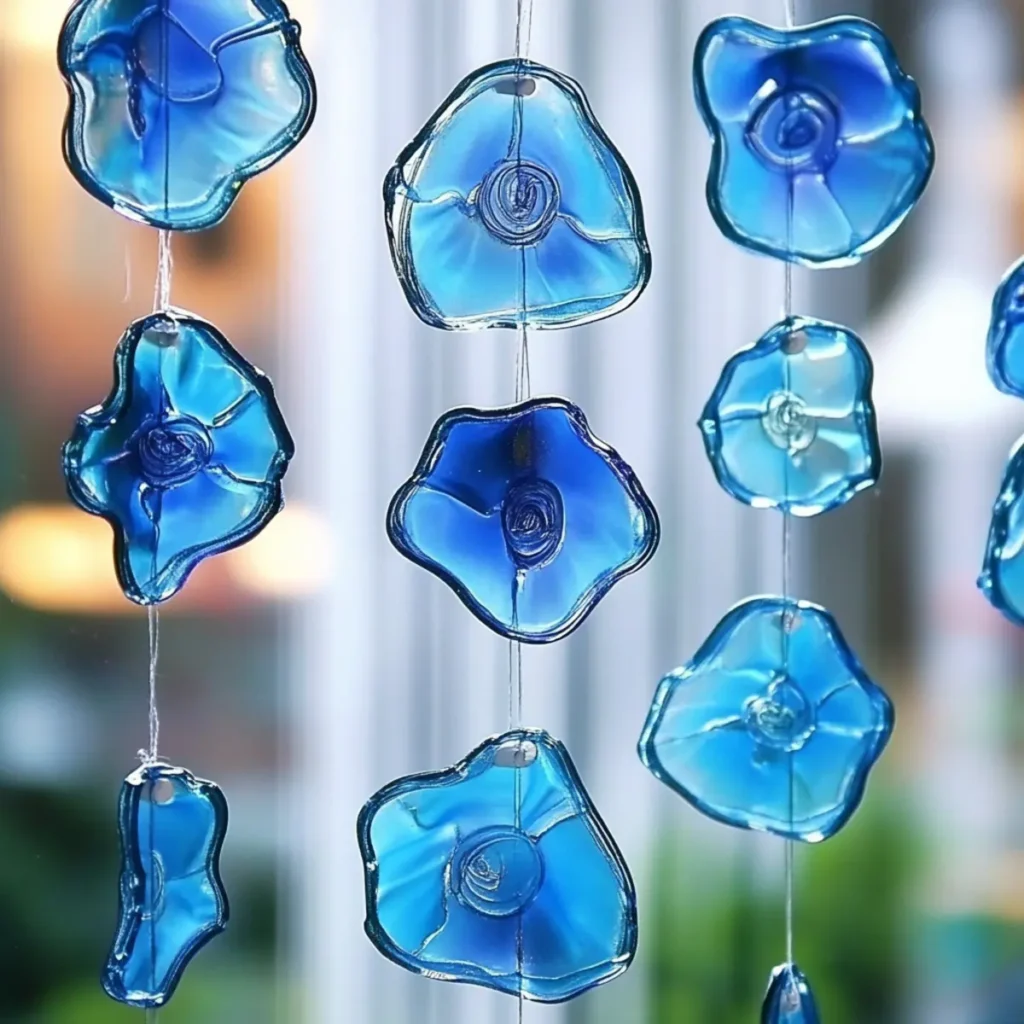
As I sat by the window, sunlight spilled into the room, revealing endless possibilities for creativity. One day, amidst the ordinary chaos of household chores, I stumbled upon a bag of forgotten blue crayons. Inspired, I decided to transform those simple crayons into vibrant DIY Blue Crayon Suncatchers that would bring a splash of color to my windows.
In less than 30 minutes, you can craft these mesmerizing suncatchers with minimal supplies, creating dazzling light patterns that dance across your walls. Whether you're spicing up your home decor or enjoying a fun project with kids, this craft is both engaging and rewarding. So, roll up your sleeves and let's turn those crayons into a delightful reminder of the beauty that sunlight can bring into our homes!
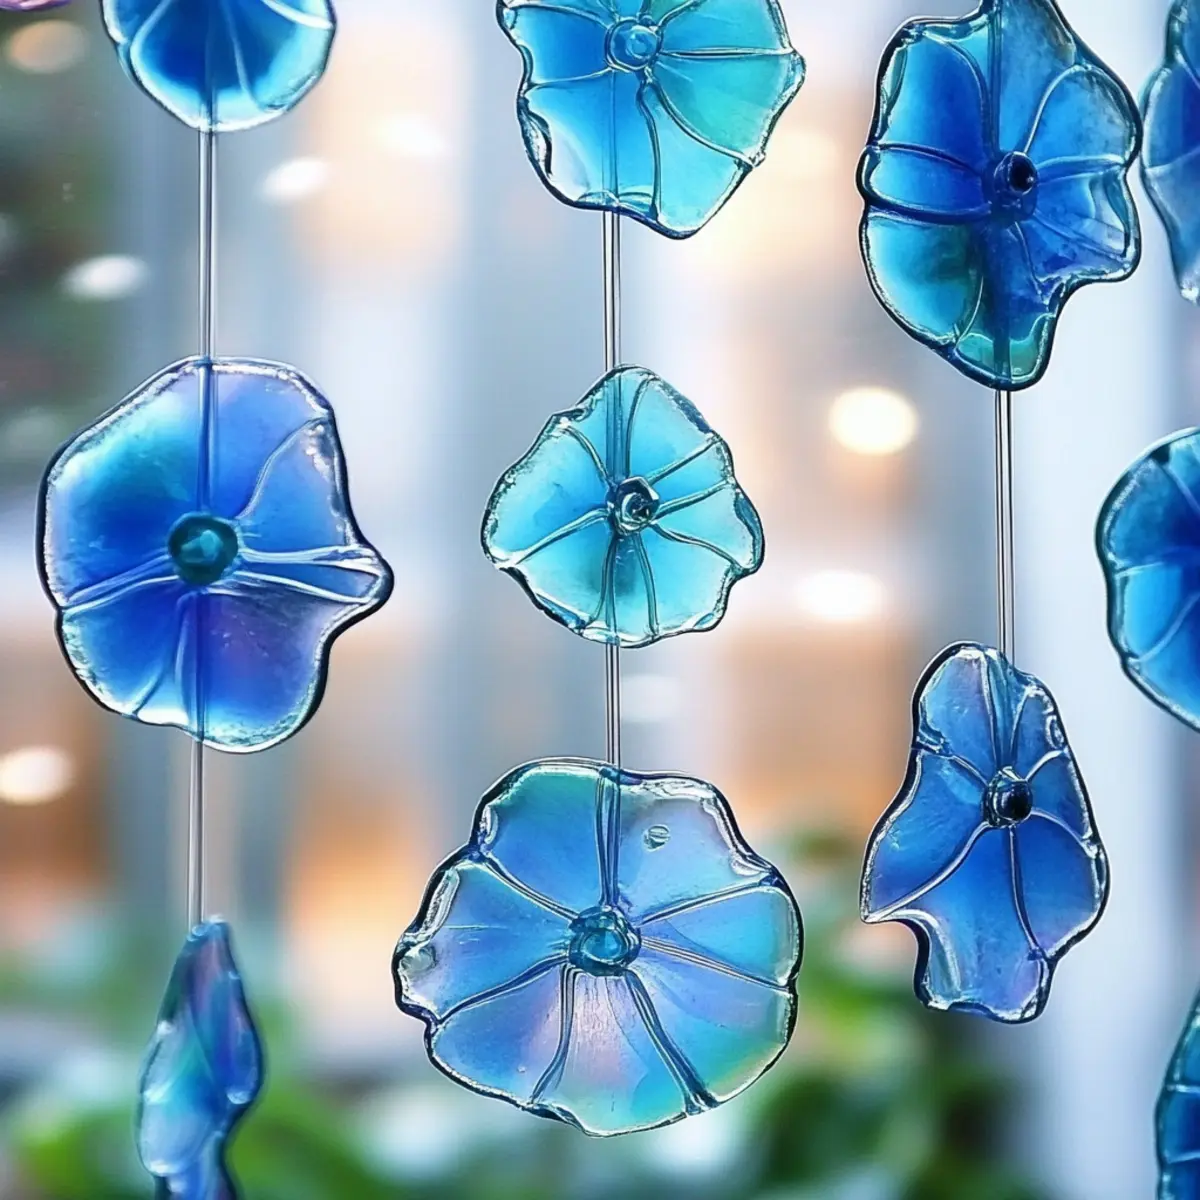
Why are DIY Blue Crayon Suncatchers amazing?
Colorful Fun: The vibrant hues of melted crayons create stunning suncatchers that instantly brighten your space.
Quick and Easy: Crafting these suncatchers takes under 30 minutes-perfect for busy days!
Family-Friendly: This project is suitable for all ages, making it a great bonding activity.
Unique Designs: You can mix and match colors and shapes, unleashing your creativity.
Decorate Anywhere: Hang them in windows or outdoor spaces for enchanting light displays.
These delightful suncatchers are a fantastic way to transform simple materials into eye-catching art. So grab those crayons, and get crafting today!
DIY Blue Crayon Suncatcher Ingredients
Craft your enchanting suncatchers with these simple supplies!
For the Suncatcher Base
- Blue Crayons - Create colorful shavings that melt into vibrant designs; adding white or silver enhances the sparkle.
- Waxed Paper - This surface is essential for melting and shaping your crayon creations.
- Crayon or Pencil Sharpener - Needed for generating thin shavings from your crayons.
For Melting and Shaping
- Iron - Use this to melt the crayon shavings, ensuring adult supervision and setting to the lowest temperature.
- Scissors - Useful for cutting the finished suncatcher into your desired shape.
- Hole Punch - Creates a hole for easy hanging when your suncatcher is complete.
For Hanging
- Embroidery Floss/String/Thread - This will suspend your beautiful suncatcher, allowing it to catch the light and shine beautifully.
With these ingredients on hand, you're just a few steps away from your very own DIY Blue Crayon Suncatchers!
How to Make DIY Blue Crayon Suncatchers
-
Preheat your iron on the lowest setting. This will ensure a gentle melting process without burning the crayon shavings.
-
Sharpen the blue crayons using the crayon sharpener. Gather thin shavings of varying shades for a lovely multi-toned effect that adds depth to your design.
-
Layer the waxed paper on a flat surface, placing one sheet as the base and another on top. This will help contain the melted crayons and keep them from sticking.
-
Sprinkle the crayon shavings evenly over the top sheet of waxed paper. Feel free to arrange them as desired, mixing colors for a unique pattern.
-
Press the top sheet of waxed paper gently with the warm iron for 10-15 seconds. You'll see the crayons melt and blend together; just ensure you don't overheat!
-
Remove the top sheet from heat and let it cool completely before peeling apart the sheets. This will help keep your suncatcher smooth and intact.
-
Cut your cooled suncatcher into your preferred shapes using scissors. Let your creativity flow as you decide what form to give it!
-
Punch a hole at the top using the hole punch, then thread it with embroidery floss to hang. Your colorful creation is now ready to brighten your space!
Optional: Add a touch of glitter to the crayon shavings for extra sparkle when melted.
Exact quantities are listed in the recipe card below.
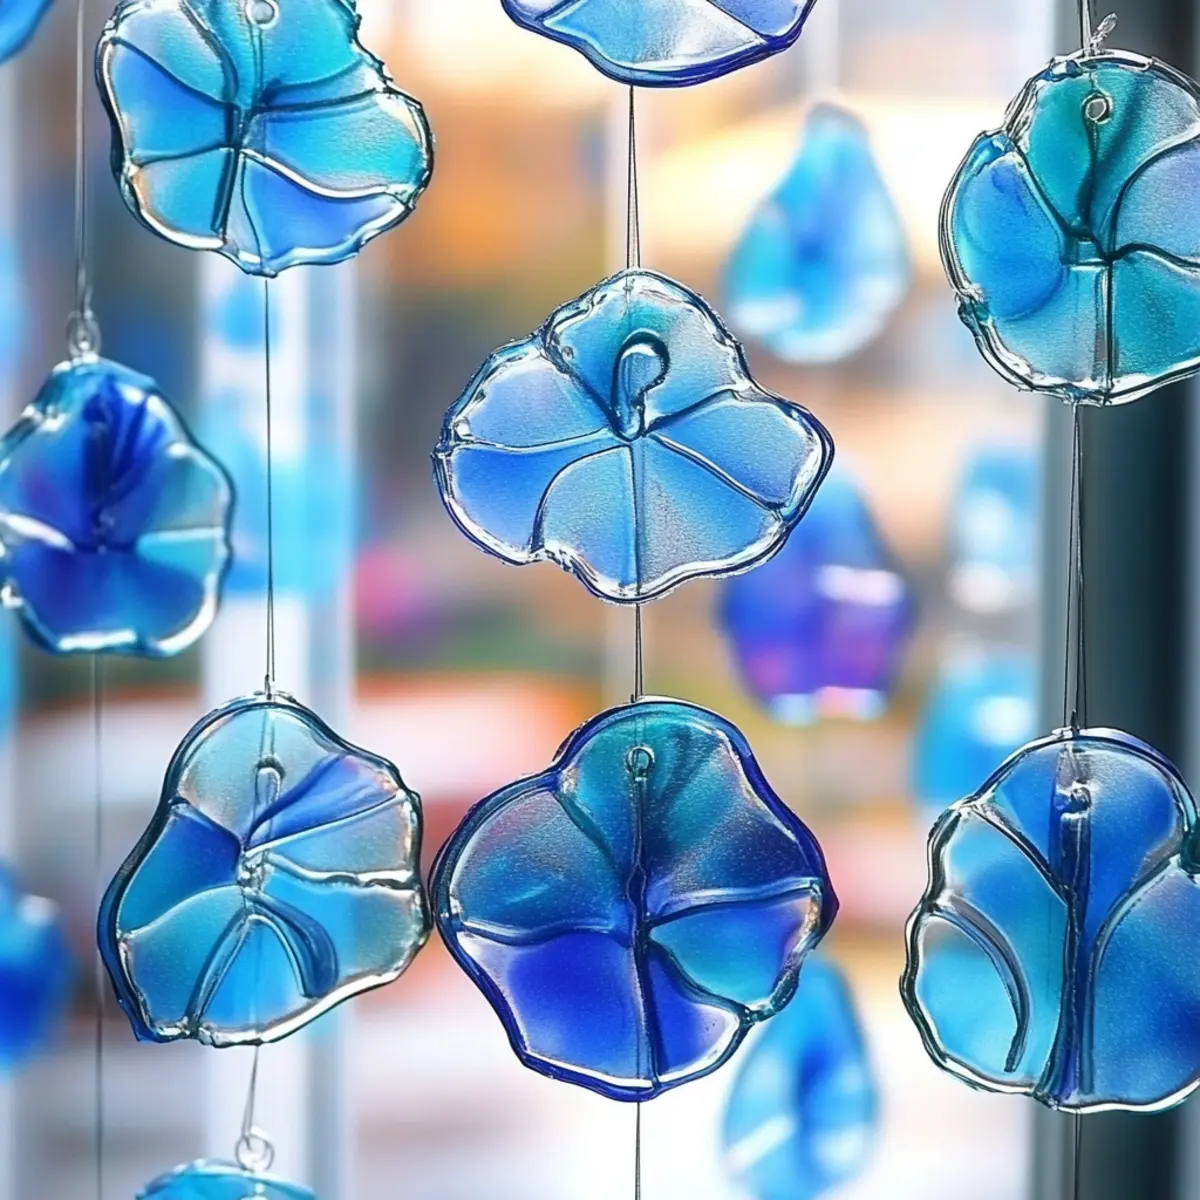
DIY Blue Crayon Suncatcher Variations
Feel free to experiment and let your imagination run wild with these fun twists on classic suncatchers!
-
Rainbow Mix: Combine multiple crayons in a vibrant array for a stunning spectrum that brings a burst of color to your windows. The blending of shades will create a beautiful kaleidoscope effect when the sunlight shines through.
-
Glittery Sparkle: Add a sprinkle of fine glitter to your crayon shavings before melting for a dazzling finish. The glitter catches the light, making your suncatcher shimmer like a magical artifact.
-
Seasonal Themes: Adjust your color palette according to the seasons-think warm reds and oranges for fall or cool blues and whites for winter. These themed suncatchers can bring the essence of each season into your home decor.
-
Translucent Touches: Incorporate clear beads or small pieces of plastic for a textured feel. These additions will allow more light to filter through, enhancing the ethereal quality of your creations.
-
Shape Varieties: Use cookie cutters to create unique shapes like hearts, stars, or seasonal icons. This technique encourages creativity and turns a simple craft into personalized gifts.
-
Nature Inspirations: Embed small leaves or flower petals within the crayon shavings for a natural touch. This will not only add color but also give an organic feel to your suncatcher, making it a perfect representation of natural beauty.
-
Scented Surprise: For a sensory twist, mix a few drops of essential oils onto the shavings before melting. This adds a delightful scent to your crafts that will freshen up your space as they hang in the window.
-
Layered Effects: Instead of melting all shavings at once, create layered suncatchers by carefully melting and cooling them before adding more colors on top. This technique will give your suncatcher depth and texture.
Embark on your suncatcher journey today and let your creativity shine through!
Expert Tips for DIY Blue Crayon Suncatchers
- Keep It Controlled: Always supervise children with the iron. Safety first, as the iron can get very hot.
- Use Parchment Paper: Prevent crayon residue on your iron by placing parchment paper between the sheets of waxed paper while melting.
- Layer Wisely: Opt for thin layers of crayon shavings. This allows more light to filter through, enhancing the vibrant look of your DIY Blue Crayon Suncatchers.
- Be Patient: If the crayons don't melt completely, give them a few more seconds of heat. Just be careful not to burn them!
- Creative Shapes: Consider using cookie cutters to guide your cutting into fun shapes for added creativity.
- Mix It Up: Don't shy away from combining colors! Experimenting with multiple shades adds dynamic flair to your finished suncatchers.
Make Ahead Options
These DIY Blue Crayon Suncatchers are perfect for busy home cooks looking to engage in a creative project while saving time! You can prepare the crayon shavings up to 24 hours in advance-simply sharpen the crayons and store the shavings in an airtight container to keep them fresh. When you're ready to craft, lay out your waxed paper, sprinkle the shavings, and melt them as directed. For the best results, keep the crayon shavings stored away from moisture to maintain their vibrancy. Once your suncatchers are melted and cooled, they can also be hung immediately or stored flat for up to 3 days before displaying for that perfect pop of color in your home!
How to Store and Freeze DIY Blue Crayon Suncatchers
Room Temperature: Keep your suncatchers indoors, away from direct sunlight, to prevent fading and maintain their vibrant colors for up to 3 months.
Fridge: While refrigeration isn't necessary, if you have extra melted crayon shavings, store them in an airtight container to preserve freshness for future projects.
Freezer: For long-term storage, place completed suncatchers in a single layer in an airtight container. They can last up to a year if kept away from moisture and extreme temperatures.
Reheating: If you need to reshape or fix any imperfections, gently reheat the suncatcher with an iron on low, covering it with parchment paper to avoid residue.
What to Serve with DIY Blue Crayon Suncatchers?
Embrace the joy of crafting with these delightful suncatchers, perfect for brightening your windows and home!
- Fresh Flowers: A vase filled with seasonal blooms complements the vibrant colors of your suncatchers, creating a lively and cheerful atmosphere.
- Colorful Throw Pillows: Add cozy, vibrant cushions to your seating area, enhancing the playful essence of your suncatchers while providing comfort for family gatherings.
- Creative Artwork: Surround your suncatchers with kid-created artwork or family photos, making your space a treasure trove of memories and creativity.
- Playful Wall Decals: Decorate the walls with removable wall stickers that echo the whimsical designs of your suncatchers, inviting even more color into your home.
- Sun Tea: Brew refreshing sun tea to enjoy while crafting. The gentle infusion of flavors mirrors the warmth and brightness the suncatchers bring to your space.
- Fruity Snacks: Serve an assortment of fresh fruits or fruit kabobs to nibble on while you work on your suncatchers, keeping your creativity fueled with natural sweetness.
- Mason Jar Candles: Brighten your space further with beautifully scented candles. When lit, they'll cast a warm glow that echoes the light-catching wonders of your suncatchers.
- Charming String Lights: Hang string lights around your crafting area or windows to amplify the enchanting display created by your beautiful suncatchers.
- Flavored Lemonade: Quench your thirst with refreshing lemonade, helping you stay cool, just like the joy of creating these colorful pieces.
DIY Blue Crayon Suncatchers Recipe FAQs
What type of crayons should I use for my suncatchers?
Absolutely! It's best to use standard blue crayons as they melt beautifully, creating vibrant colors for your suncatchers. You can mix in white or silver crayons to add an extra layer of sparkle and dimension.
How should I store my DIY Blue Crayon Suncatchers?
To keep your suncatchers looking fresh, store them indoors in a cool, dry place, away from direct sunlight. This will help preserve their colors and prevent fading for up to 3 months. Alternatively, if you have some unfinished crayon shavings, store them in an airtight container in the refrigerator to keep them ready for your next crafting adventure.
Can I freeze my completed suncatchers?
Yes, you can! For long-term storage, carefully place your suncatchers in a single layer inside an airtight container before freezing. When stored properly, they can last up to a year as long as they are kept away from moisture and extreme temperatures.
What if my crayon shavings don't melt completely?
Very common! If you find that your crayon shavings aren't melting all the way, simply reheat them. Use the iron on low, placing parchment paper over the top sheet to prevent any residue from sticking. Keep the iron moving to ensure even heating. If not melted after a few seconds, just repeat the process briefly until you achieve that beautiful, blended look!
Are there any dietary considerations when making these suncatchers?
While these DIY Blue Crayon Suncatchers are safe for crafting, keep in mind they are not edible. If crafting with children or pets around, ensure they understand these are just for display! Also, review crayon packaging if allergies to certain materials exist, as some crayons may contain non-toxic but still potentially allergenic substances.
Can I use glitter or other additives in my suncatchers?
Absolutely! I often add a sprinkle of glitter to the crayon shavings for that extra sparkle when the light hits just right. Just make sure to mix it evenly before melting, and watch how it catches the light through your beautiful creations!
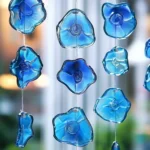
DIY Blue Crayon Suncatchers: Brighten Your Windows Beautifully
Equipment
- Iron
- Crayon or Pencil Sharpener
- Scissors
- Hole Punch
Ingredients
For the Suncatcher Base
- 3 pieces Blue Crayons Adding white or silver enhances the sparkle.
- 2 sheets Waxed Paper Essential for melting and shaping.
- 1 piece Crayon or Pencil Sharpener Needed for generating thin shavings.
For Hanging
- 1 piece Embroidery Floss/String/Thread To suspend the suncatcher.
Instructions
Instructions
- Preheat your iron on the lowest setting.
- Sharpen the blue crayons using the crayon sharpener.
- Layer the waxed paper on a flat surface.
- Sprinkle the crayon shavings evenly over the top sheet of waxed paper.
- Press the top sheet with the warm iron for 10-15 seconds.
- Remove the top sheet from heat and let it cool completely.
- Cut your cooled suncatcher into your preferred shapes.
- Punch a hole at the top using the hole punch, then thread it with embroidery floss.



Leave a Reply