When the sun starts shining and the kids are bouncing off the walls, nothing says fun quite like a creative craft session! I recently embarked on a colorful adventure that not only kept them engaged but also added a splash of artistic flair to our afternoon. Enter the Homemade Rainbow Glow Bouncy Balls-a delightful way to combine sensory play with a bit of science! This vibrant DIY project transforms simple household ingredients into a bounty of bouncing joy, perfect for kids and adults alike.
Picture this: mixing liquid watercolors together, the colors swirling and dancing in the cups, waiting to form into something amazing. Not only do these bouncy balls provide hours of entertainment, but they also allow little hands (and big ones too!) to explore, create, and unleash their inner artist. Whether tossed around the yard or used in an imaginative game, each bouncy ball holds a rainbow of possibilities. So, roll up your sleeves and let's dive into this hands-on craft that guarantees giggles and bright smiles all around!
Why You'll Love Bubble Painting Adventure?
Creative Expression: This recipe offers a fantastic way to blend art and science, stimulating imaginative play for all ages.
Simple Ingredients: Using basic household items, you can create vibrant bouncy balls without any complicated steps.
Sensory Fun: Engaging with colors and textures enhances sensory development, making it both a fun and educational experience.
Versatile Play: These bouncy balls can be used in various games, sparking endless creativity during playtime.
Easy Clean Up: With minimal mess and quick drying time, you can swiftly enjoy crafting without the fuss.
Don't forget to check out our Homemade Rainbow Glow Bouncy Balls for more fun ideas!
Homemade Rainbow Glow Bouncy Balls Ingredients
• Create your colorful bouncy balls with these simple ingredients!
For the Mixture
- Small cups or bowls - Perfect for mixing colors; disposable containers work great!
- Liquid watercolors or food coloring - Adds vibrant colors to your bouncy balls; gel food coloring can intensify the shades.
- Dish soap - Acts as a binding agent to form the balls; opt for non-toxic options for safety.
- Water - Hydrates the mixture; using warm water helps everything blend better.
For Crafting Fun
- Straws - Fun for transferring your mixture and adds an extra playful element.
- White cardstock or watercolor paper - Ideal for creating designs with your finished balls; choose sturdy paper for best results.
- Glitter or shimmer watercolor - Optional, but who doesn't love a little sparkle in their bouncy balls?
- Washable markers - Great for outlining your designs once the balls have dried.
- Masking tape - Useful for creating clear, crisp designs during your crafting session.
- Stencils or cutouts - Add layered bubble designs for an extra splash of creativity!
Get ready to embark on your Bubble Painting Adventure and unleash a world of colorful fun!
How to Make Homemade Rainbow Glow Bouncy Balls
-
Prepare Work Space: Cover your table or tray with a protective surface to catch any spills and gather all your ingredients for easy access.
-
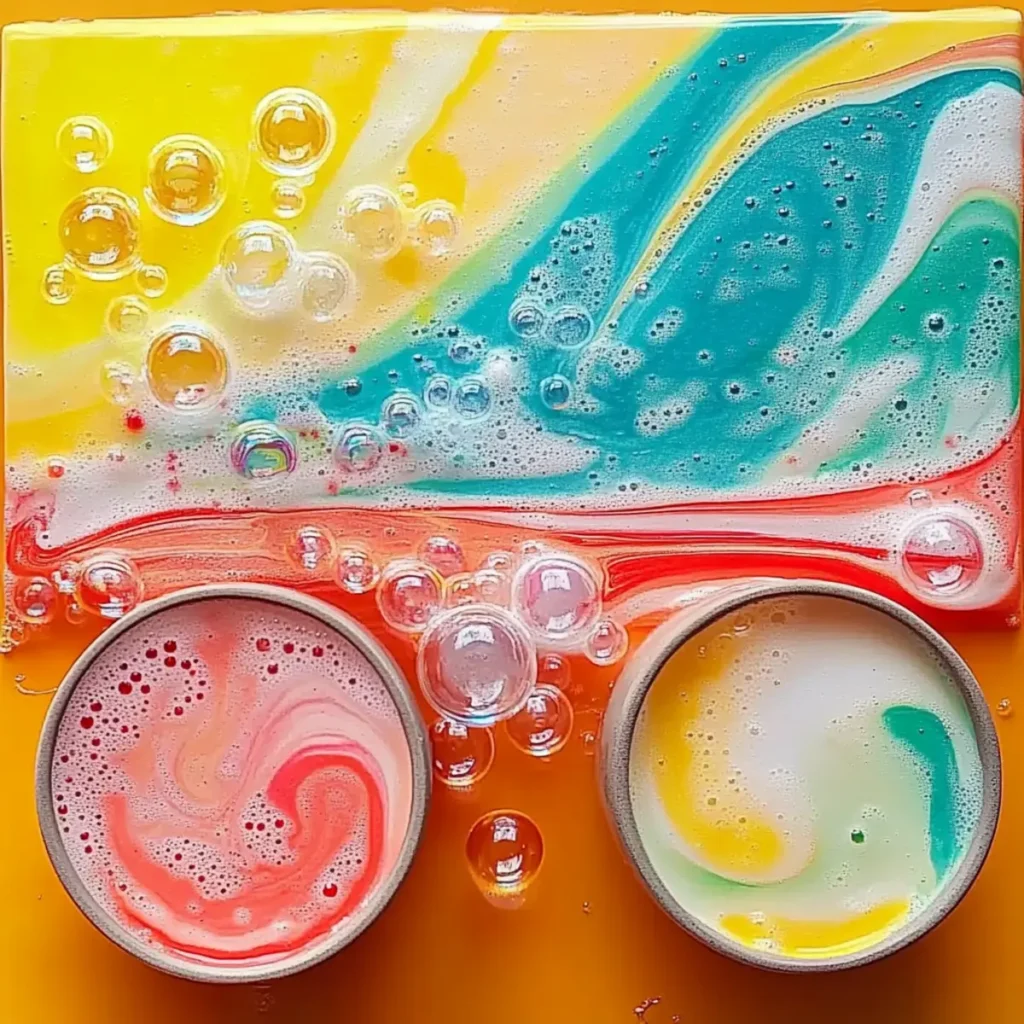
Mix Colors: In individual small cups or bowls, add a squirt of liquid watercolors or food coloring, followed by water and dish soap. Stir until combined and vibrant.
-
Combine Mixture: Carefully transfer small amounts of each color into a larger bowl. Mix gently to create a beautiful marble effect, making sure colors don't become too muddled.
-
Shape Balls: With clean hands, take the colorful mixture and form it into balls. Aim for a moldable consistency that holds together but isn't sticky-about the size of a golf ball.
-
Dry: Place the formed balls on a flat surface to set for at least 1 hour. Storing them flat helps retain their perfect shape as they dry.
Optional: Add a sprinkle of glitter to the mixture for extra sparkle before forming the balls.
Exact quantities are listed in the recipe card below.
Storage Tips for Homemade Rainbow Glow Bouncy Balls
Room Temperature: Store completed bouncy balls in a cool, dry space to preserve their bounce and brightness for up to one week.
Fridge: For longer storage, you can place them in the fridge for up to two weeks-just ensure they are in an airtight container to prevent moisture exposure.
Airtight Container: Keep bouncy balls in a sealed container to avoid dust and maintain their vibrant colors over time. Avoid direct sunlight, which may fade their brightness.
Reheating: If your bouncy balls lose some bounciness, leave them at room temperature for a while to restore their original fun. Enjoy your crafting experience with these delightful creations!
What to Serve with Homemade Rainbow Glow Bouncy Balls?
When it's time for creative play, a little deliciousness on the side can elevate the crafting experience!
- Fruit Skewers: Fresh, colorful fruit skewers add a healthy touch and offer a refreshing bite amidst all the crafting fun.
- Veggie Cups: Crisp, crunchy veggies with a tasty dip provide an excellent balance to your bubbly adventure, ensuring everyone is energized and satisfied.
- Homemade Lemonade: A thirst-quenching, zesty beverage that complements the vibrant colors of your bouncy balls, making playtime even more delightful.
- Mini Cupcakes: Brightly decorated mini cupcakes are perfect for sharing and provide a sweet treat amidst all the laughter and creativity.
- Cheese Platter: A mix of soft and hard cheeses gives a savory option that pairs beautifully with the playful atmosphere of crafting projects.
- Chocolate-Dipped Pretzels: These sweet and salty snacks add an element of fun, perfect for munching on while the bouncy balls dry.
- Colorful Smoothies: Blend up a batch of fruity smoothies for a delicious, vibrant drink that can inspire colorful explorations during crafting.
Enjoy your Bubble Painting Adventure with colorful creations and tasty treats that complement your crafting fun!
Make Ahead Options
These Homemade Rainbow Glow Bouncy Balls are fantastic for busy families and can easily be prepped ahead of time! You can mix the liquid watercolors or food coloring with water and dish soap up to 24 hours in advance, sealing the mixture in airtight containers to prevent drying out. When you're ready to craft, simply combine the colored mixtures in a larger bowl and shape them into balls. To maintain their vibrant colors and fun texture, keep the formed balls stored flat in a cool, dry place until you're ready to play. This way, you'll have delightful bouncy balls ready for fun with minimal last-minute effort!
Expert Tips for Homemade Rainbow Glow Bouncy Balls
-
Glove Up: Use disposable gloves to prevent staining your hands from the vibrant colors and ensure a cleaner crafting experience.
-
Soap Balance: Be cautious with the dish soap-too much can make your bouncy balls too soft and squishy. Aim for the right amount for the perfect texture.
-
Humidity Matters: If it's a humid day, allow extra drying time. High humidity can affect the balls' firmness and texture as they dry.
-
Color Combinations: Experiment with color mixing to achieve unique and beautiful marbled effects-just make sure not to overmix!
-
Cool Storage: Keep finished bouncy balls in a cool, dry place. Proper storage helps maintain their shape and elasticity for endless playtime fun.
Just dive into your own Bubble Painting Adventure, and let the creativity flow!
Bubble Painting Adventure Variations
Dive into a world of creativity and let your imagination run wild by personalizing these bouncy balls in delightful ways!
- Natural Dyes: Use fruits or vegetables like beet juice or turmeric for vibrant, all-natural colors.
- Textured Add-Ins: Incorporate sand or cornstarch into the mixture for a fascinating sensory twist.
- Fragrance Fun: Add a few drops of essential oils for scented bouncy balls that elevate playtime.
- Glow-In-The-Dark Paint: Mix in glow-in-the-dark paint for an enchanting nighttime adventure.
For an even more unique experience, try creating bouncy balls in various sizes. Just adjust the mixture to form smaller or larger balls for different playful activities.
- Seasonal Themes: Use holiday colors like red and green for Christmas or orange and black for Halloween to match the festivities.
- Sparkle-Bright: Sprinkle extra glitter into the mixture for an added touch of magic and shine.
- Mixing Fun: Combine various colors in a single ball to create a swirled, marbled effect that mesmerizes.
Getting creative with these variations will not only enhance your bouncy balls but also make crafting an extraordinary adventure for everyone involved!

Homemade Rainbow Glow Bouncy Balls Recipe FAQs
What type of liquid colors can I use?
Absolutely! You can use liquid watercolors or food coloring to add vibrant hues to your bouncy balls. If you're aiming for more intense shades, gel food coloring is a fantastic substitution. Just keep in mind that using too much gel might affect the texture, so start with a little and adjust as needed!
How long do the bouncy balls last when stored?
For the best results, store your completed bouncy balls in a cool, dry place, and they'll last for up to one week. If you're looking to extend their lifespan, placing them in the fridge can keep them in great shape for up to two weeks. Be sure to use an airtight container to prevent any moisture from getting in.
Can I freeze my bouncy balls?
I wouldn't recommend freezing your bouncy balls, as the freezing process can damage the texture and elasticity. Instead, store them in a cool environment and allow them to return to room temperature if they ever lose their bounciness.
What if my mixture is too sticky or too soft?
Very good question! If your mixture is too sticky, you might need to add a bit more dish soap incrementally while mixing until you achieve a moldable consistency. Conversely, if the mixture becomes too soft, consider adding a bit more water to balance it out. Always aim for a texture that feels good to mold but is not overly tacky.
Are these bouncy balls safe for kids and pets?
While the bouncy balls are made from non-toxic ingredients, it's always best to supervise playtime, especially with younger children and pets. If your child has specific allergies (for example, to dish soap), it's wise to choose a safe, hypoallergenic option. Additionally, keep the bouncy balls out of reach of pets to avoid any chewing hazards.
What can I do if the balls don't dry properly?
If your bouncy balls aren't drying as expected, consider the humidity level in your environment. It might slow down the drying process. In such cases, allow them a few extra hours to dry, ensuring they are laid flat in a well-ventilated area to help them maintain their shape. If they still feel too soft after drying time, they may require a little more dish soap next time to achieve the right consistency!

Bubble Painting Adventure: Unleash Colorful Fun for All!
Equipment
- Small cups or bowls
- Mixing tools
Ingredients
For the Mixture
- 2 cups Liquid watercolors or food coloring Adds vibrant colors
- 1 tablespoon Dish soap Non-toxic options recommended
- 1 cup Water Warm water preferred
For Crafting Fun
- 1 pack Straws For transferring mixture
- 1 sheet White cardstock or watercolor paper Sturdy paper recommended
- to taste Glitter or shimmer watercolor Optional
- 1 set Washable markers
- 1 roll Masking tape
- as needed Stencils or cutouts For designs
Instructions
How to Make
- Prepare Work Space: Cover your table or tray with a protective surface to catch spills and gather all ingredients.
- Mix Colors: In small cups, add liquid watercolors or food coloring with water and dish soap. Stir until vibrant.
- Combine Mixture: Transfer small amounts of each color into a larger bowl and mix gently.
- Shape Balls: With clean hands, form the colorful mixture into golf ball-sized balls.
- Dry: Place balls on a flat surface to dry for at least 1 hour.


Leave a Reply